Monday, April 18, 2011

Spring Bow

Yesterday is snowed on and off all day.  At times it was snowing really hard but didn't end up staying.  The snow is gone this morning but the weather is gloomy and chilly.  I am starting to panic as The Boss has a super cute dress for church on Sunday and I definitely don't have tights to go with it.  I actually think the tights will ruin the look...uh, I guess I should go buy some to have on stand-by.

In an effort to encourage the coming of spring I thought I would post a bow tutorial in a fresh spring colour, yellow!
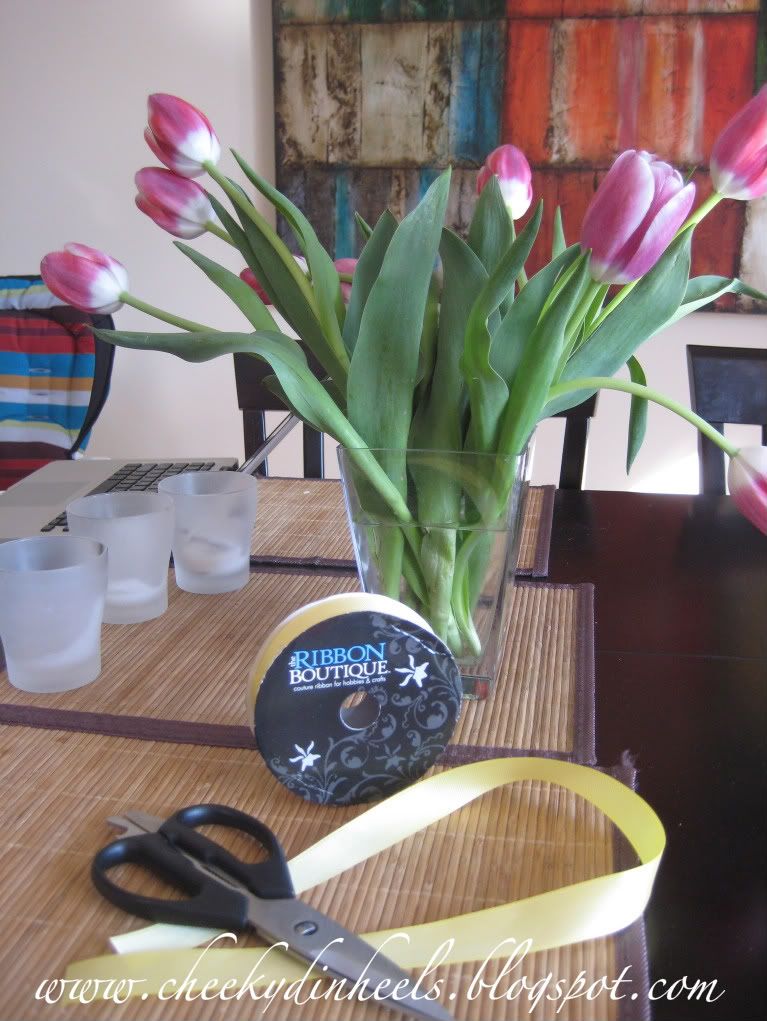

I used approximately 24" for this bow but you can make them as big or as little as you want so I like to play with the ribbon first and then cut it.  Next you want to cut the ends and melt them with the lighter.  This keeps the ribbon from fraying.


Wrap the ribbon around a few of your fingers.  Again the bigger you want your bow the more fingers you can wrap the ribbon around.  You want to make sure that the ends are on opposite sides so in my case one is visible on the left and the other is on the inside on the right.


Stick your pin directly through the middle of the bow and separate the loops from the original wrapped piece as show in the photo above.  Separate the loops and when you are happy with how it looks put a stitch in the middle of the bow.


Once you have completed one or two stitches (I do two x's)  finish at the back of the bow and use the rest of the thread to twist around the middle of the bow.  As you can see here I came from the back, over the top, around the front and to the back again.  I do this about two or three times.  The tighter you pull the tighter your bow will go.


Once you are done wrapping the thread around I always sew through the middle of the bow to make it stay.  Again, I do about two stitches.


 Glue your clip to the back of the bow.


Use a small piece of ribbon and glue it to the front of the bow to hide all of your stitching.  Start in the font and glue the middle to the bow.


Next, flip the bow over and glue the ends of the small piece to the inside of the clip.  I always find this tricky pinching the clip open and gluing the ribbon to the other side.


And your done!  You don't have to attach a clip if you don't want to.  You can substitute the clip with elastic if you prefer (great elastic found here).  The clip allows you to put it directly in Baby's hair or attach it to a hat or interchangeable headband.


These bows here were made with the tutorial above but were attached to elastic instead of put onto clips!


Sunday, April 17, 2011

Weekend Update

Dear April 17, 

Really????    REALLY????


We woke up this morning to this....I know it's not a great picture but yes, that is a light sprinkling of snow.  I posted just a few days ago that we were excited for spring, but I said at the time I was trying to not get too excited because snow could be just around the corner at any minute.  I guess we are still waiting on spring.  Hopefully the Easter Bunny doesn't mind snow!

Friday, April 15, 2011

TGIF

Nearly every Friday since The Boss has been born, we have spent the day with my Mom.  We have nicknamed it "Fun Friday".  I know, super original!  The idea behind it is we work hard all week so Friday we do something fun.  Sometimes we plan ahead of time and other days its more spontaneous.  So today, like many other Fridays, I called my Mom.  She didn't answer her home phone so I tried her cell...where could she be?  Here's how our phone call went....

"Hello" in a hushed tone,
"Mom...where are you",
"I'm supply teaching GRADE 8..."
"Why are you answering your phone then?"
"Oh they're on recess, but math is next"
Me gutting myself laughing....

My Mom is a retired grade 5 teacher.  She never taught any higher because lets be honest anything past grade 5 math is way over our head and the older they get the more 'tude they get.

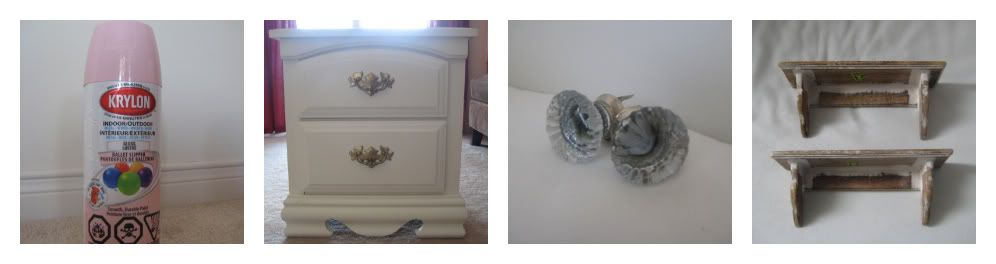
So, long story short, Mom couldn't play today so The Boss and I went to one of my favourite thrift stores.  Here are a few things that I picked up while out today.


Okay, so a few of the items need a little "vision" if you will.  Top left especially.  Don't worry I have a plan for all of them.  They will all show up again in the next few weeks.  In fact two of them are in the garage drying right now.

AND 14 days until the Royal Wedding BTW!

Wednesday, April 13, 2011

You Know You're a Mom When...{Introduction}

Recently, one of my Mommy Girlfriends sent an email to a bunch of our Mom friends called "You Know You're a Mom When...".   You know the one I'm talking about, I'm sure you have all seen a version of it.  What made it fun was that we all ended up replying all and adding our own moments to the list.  So many of them held true for all of us and others made us laugh until we cried.  Being a Mommy, nothing said seems unimaginable.

So, here's what I want to do...I want to hear your stories.  On Wednesdays (A.K.A. Hump Day) I will post a "You Know You're a Mom When..." moment to give us a laugh and remind us all that we aren't alone in our crazy Mommy moments.  Usually by the middle of the week we are all feeling tired and could use a good laugh.  You can also include "You Know You're Pregnant/ Too Pregnant When..." moments.  I have more of these personally, than Mommy moments having only been at it for 10 months. Feel free to send me as many stories as you have.

I want to feature you, so send me your stories.  You can do this by either leaving a comment with your story or emailing me at cheekydinheels(at)gmail(dot)com.  Please include your first name (I won't post last names) and the number of children you have, ages and genders.  If you have your own blog be sure to leave me all the details on how to find you so I can link your moment to you.  Once you've been featured feel free to grab one of my buttons to let your friends hear your moment and get the chance to share their's too!

Cheeky D in Heels


You Know You're a Mom When...

You've caught spit-up in your hand
in an effort to save baby's outfit, 
or a friend's floor.

-Anonymous

I've done this on more than one occasion...in fact, I did it this morning! :)


So, what are you waiting for...I know you have a moment that needs to be shared add a comment or email me!


Tuesday, April 12, 2011

IKEA Hackers

My Waiting Bench Tutorial was featured on IKEA Hackers today.  Click here to see it!  For those of you who have never heard of this blog, it's a collection of projects made from IKEA items.  People from all over the world submit what they have done with a piece of IKEA furniture.  When I found this blog I knew I had to become a follower.  I love IKEA but don't want my house to look like it came from a big box store.  So...hack away!  Make sure you submit any of your IKEA Hacks or head over to this blog to be inspired!


Ready for Spring

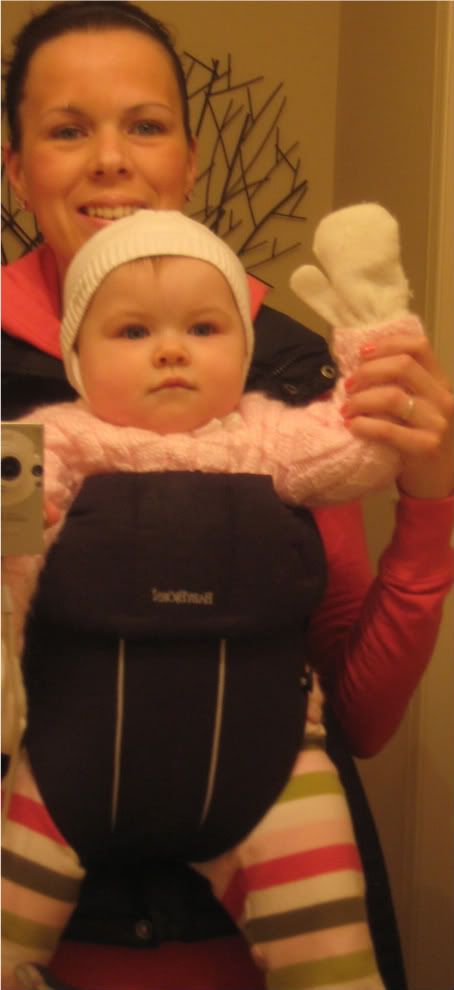
We are soooooooo ready for spring, but living in Canada means we are only days away from Spring or our next snow fall.  We have had a couple of really nice spring days but the wind still seems a little chilly, hence why The Boss is still in her hat (which is getting too small, but I refuse to replace this close to spring) and mitts.  We have even had a gorgeous day followed by a snow fall.  I try to not get too excited for the warm weather and sunshine, but ever since getting back from Florida I really can't help but wish for spring.

Spring is one of my favourite times of year.  It is normally filled with bridal showers for the brides being wed in the summer, Easter and in my case Babies.  This time last spring was filled with babies.  It was like we were barn yard animals.  The spring hit and there was a baby born once a week for about two months solid.  With all these babies being born our spring this year has been filled with first birthday parties.

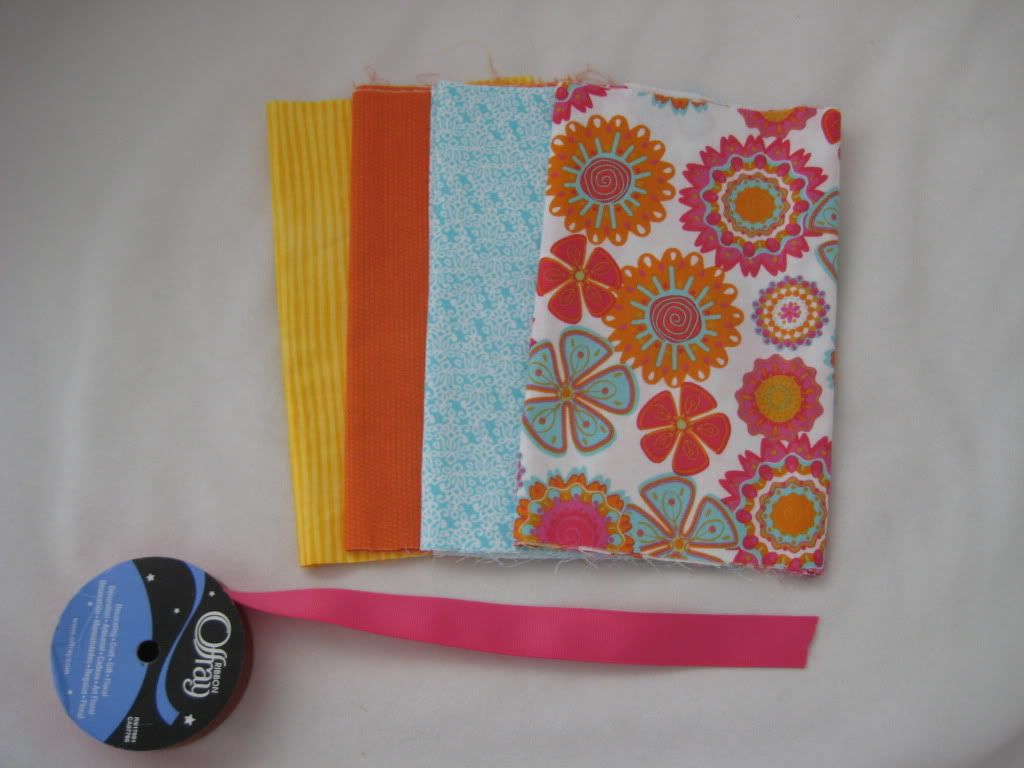
I posted last week about my nieces party and with that over it's time to focus on The Boss' party.  Like I have said before, I've been planning this day since the day she was born.  I have a list as long as my arm with the projects I want to complete for her party.  So, with only 7 weeks left until her party I need to get down to business.  I thought if I published my To-Do list publicly it would not only keep me accountable to complete a project a week BUT it would also help you all get excited for her party as well.  I know...you're all planning your outfits already.  It's the second biggest event next to the Royal Wedding.

Here's the List with visuals:
Invitations


Birthday Hats


Birthday Girl Outfit- Don't have my materials yet.

Birthday Banner


Goodie Bags (Can't post a picture until day off...don't want to ruin the surprise)

Cake/Cup Cakes


Food- Not a clue...still thinking about this...I do want to do a candy bar though!

Birthday Gift


Am I missing anything?

Hope you are enjoy some spring weather wherever you are!

Monday, April 11, 2011

Duh...Winning!

And the winner of the 3 of the 10 yard multi-packs from Elastic By The Yard is...

Lucky Number 7:

Sarah @ The Birds Papaya said:

"I love the baby pink skinny elastic best :)"

Congratulations to Sarah, I will be contacting you very soon to get all your information!

Thank you so much to Kristin at Elastic By The Yard for this great giveaway.  I will be posting more headband tutorials soon so keep her in mind for all your elastic needs.