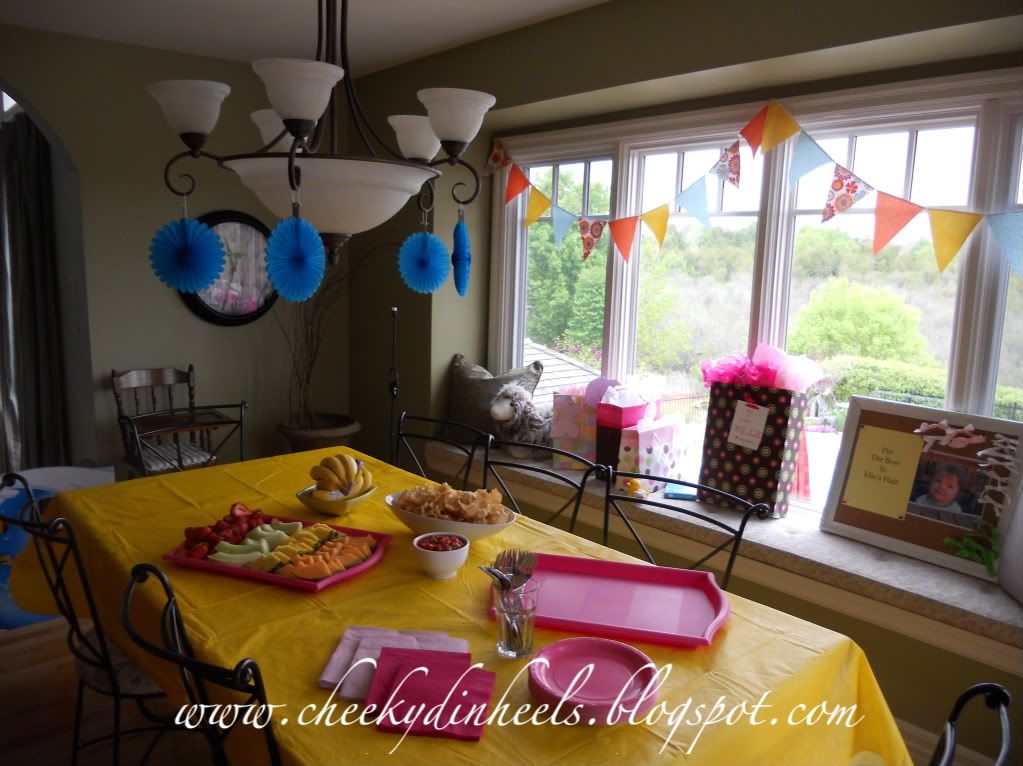
This is it folks...the last post about The Boss' First Birthday Party. It seems only appropriate as it was more than a month ago but, work is really getting in the way of my hobbies these days! Don't worry if you missed anything, you can find all my projects
here.
The final post is about her present, and let me tell you this was the most work, but the most fun and rewarding DIY for the party. I decided to make her a play kitchen since one of my pet peeves/ fears about becoming a mother is that my house would turn into a Toys R Us. While some of the toy/baby junk collecting is inevitable, I thought why not make her a play kitchen that way it can look pretty too! I was inspired by a few I had seen others make, but first saw the idea on
Dwellings By DeVore here and
here.
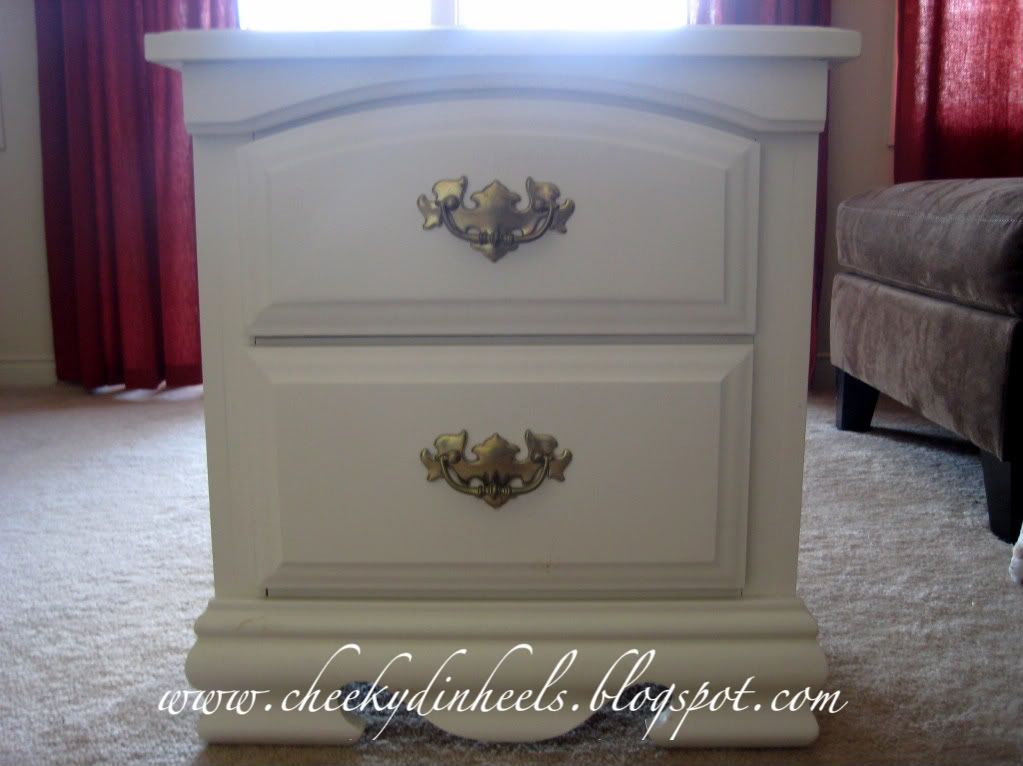
This is what I started with...
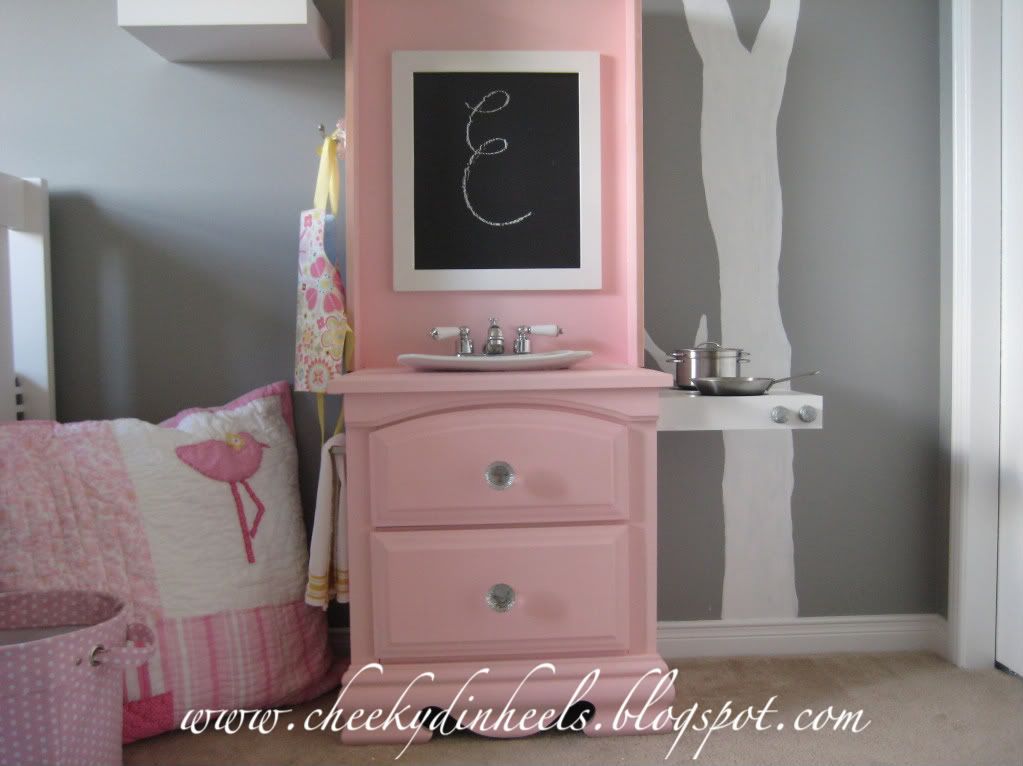
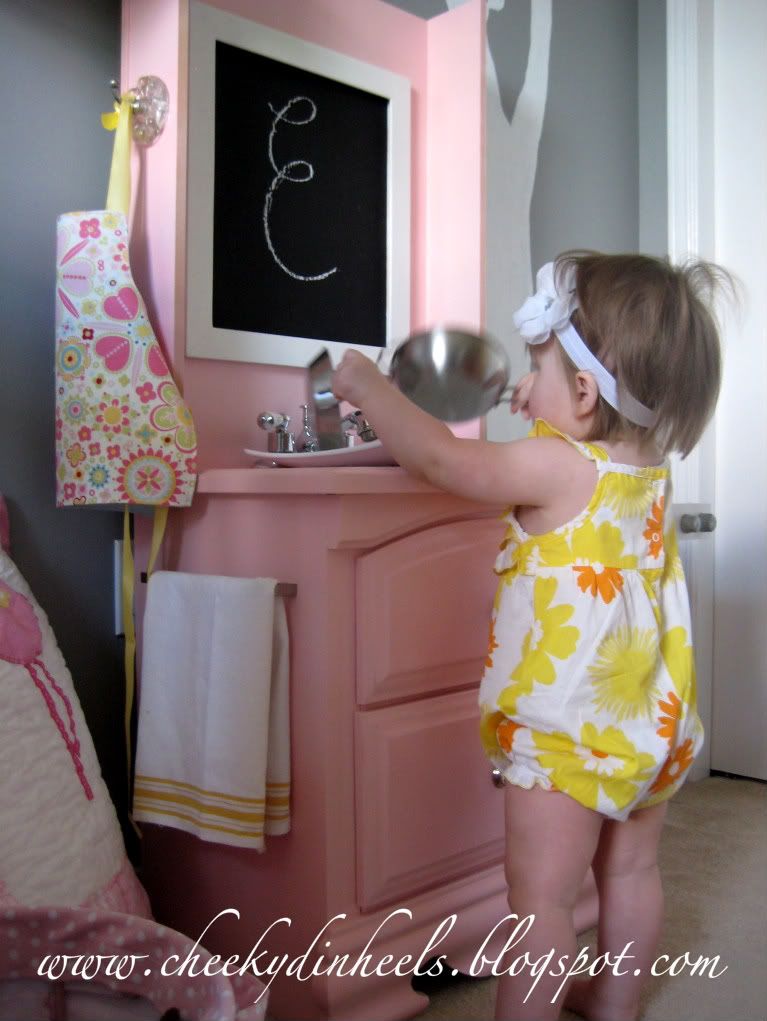
and Finished with this...
Like I said before this took a long time. I collected pieces for about 4 months before I got started, not because it would take you that long but because I was excited and enjoyed the process. When my Nana decided to re-do her bedroom I jumped at the opportunity for a free side table. I then collected from Anthropology (my splurge pieces- the drawer knobs and the apron hook), IKEA, Home Depot, The ReStore, Zellers (our Target), my favourite fabric store and my favourite thrift store. I got my carpenter friend to cut the hole in the top of the side table for the "sink" (a serving bowl) and the "facet". Once the holes were cut I sanded everything and my hubby attached the back. We used a piece of MDF for the back, this made it heavy but it worked well.
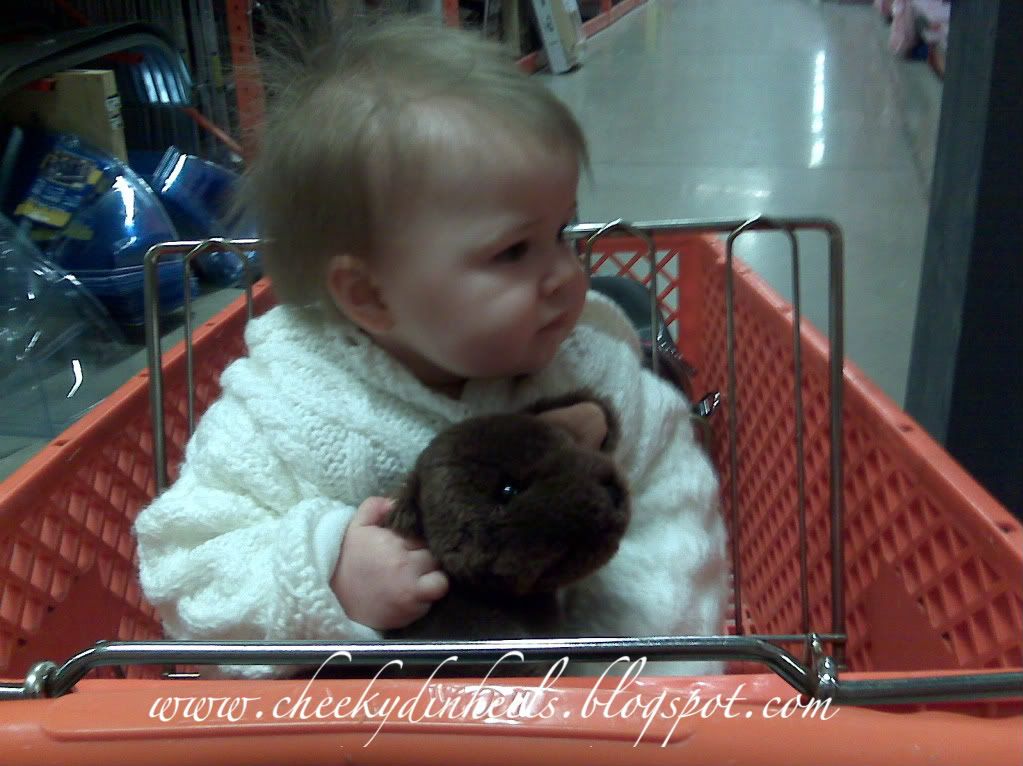
Here's a picture of The Boss (and her stuffed "Douglas") at Home Depot getting the MDF cut...she was probably about 8 months old here. This is the picture on my phone because I love it so much!
Once the back was attached I primed the entire piece and sprayed it PINK! I did a few coats and let it dry then I sprayed the entire piece with polyurethane to keep it from chipping. I then tapped off the area for the chalkboard and used chalkboard paint, once this dried I used wood glue to attach the frame. My hubby then attached the "sink" and "facet" with a silicone adhesive, and attached my hook for the apron and the "towel bar" (a cupboard handle from IKEA). The burners are a small floating shelf from IKEA that was hanging in The Boss' bedroom, I simply painted the burners on with black paint and attached two knobs with silicone adhesive.
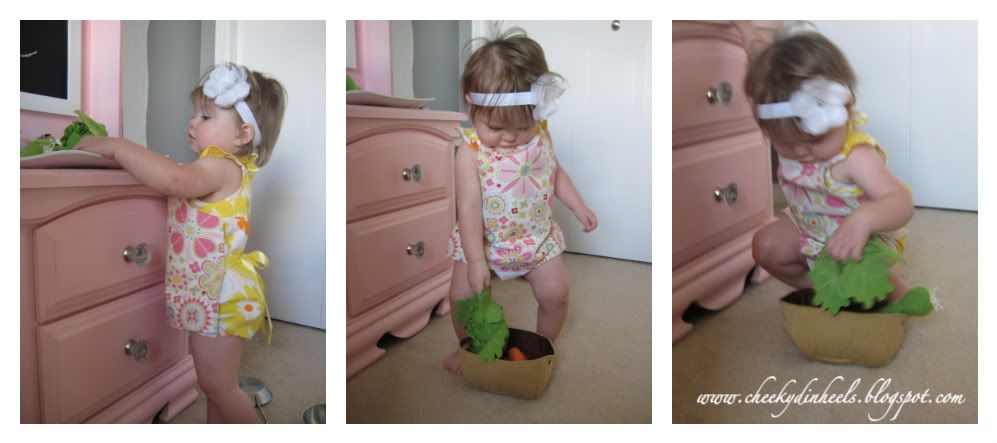
I found these great accessories at IKEA. How perfect are these plush vegetables and this set of pots?
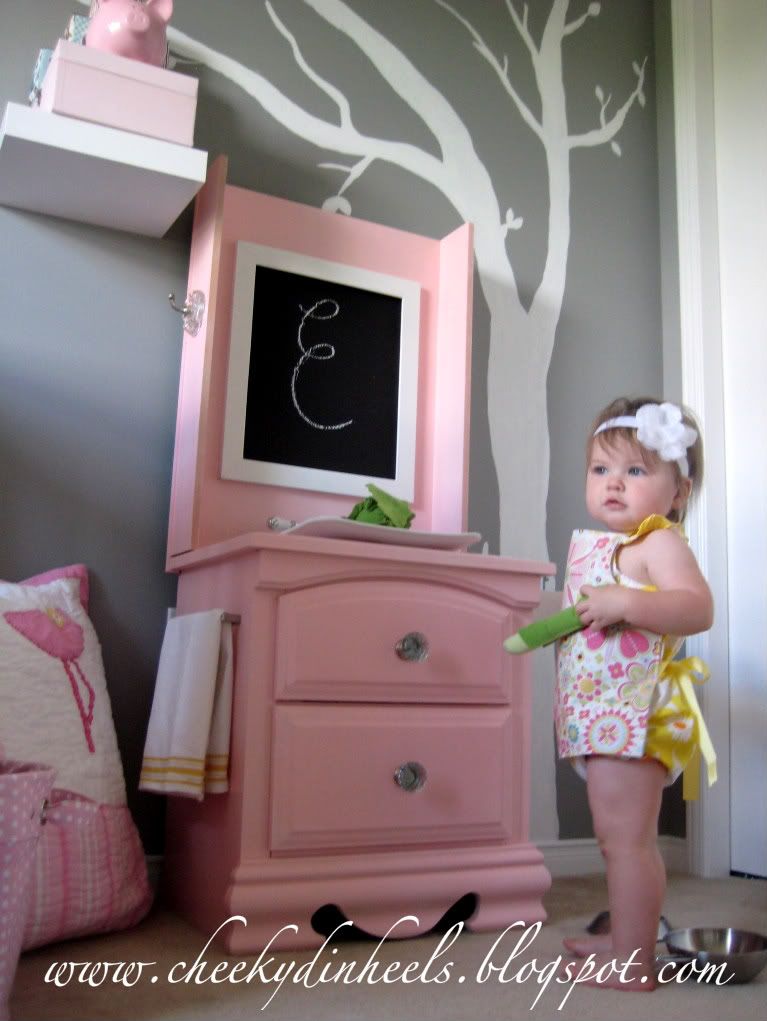
I also made the Girl an apron...totally free hand. It's not perfect but it does the job and looked so cute on her! Maybe one day I will write a tutorial about it (email me if you really want to know!).
Baby Girl working hard in her Kitchen...
I'm linking to these parties: