
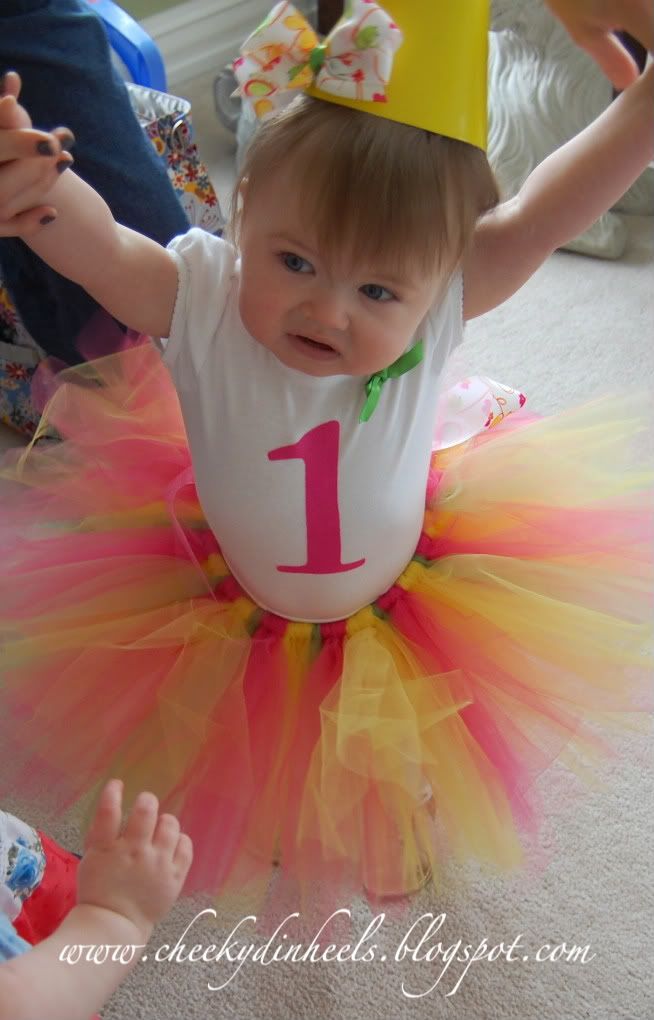
Here's what she wore:
THE BREAK DOWN
Onesie...
 The onesie was easy peasy! I started with a white onesie from Old Navy, but you could use any one at all. I printed out the number one in a font I liked from the computer and cut it out. I purchased a piece of broadcloth from the ends section of my fabric store in a bright pink colour. I iron on two sided adhesive, then placed the one from the computer on the cloth and cut it out. I then ironed the number onto her onesie. I didn't sew around the edges because it didn't need to live through the wash. It was a one day wear. If you wanted it to wash nicely you would want to sew around the number to ensure it stayed on nicely even once you washed it. I finished the shirt by making a bow and sewing it on. I love it!
Tutu...
This tutu is so easy and the perfect gift for any little girl in your life. Start by purchasing lots of tule and some pretty ribbon. The more tule the better. I think I ended up using one yard of the green and yellow and two yards of the pink. I wanted pink to be the main colour. After all The Boss is all girl!
Start by cutting a piece of ribbon long enough to go around your girls waist with enough to tie a bow at the back. Find the center of the ribbon and put that on the belly button of your little one. Wrap the ribbon around their waist and tie knots where the two ends meet at the back. The best part about this project, is that you can estimate most of this. Since it is tie on you make the bow bigger or smaller depending on how accurate you were. The Boss didn't know any better so I was able to do it all in front of her. Once you have your ribbon, cut the tule into strips. Mine were approximately 18 inches long and 3 inches thick (this size is totally flexible dependent on the size of child and tutu you want). TIP: When cutting the tule it is easiest to roll it up like a sushi roll and then clip off the piece the width you want them...in my case 3 inches thick.

Once you have all your pieces (yes cutting the pieces is the worst part of it) sit down in front of the TV and tie them on to the ribbon. You are going to attach the pieces between the two knots starting at one end and finishing at the other end. Feel free to add the colours at will. TIP: If you want one colour to be more visible than others add more strips of this colour. I did a lot more pink and yellow than I did green. Fold each piece of tule in half, wrap the tule around the ribbon and pull the tule through the loop. Tie the pieces as close together as possible. Continue until you have filled the section between the knots. Tie the ribbon in a bow and your done!


No comments:
Post a Comment