
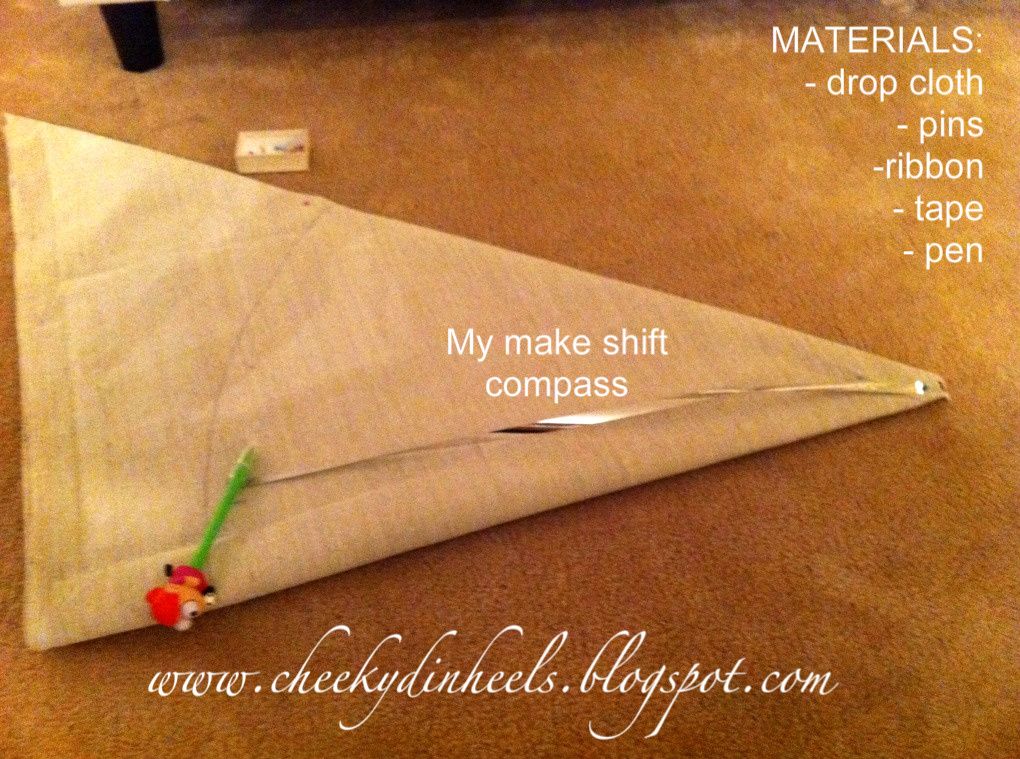
I was trying to think of the most cost effective way to make the skirt while keeping with a simplistic yet rustic look. I decided to make the skirt out of a drop cloth purchased at a hardware store. The material is thick and durable and I was able to get one 5 feet by 12 feet for about $18. If I had've shopped around I probably could have found this for cheaper or possibly even used but like I said I am so busy right now and I didn't have time for that. I was totally okay with my tree skirt costing $18. I started by googling tree skirts and reading a few tutorials. Once I got the idea of what others had done I started my own. I measured from the centre of the tree out and decided I wanted my skirt to be about two and a half feet long. I created two squares 5ft x 5ft and then folded them in half like a triangle and in half again, and again. I cut a piece of ribbon 2.5 feet long and taped a pen on one end. I pinned the other end at the top of my triangle, pulled the ribbon tight and drew my circle. I also traced a circle at the top to go around the trunk of the tree.
Once the first piece was cut, I cute from the bottom of the tree skirt to the top and tried it around the tree to ensure I liked the way it fit. I then traced a second piece (back) the exact same size.
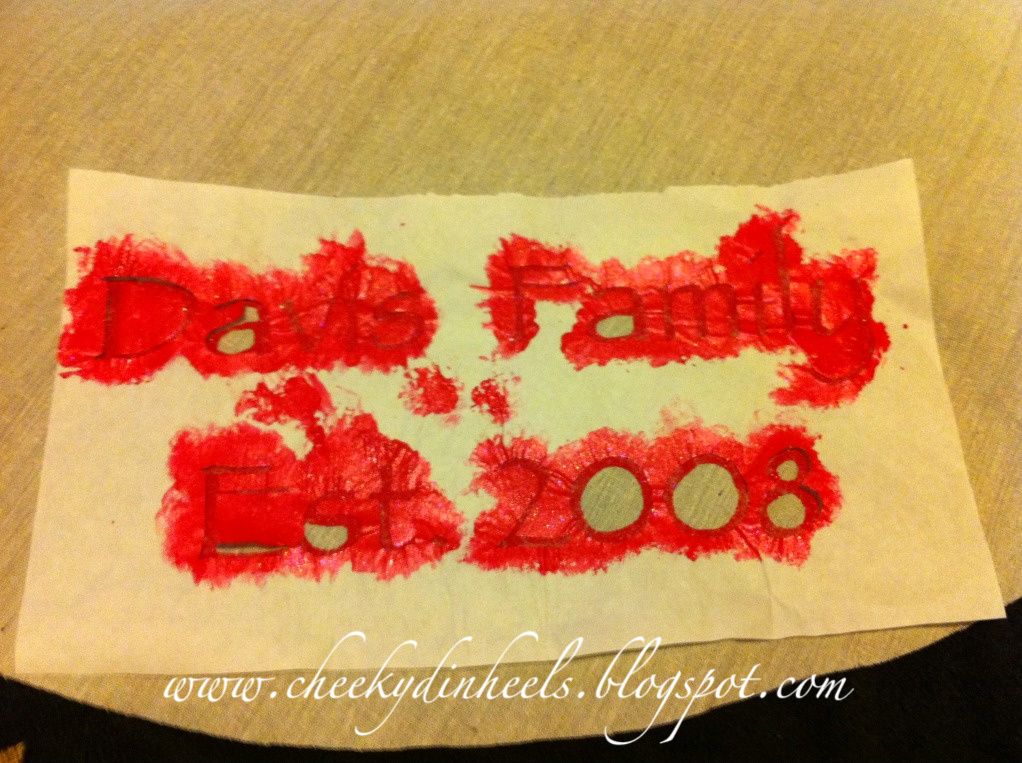
I really wanted to personalize our skirt so I used freezer paper to create a stencil. I selected a font from the computer. Printed out what I wanted it to say and iron the freezer paper onto my skirt. I used fabric paint and a paper towel to paint over the stencil. I used the paper towel instead of a paint brush to get a softer look, as a pose to a thick heavily filled in letter.
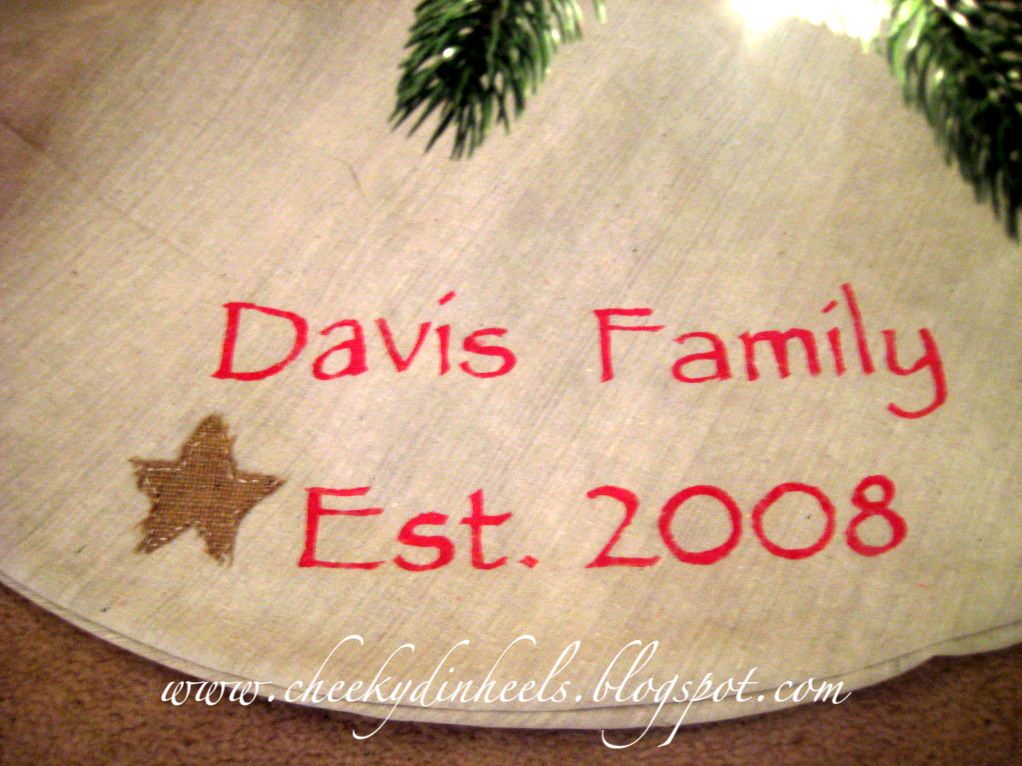
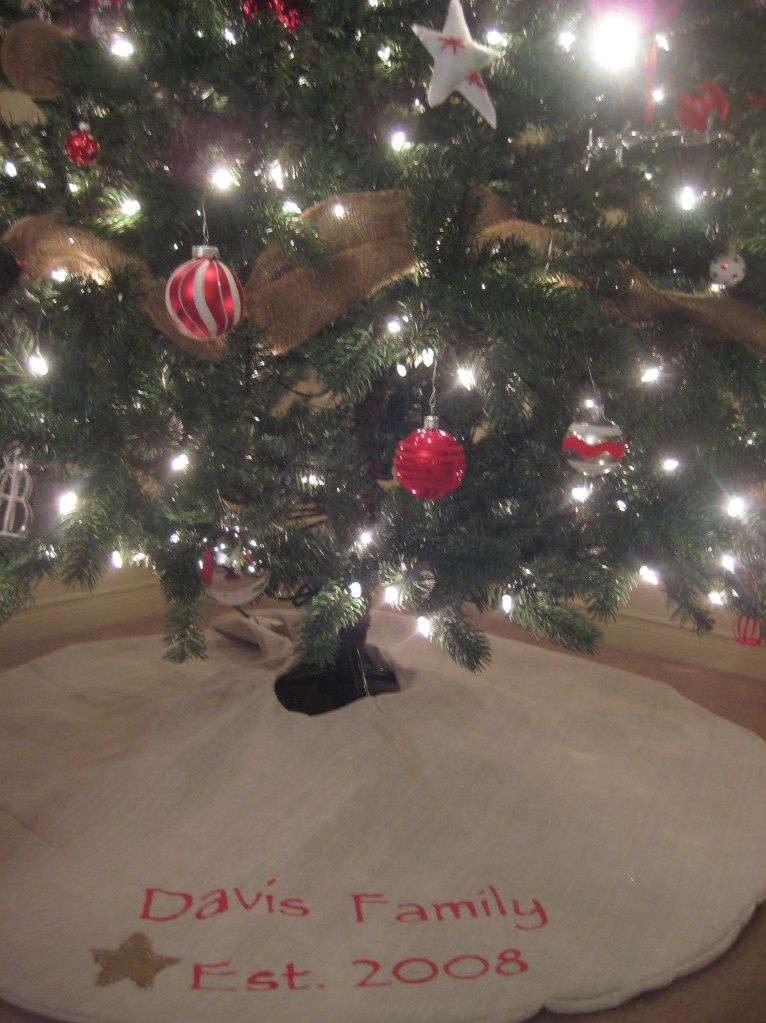
Once the paint was dry I removed the freezer paper. To connect the twine and burlap on my tree and continue with the rustic look I hand stitched a burlap star on the skirt.

No comments:
Post a Comment