Wednesday, July 20, 2011

Dollar Daze

I've had my eye on these cute growth charts at Chapters (Canada's Barnes and Noble) for a few months now.  Since I had no immediate need for them,  at $19.99 a pop, I couldn't really justify purchasing them "just in case".  When I was walking through the other day I notice they were on sale so I stopped to check the new price...ONE DOLLAR!  That's right these super cute growth chart decals were marked down from $19.99 to $1. 

 For that price I couldn't figure out how many I needed!  I was considering purchasing one at $19.99 so realistically I could get 20 and still come out about even right?  I tried to practice restrain and picked up three of the Safari Round Up and one of the Blooming Tree in pink (the tree also comes in blue).  My plan is to put the Safari Round up in our basement/family room since it doesn't go with the Boss' room decor.  The two left overs will be saved in case I ever have to design a boys nursery and for a baby shower in the future!  It's cheaper than a bow.  I picked up the Pink tree for my Besty who's having a Girl in August.  She is using the Penelope Pink and Brown nursery bedding from Pottery Barn Kids.  This will either look adorable with her decor or for a dollar I thought she could even put it in the baby's closest?


Do you think I should go back and pick up some more?

Monday, July 18, 2011

First Birthday Party Project #6- THE GIFT

This is it folks...the last post about The Boss' First Birthday Party.  It seems only appropriate as it was more than a month ago but, work is really getting in the way of my hobbies these days!  Don't worry if you missed anything, you can find all my projects here.

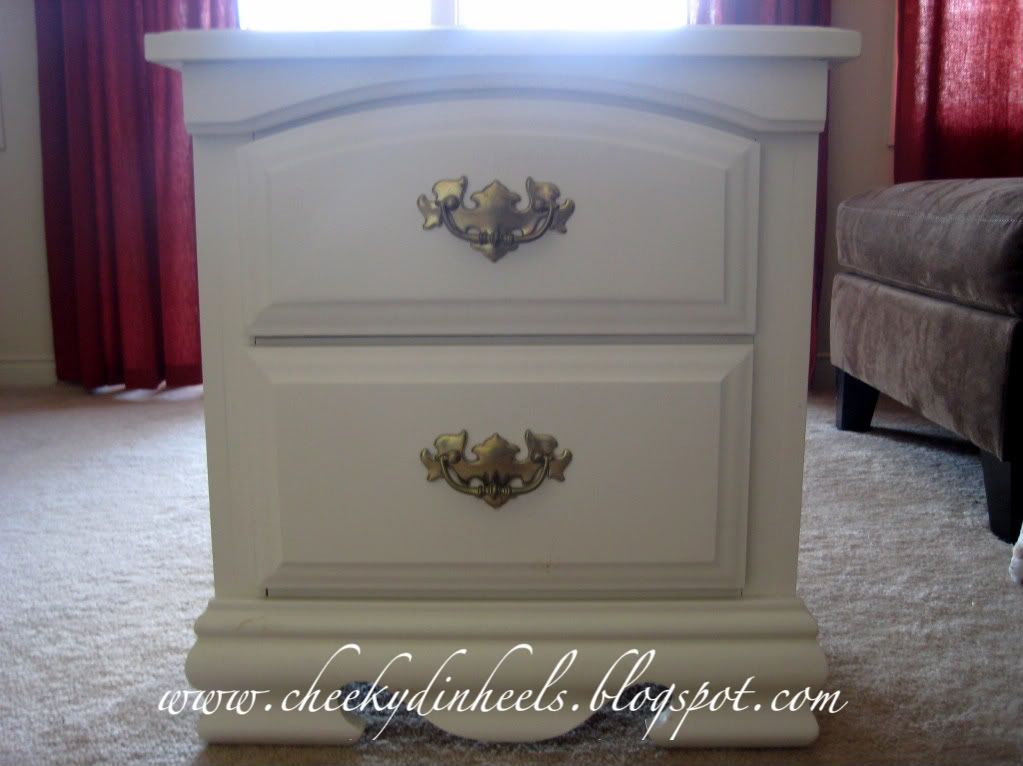
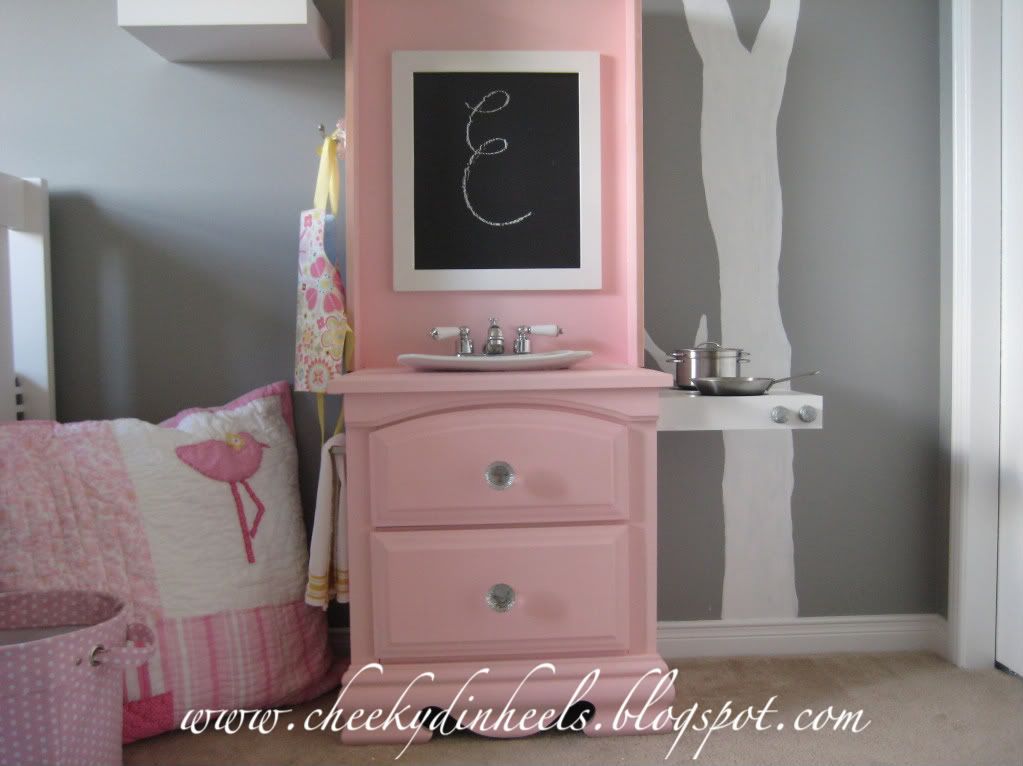
The final post is about her present, and let me tell you this was the most work, but the most fun and rewarding DIY for the party.  I decided to make her a play kitchen since one of my pet peeves/ fears about becoming a mother is that my house would turn into a Toys R Us.  While some of the toy/baby junk collecting is inevitable, I thought why not make her a play kitchen that way it can look pretty too!  I was inspired by a few I had seen others make, but first saw the idea on Dwellings By DeVore here and here.

This is what I started with...


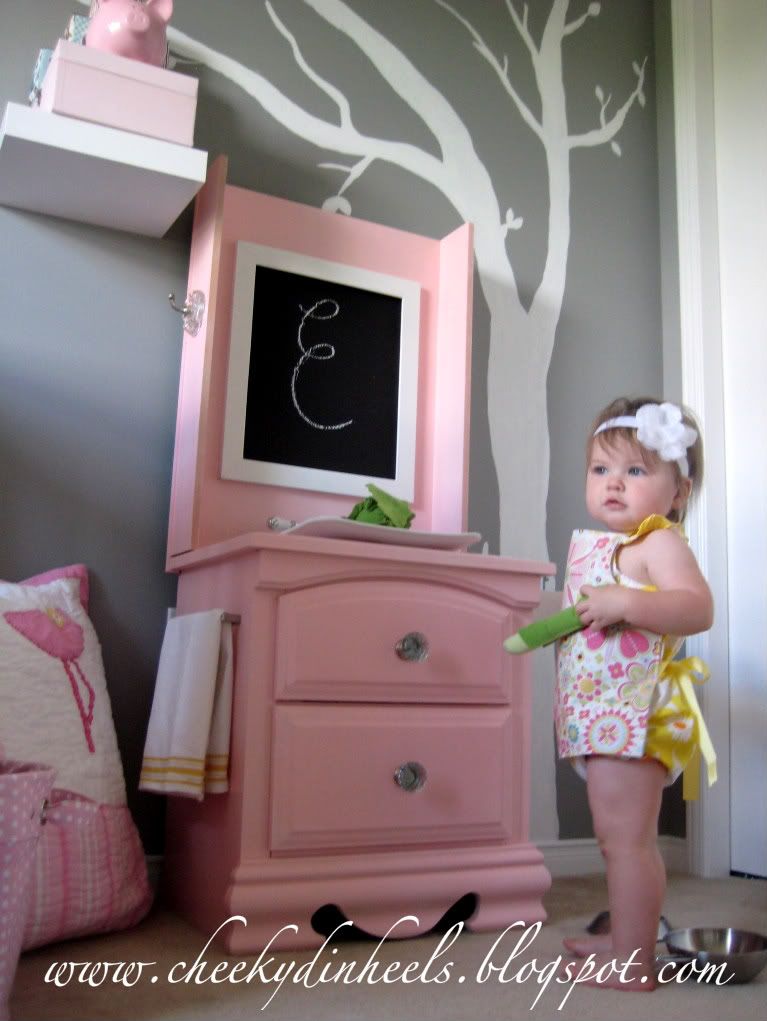
and Finished with this...


Like I said before this took a long time.  I collected pieces for about 4 months before I got started, not because it would take you that long but because I was excited and enjoyed the process.  When my Nana decided to re-do her bedroom I jumped at the opportunity for a free side table.  I then collected from Anthropology (my splurge pieces- the drawer knobs and the apron hook), IKEA, Home Depot, The ReStore, Zellers (our Target), my favourite fabric store and my favourite thrift store.  I got my carpenter friend to cut the hole in the top of the side table for the "sink" (a serving bowl) and the "facet".  Once the holes were cut I sanded everything and my hubby attached the back.  We used a piece of MDF for the back, this made it heavy but it worked well.  

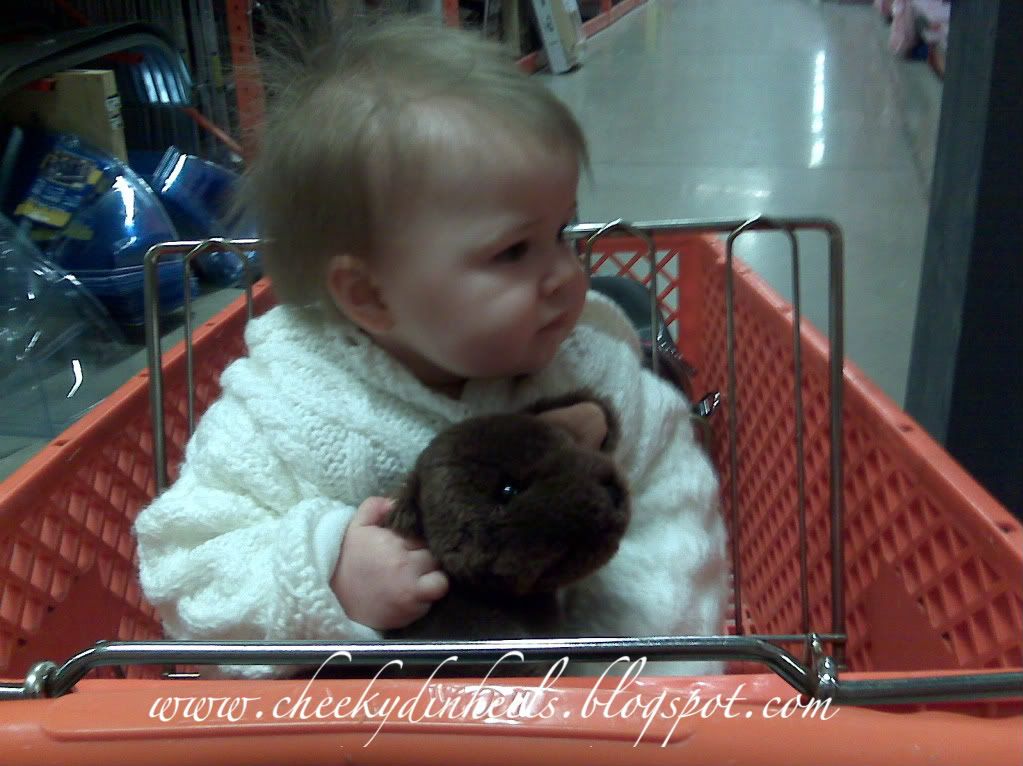
Here's a picture of The Boss (and her stuffed "Douglas") at Home Depot getting the MDF cut...she was probably about 8 months old here.  This is the picture on my phone because I love it so much! 


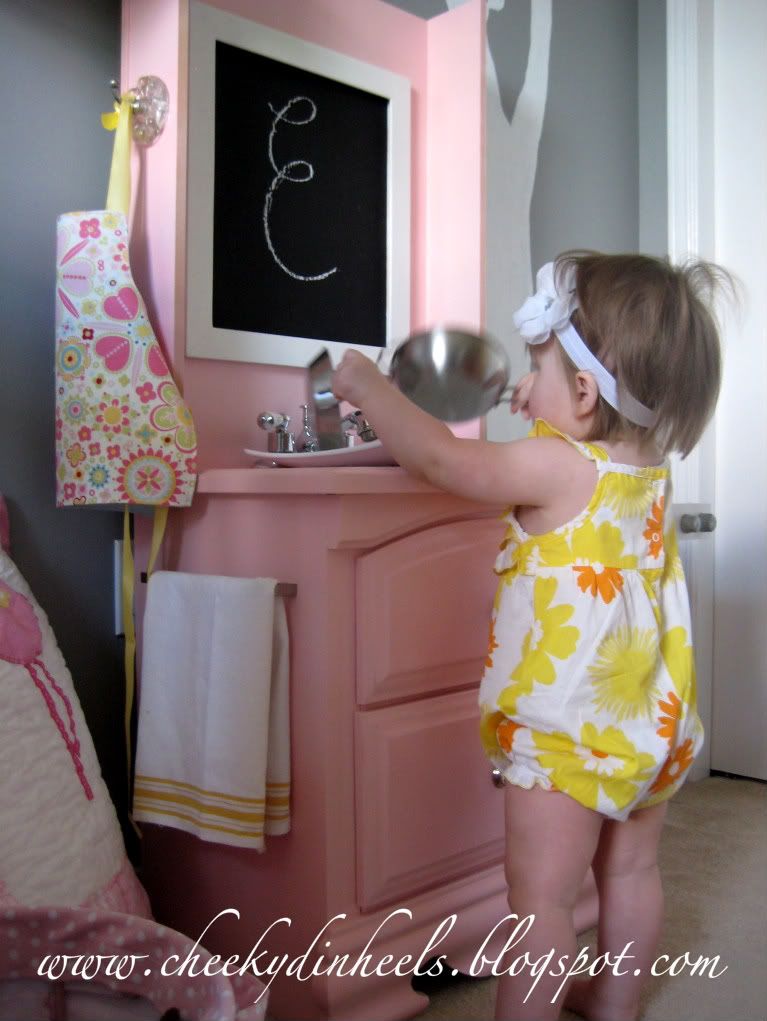
Once the back was attached I primed the entire piece and sprayed it PINK!  I did a few coats and let it dry then I sprayed the entire piece with polyurethane to keep it from chipping.  I then tapped off the area for the chalkboard and used chalkboard paint, once this dried I used wood glue to attach the frame.  My hubby then attached the "sink" and "facet" with a silicone adhesive, and attached my hook for the apron and the "towel bar" (a cupboard handle from IKEA).  The burners are a small floating shelf from IKEA that was hanging in The Boss' bedroom, I simply painted the burners on with black paint and attached two knobs with silicone adhesive. 

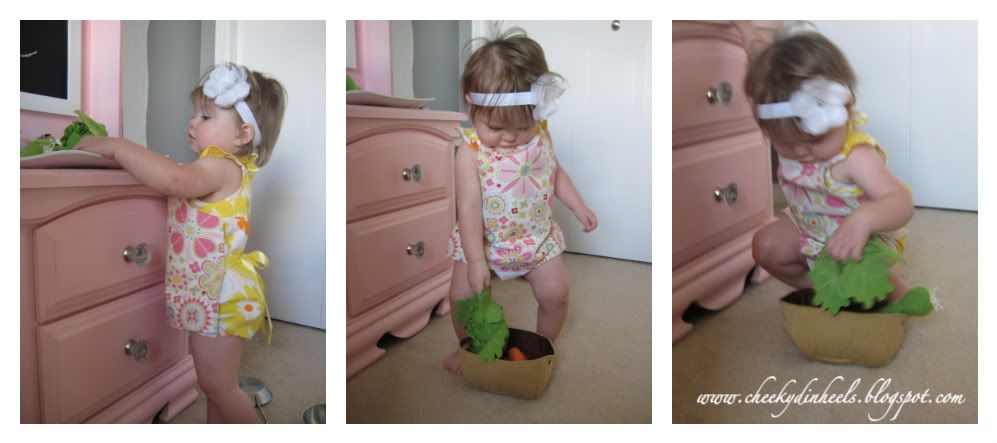
I found these great accessories at IKEA.  How perfect are these plush vegetables and this set of pots? 


I also made the Girl an apron...totally free hand.  It's not perfect but it does the job and looked so cute on her!  Maybe one day I will write a tutorial about it (email me if you really want to know!).


Baby Girl working hard in her Kitchen...


I'm linking to these parties:


Tuesday, July 12, 2011

Happy 3rd Anniversary!

Today Mr. D and I celebrate our 3rd Wedding Anniversary!  
I cannot believe it has been 3 years already!  
Where has the time gone?

I remember this day like it was yesterday.
So romantic but even more fun!


I actually went to this cafe today while I was at work...I was thinking about our photo shoot and how the ran just made our photos that much better.  (These were taken in an indoor mall made to look like the outdoors...perfect for a hot, humid rainy wedding day!)


My nephew who turned three yesterday and came to visit us after his date to Cars Two with Mommy and Daddy always reminds us of how our marriage has grown.  We started as a baby couple and now we are a 3rd old couple.  We were young and with each year we get older and stronger as a couple.


Tonight I am looking forward to an evening alone with my hubby.  Last year we had dinner with the girl then put her to bed.  This year we will put her to bed and then have dinner.  
We will save our evening out for the weekend!


Love you Baby!

Friday, July 8, 2011

A Special Baby Girl {Part 2}

The other day I mentioned that my best friend was having a baby and I posted about one of my gifts for her here.  Along with the blanket I also made her some baby girl headbands.  That's right...don't invite me to a shower for a baby girl and think I am going to show up without a headband.  Don't worry baby...Auntie Chelsey has you covered!

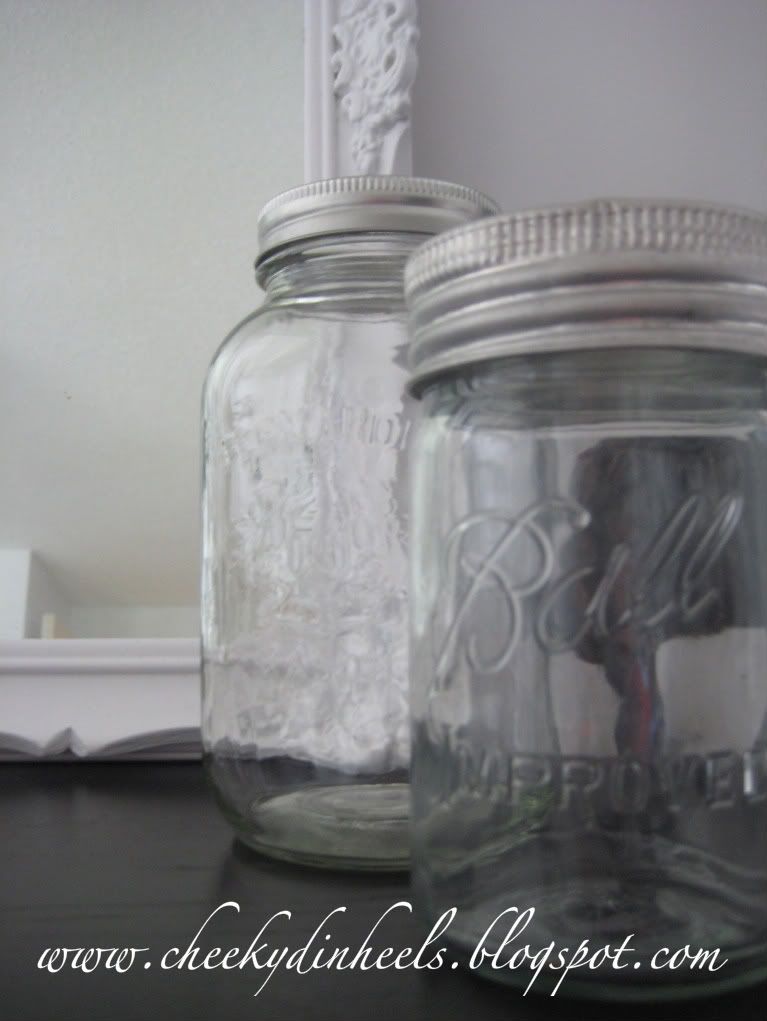
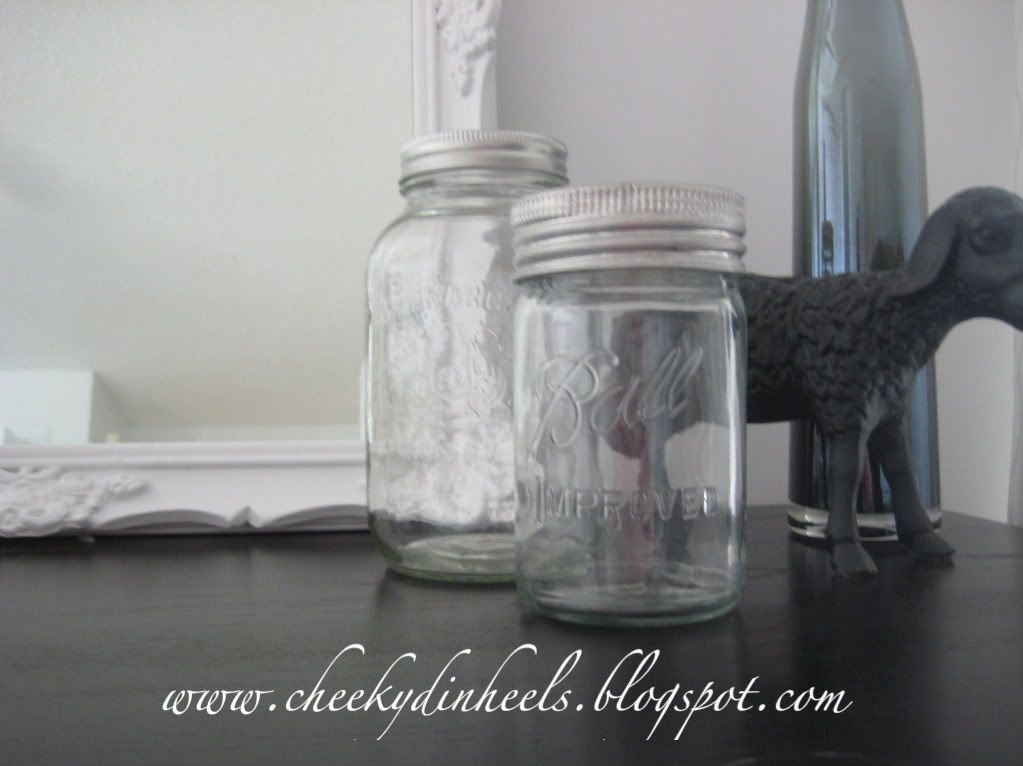
Anyway, my best friend is working on her baby girl's nursery (I'll get her to guest post when she's finished) but right now she is struggling with the final touches.  She has a beautiful chandelier that I am envious of.  It is gorgeous glam for her baby girls room. The walls are light, the furniture is dark and the chandelier adds some glam.  She invited me and our other Besty over to help with a curtain crisis, once we worked out the drapes we were trying to figure out how to bring the room together.   It was decided that we needed some glass elements to add the girlie glam.  While I was at my local thrift store I noticed these GORGEOUS mason jars.  So I wrapped them up and gave them to my girl at her baby shower with the blanket.  I know, totally random!  Here's my thought...I put the baby girl bands on these and thought she could display them on a shelf.  The glass would pick up the crystals on the chandelier and be functional in holding baby girl bands.  I told her to give it a try on her shelf and see how it looked.  I am secretly hoping she returns them to me...look how nice they look on my dresser.


*Unfortunately I didn't get a shot of the jars with the headbands on them (Ugh I know)...but they were the perfect size to display them, they were pretty cute!

Thursday, July 7, 2011

Florida, We Miss You Already

We just got home from Florida!  Other then our flight being cancelled and rescheduled from last night to today (resulting in a full on meltdown by The Boss...yes we were those people, and we are very sorry if you were on our flight) the trip was wonderful.  We love visiting our family and soak up every second in the sun.  As always it was so sad to leave but we will be back in less than 8 weeks.  I am still getting the pictures together but wanted to share some of the highlights.

We went shopping, played in the pools, spent a day at Sea World, visited family and friends, introduced the girl to fireworks, shopped some more,  and swam even more!  If you are ever in the Orlando area (we spent 3 days there) be sure to check out both the Prime and Premium Outlets...amazing!


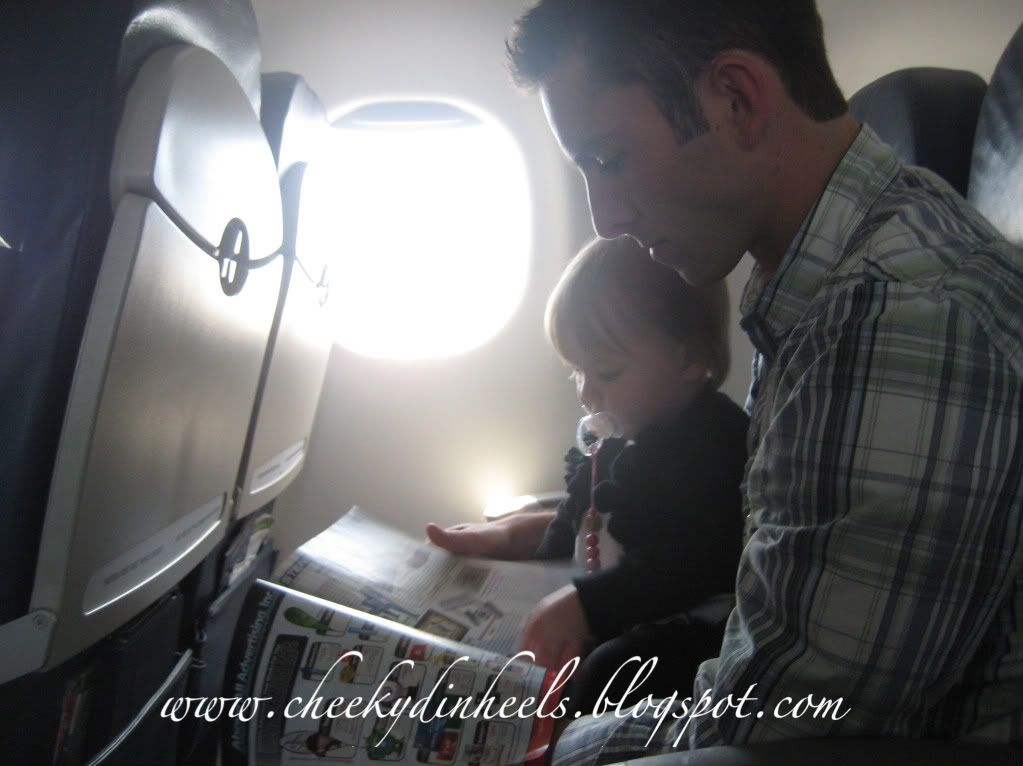
The flight there, she was an angle (this was her 4th trip on a plane, she knows the drill).  There is no photo evidence of the flight home...we are trying to pretend it didn't happen.


Sorry...iphone photos.


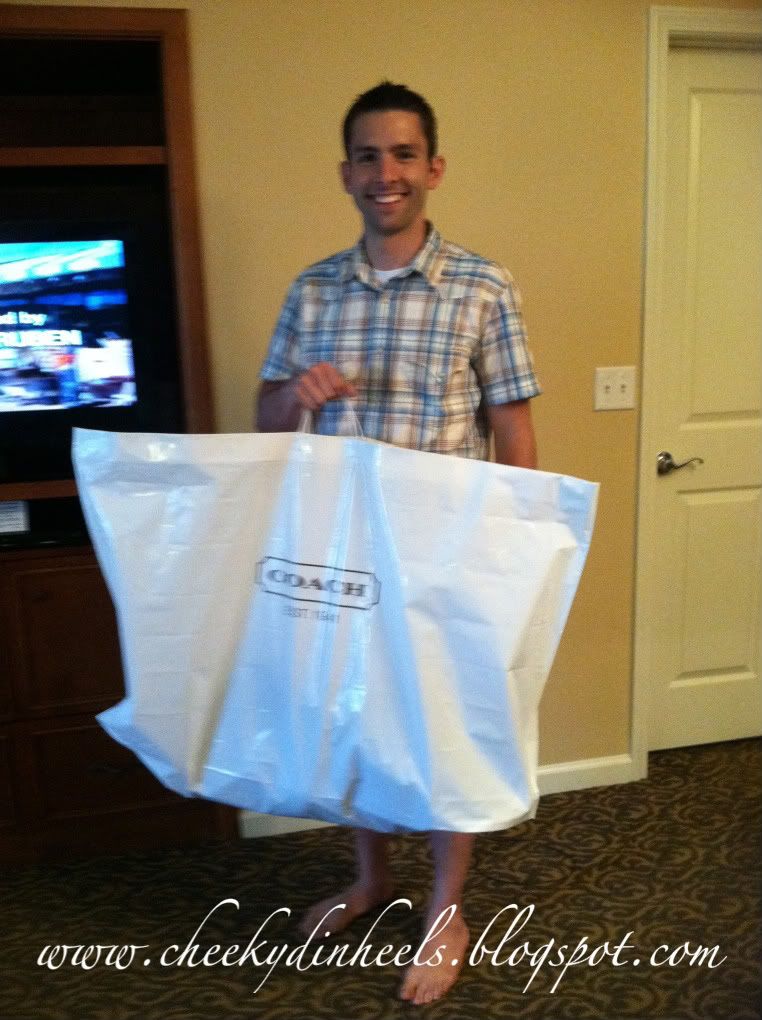
If you can't read the bag it's a Coach bag, and yes this was his purchase not mine!


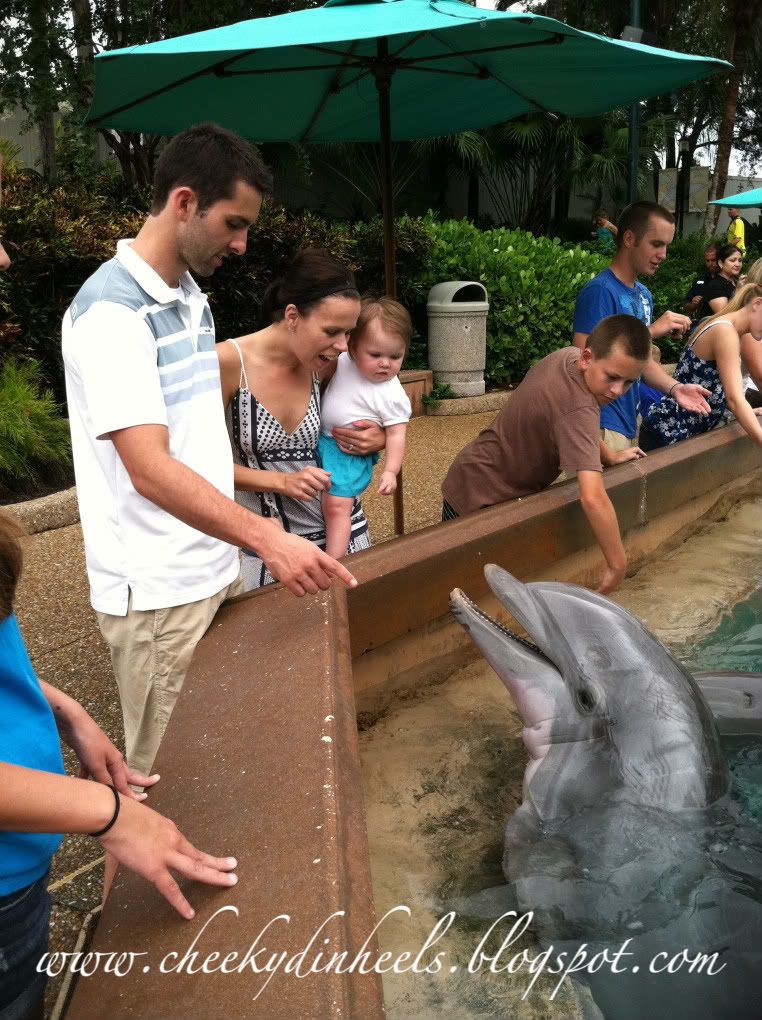
We fed the dolphins at Sea World.  This was really special for so many reasons but especially because the Hubby and I did this together four years ago when I came to Florida to meet his family.  They took me to Sea World and we fed the dolphins because I love them and it has always been my dream to swim with them (I have since also swam with them). We have a picture, almost exactly like this one, of me and hubby before we knew we would be a family.


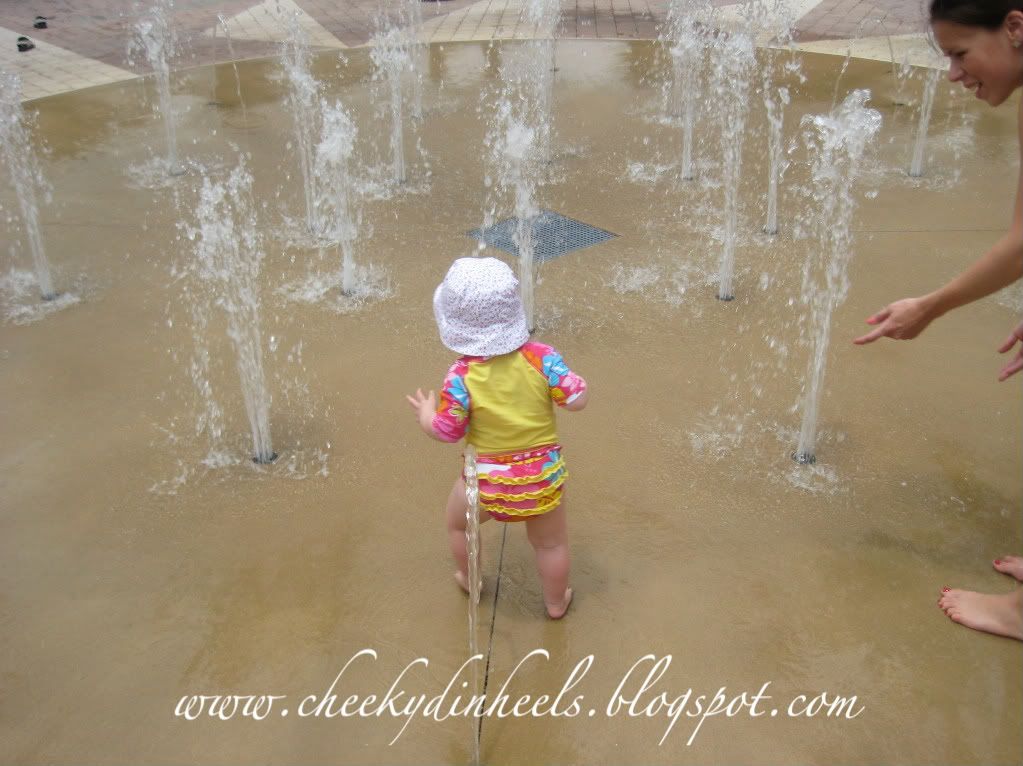
There were a number of moments on this trip where there was nowhere else in the world I would rather be.  This was one such moment.  In fact, as we watched The Boss run and squeal having the time of her life,  my father-in-law said to me "This right here is worth every penny".   I agreed.  The weather wasn't great while we were in Orlando but the moments as a family were.  The Boss is growing so fast and I just love every single second and the time we get with her.


Monday, July 4, 2011

Happy Dual Weekend!

One of the best things about being Canadian and marrying an American is that we have dual celebrations! This weekend is one of those times! On the first we celebrated Canada Day and today we celebrate Independence Day. We are so grateful for those who serve to give us our freedom! Happy canada Day and Happy 4th of July!


Friday, July 1, 2011

A Special Baby Girl {Part 1}

My Besty is having a baby and I could not be more excited for her.  I told her that I think I am more excited for her than I was for my own.  Probably because her pregnancy means cuddles, shopping and baby talk without all the morning sickness.    To top it off she is also having a girl!  What could be more fun...bestiest with baby girl besties! I cannot wait to meet her little angle!  So while we wait for her we are going to celebrate the life out of this little lady!  She is having two showers which means two opportunities to spoil this girlie to bits!!!!

Here is one of the two projects I did for the first shower.


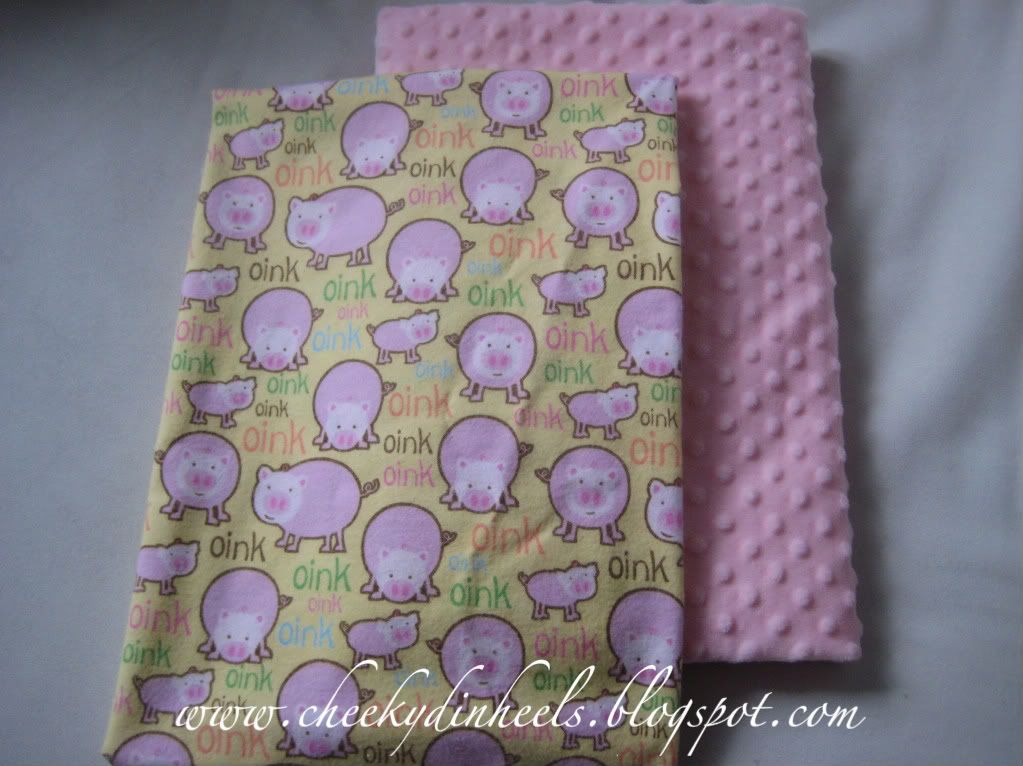
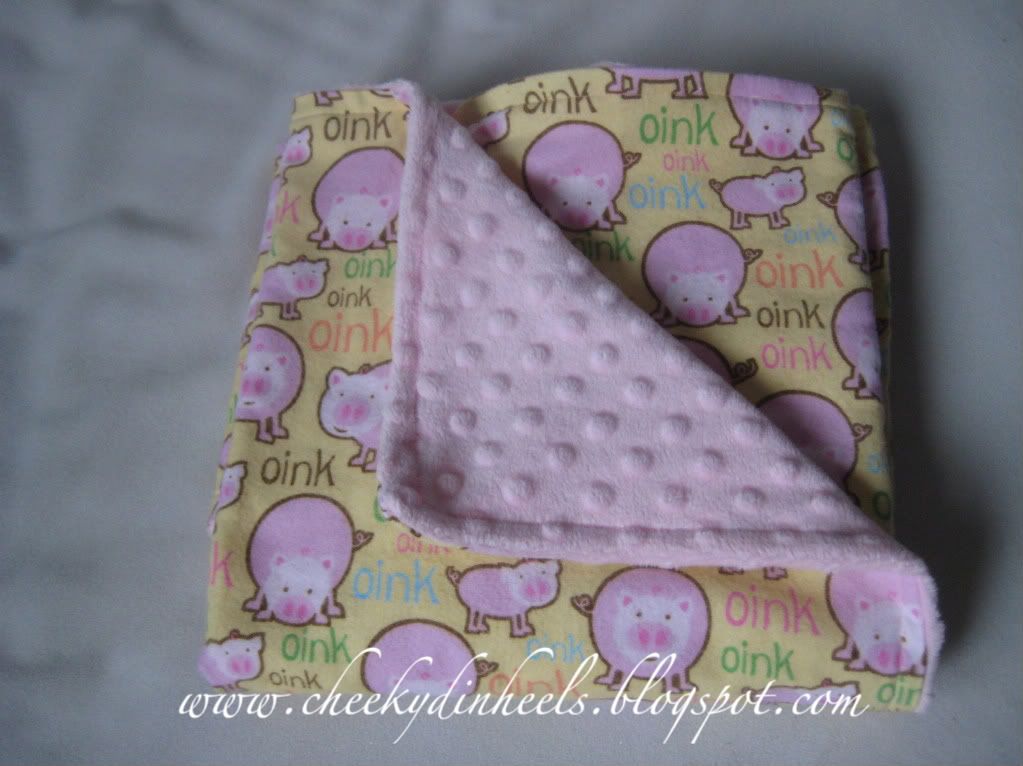
I found this adorable flannel and decided to do a blanket with flannel on one side and minky on the other side.  *Note* Minky is super hard to cut and rather tricky to sew as well.  It will make you want to throw your sewing machine out the window.  I read on another blog that the more pins you put in and the slower you sew the easier it is, and that was true.  It was still tough.  Prego women, don't try this...get a friend to do it for you! :)


Here's what I did.  I cut the flannel and the minky into a 30" by 30" square.  I sewed around the edges of the blanket with the front sides facing in.  I left an opening about 8" wide to flip the project inside out when I was finished sewing.  I sewed a 1/4" seem and cut off any of the access.  Once I was done I turned it all inside out and ironed the seams flat.  Then I folded the edges of the opening in and ironed them down.   

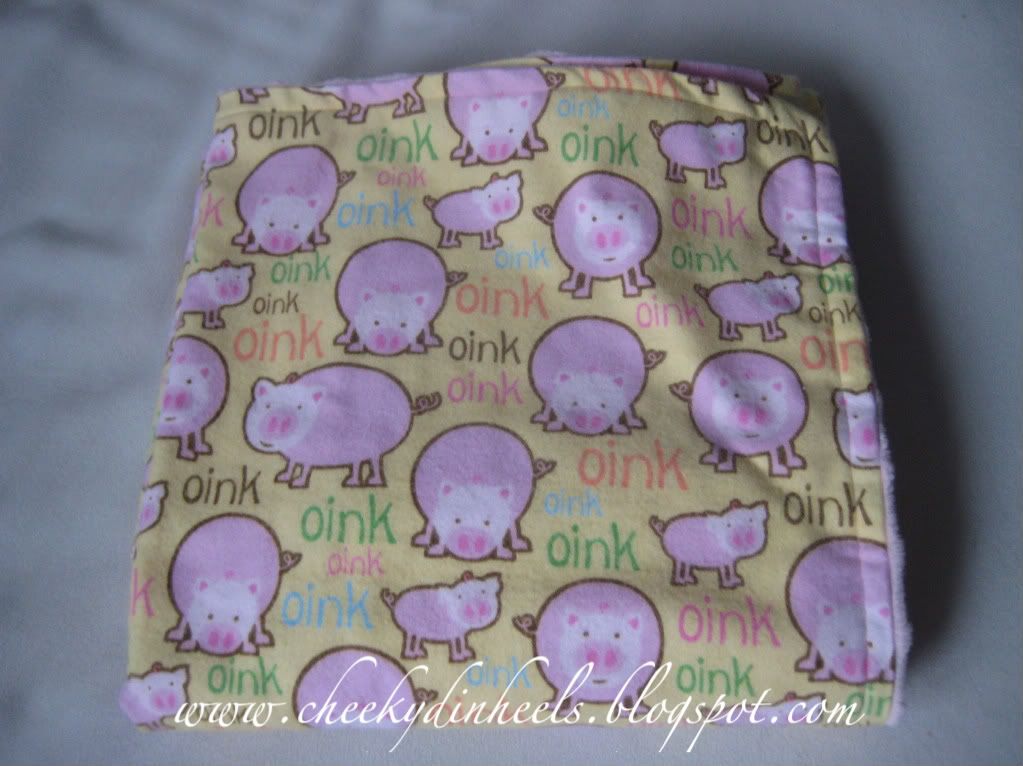
It's so far from perfect but I kinda love it.  It looks pretty good in the picture doesn't it?  Haha we will call that trick photography, which makes me wonder...maybe other blogger's DIYs don't always turn out as perfect as they look.  I think the key to DIY is that its done with love.  If I make enough of these, and I think I will, I will get better at it.

Here I am with the Mommy to be...look at that cute bump!