
In an effort to encourage the coming of spring I thought I would post a bow tutorial in a fresh spring colour, yellow!
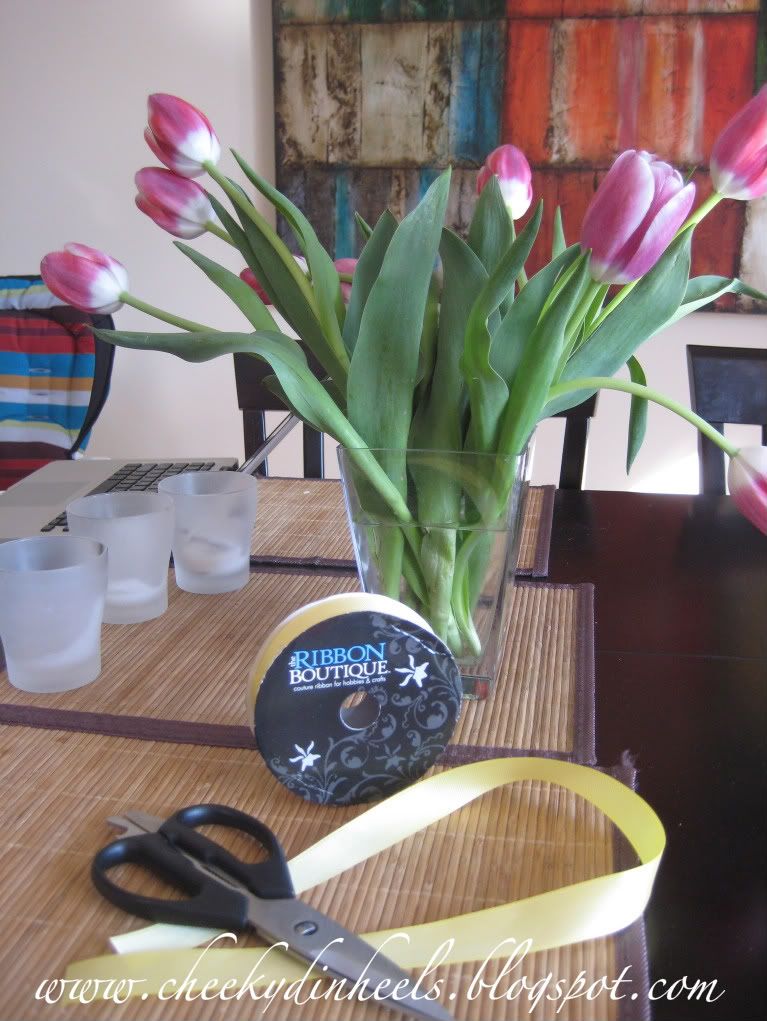
I used approximately 24" for this bow but you can make them as big or as little as you want so I like to play with the ribbon first and then cut it. Next you want to cut the ends and melt them with the lighter. This keeps the ribbon from fraying.

Wrap the ribbon around a few of your fingers. Again the bigger you want your bow the more fingers you can wrap the ribbon around. You want to make sure that the ends are on opposite sides so in my case one is visible on the left and the other is on the inside on the right.

Stick your pin directly through the middle of the bow and separate the loops from the original wrapped piece as show in the photo above. Separate the loops and when you are happy with how it looks put a stitch in the middle of the bow.

Once you have completed one or two stitches (I do two x's) finish at the back of the bow and use the rest of the thread to twist around the middle of the bow. As you can see here I came from the back, over the top, around the front and to the back again. I do this about two or three times. The tighter you pull the tighter your bow will go.

Once you are done wrapping the thread around I always sew through the middle of the bow to make it stay. Again, I do about two stitches.

Glue your clip to the back of the bow.

Use a small piece of ribbon and glue it to the front of the bow to hide all of your stitching. Start in the font and glue the middle to the bow.

Next, flip the bow over and glue the ends of the small piece to the inside of the clip. I always find this tricky pinching the clip open and gluing the ribbon to the other side.

And your done! You don't have to attach a clip if you don't want to. You can substitute the clip with elastic if you prefer (great elastic found here). The clip allows you to put it directly in Baby's hair or attach it to a hat or interchangeable headband.

These bows here were made with the tutorial above but were attached to elastic instead of put onto clips!


1 comment:
Cute!!!
Post a Comment