Showing posts with label decorations. Show all posts

Tuesday, December 6, 2011

Making a tree skirt...

This year I am busier than I have ever been, yet something inside of me just can't help to add more projects to the list of things I want to do.  I mentioned here how it took me sometime to fall in love with my ornaments.  This year my goal was to add warmth to my Christmas decor, and while I would never in a million years describe my decorating style as country.  I am trying really hard to add a rustic, country-ish element to my decor to add warm.  I started with my twine ornaments seen here, then added burlap touches here, and finished the look off with a tree skirt.

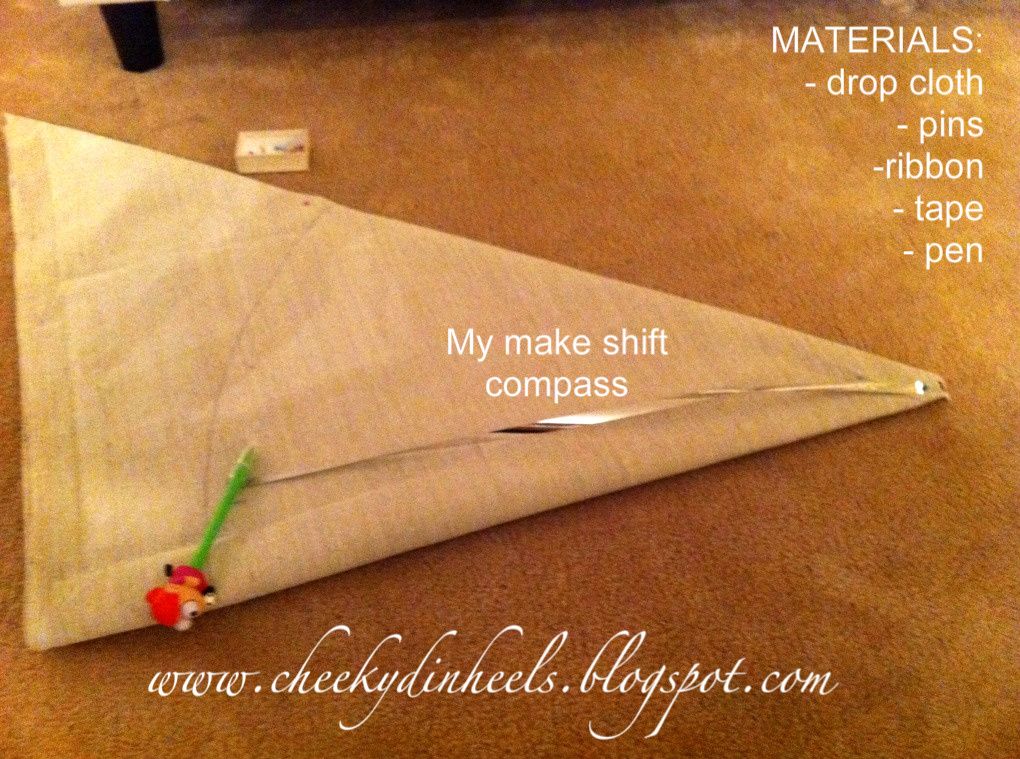
I was trying to think of the most cost effective way to make the skirt while keeping with a simplistic yet rustic look.  I decided to make the skirt out of a drop cloth purchased at a hardware store.  The material is thick and durable and I was able to get one 5 feet by 12 feet for about $18.  If I had've shopped around I probably could have found this for cheaper or possibly even used but like I said I am so busy right now and I didn't have time for that.  I was totally okay with my tree skirt costing $18.  I started by googling tree skirts and reading a few tutorials.  Once I got the idea of what others had done I started my own.  I measured from the centre of the tree out and decided I wanted my skirt to be about two and a half feet long.  I created two squares 5ft x 5ft and then folded them in half like a triangle and in half again, and again.  I cut a piece of ribbon 2.5 feet long and taped a pen on one end.  I pinned the other end at the top of my triangle, pulled the ribbon tight and drew my circle.  I also traced a circle at the top to go around the trunk of the tree.

Once the first piece was cut, I cute from the bottom of the tree skirt to the top and tried it around the tree to ensure I liked the way it fit.  I then traced a second piece (back) the exact same size.

I really wanted to personalize our skirt so I used freezer paper to create a stencil.  I selected a font from the computer.  Printed out what I wanted it to say and iron the freezer paper onto my skirt.  I used fabric paint and a paper towel to paint over the stencil.  I used the paper towel instead of a paint brush to get a softer look, as a pose to a thick heavily filled in letter.
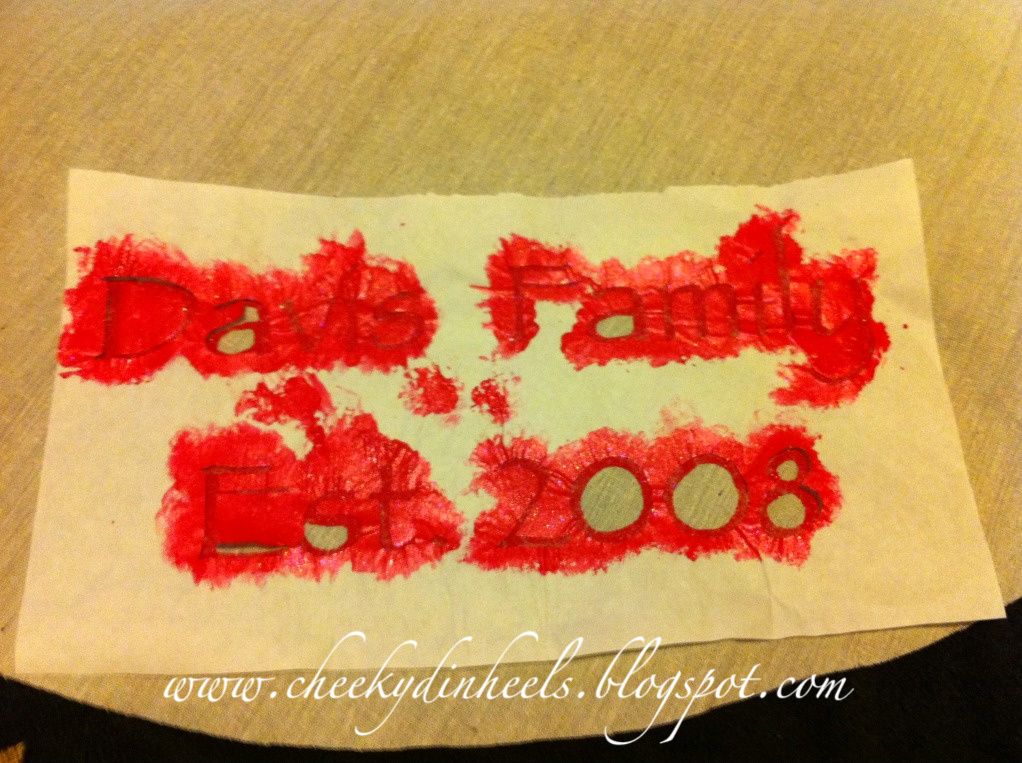


Once the paint was dry I removed the freezer paper.  To connect the twine and burlap on my tree and continue with the rustic look I hand stitched a burlap star on the skirt.
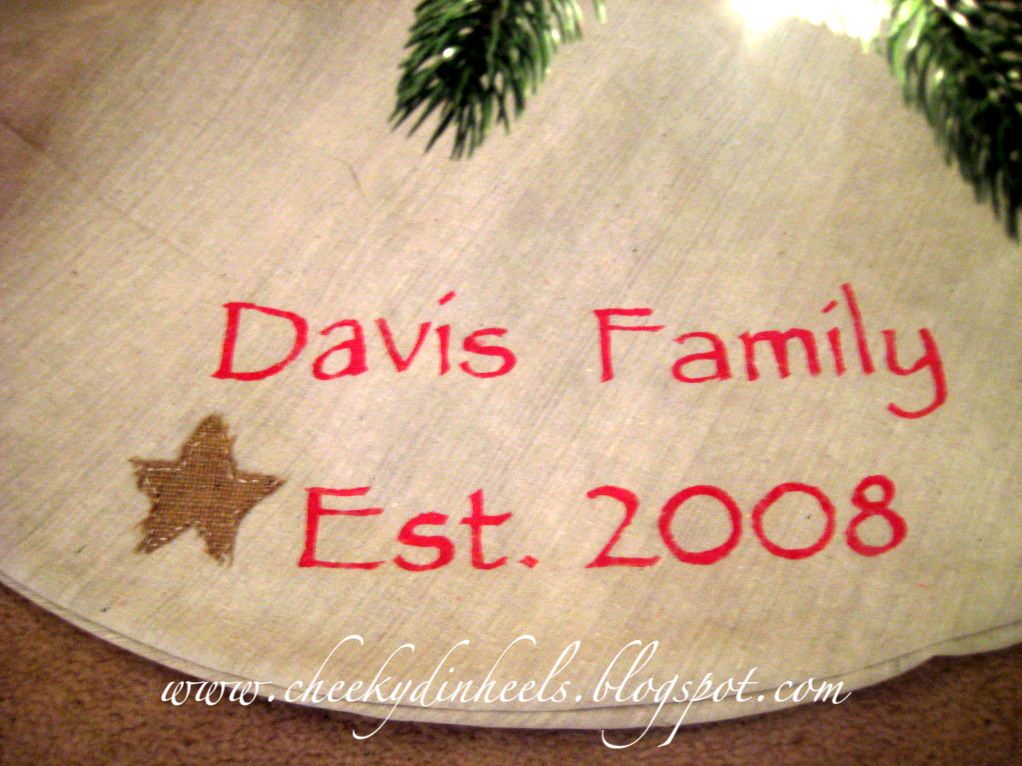
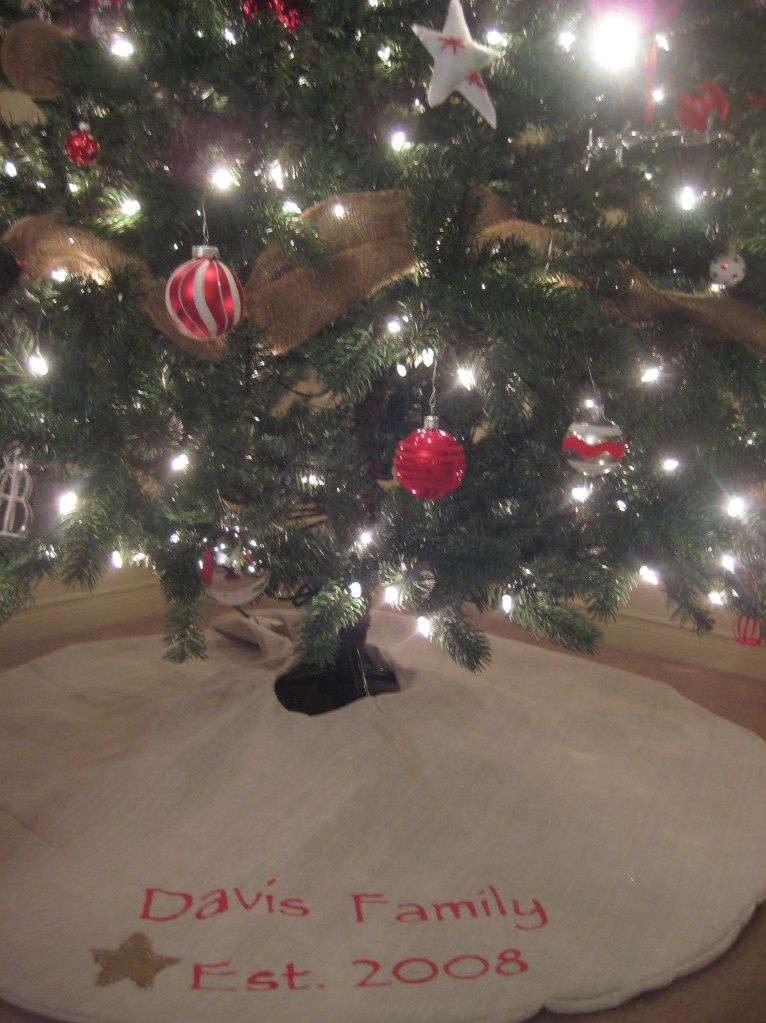

Once I was finished with the front of the skirt I pinned the two main pieces (front and back) of the skirt with the fronts facing each other and sewed all the way around.  Before sewing shut the straight cut (opening of the skirt) I pinned ribbon on the inside to be used to tie the skirt shut.  I left a small whole, then flipped the entire skirt right side out and sewed the whole shut.  Took it to my tree and tied it on!


Tuesday, November 22, 2011

A story about ornaments...and how they're now covered in twine

When Mr. D and I first got married we were so excited for our first Christmas.  I absolutely love this time of year, and it brought tears to my eyes every time I thought about us creating our own Christmas.  Being newlywed meant we got to pick our own decor and start our own traditions.  We started by purchasing all the ornaments for our tree.  Mr. D wanted colour while I preferred something more subtle.  We eventually decided on some beautiful red and white ornaments from Crate and Barrel, a compromise on colour yet still modern.  I ordered all our ornaments online and could not wait to put them up when they showed up at my door.

I pulled them out of the box with eager anticipation of our "forever tree" and...HATED what I saw.  I didn't like anything I purchased.  Crushed, Mr. D took me to Target, Walmart and Kmart to find the some Martha Stuart inspiration and hopefully save our first Christmas.  I purchased all blue, which was a total copy cat of my Mom's tree, I felt anxious about trying anything else new.  We took our Christmas Starbucks drinks home and set to work hanging our new choices.

Mr. D sat on the floor attaching the hooks and handing me the ornaments.  About half way in he knew something wasn't right.  "Is everything okay?" he carefully asked, not sure he really wanted an answer. "Yeah..." I said.  "You hate it don't you?" he asked.  "Yeah, I do."  Being the loving husband he is, he suggested I try my Crate and Barrel ornaments I thought I hated on the tree.  Maybe they will look better on.  As we spent the next hour carefully removing one set of decorations and exchanging them for my original purchases I felt so nervous I might not like them.  Luckily Mr. D was right.  The ornaments looked much better on.  We returned the blue ornaments and fell in love with our forever tree.

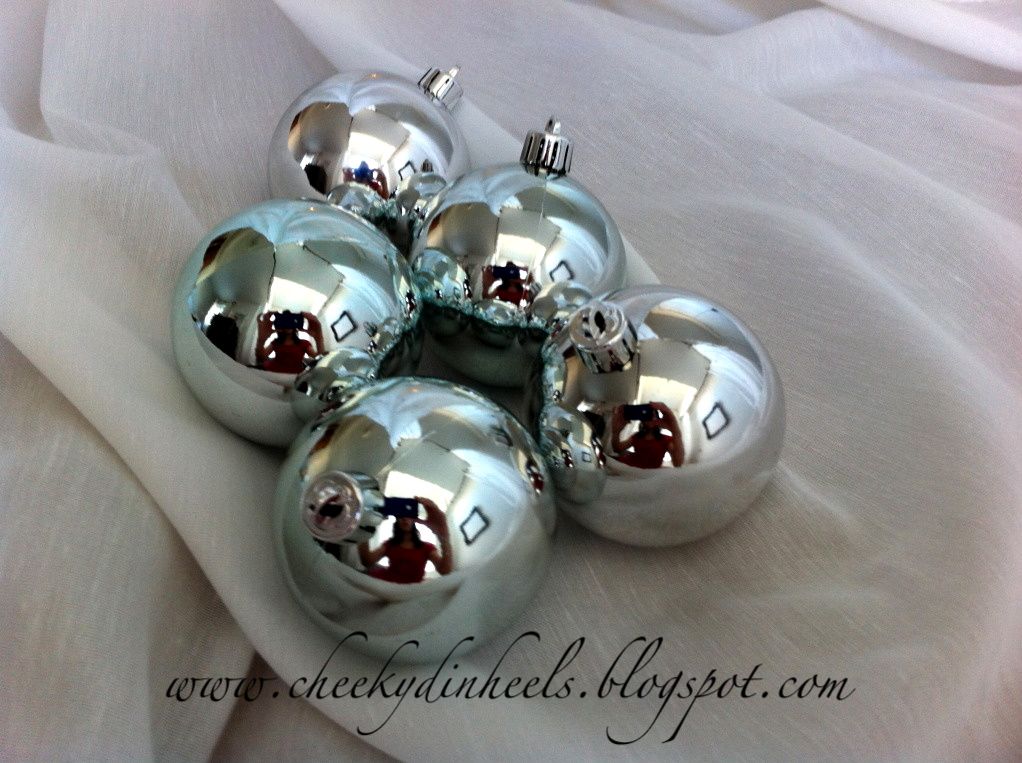
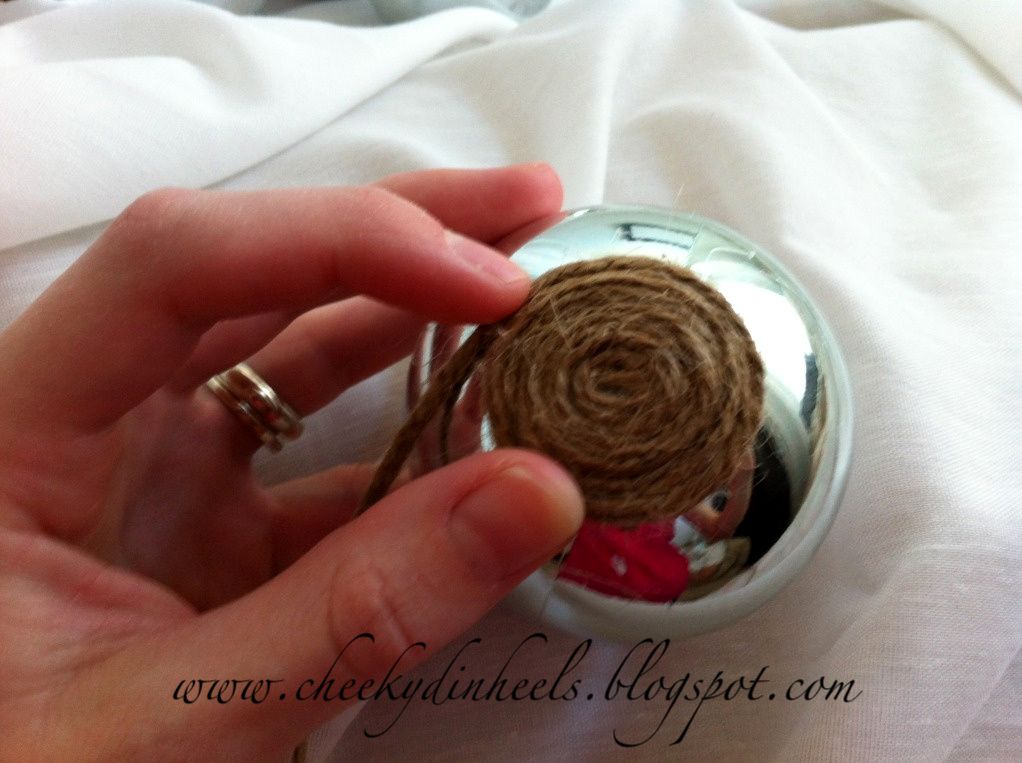
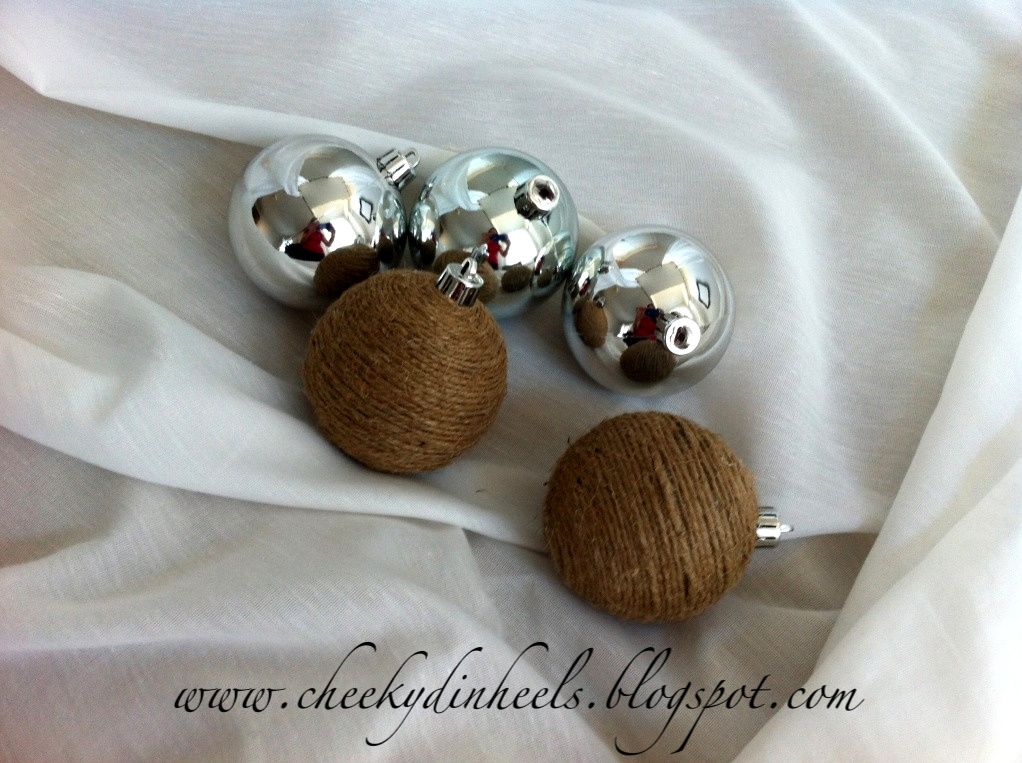
While I was super happy with our tree there was always something about it that kept me from absolutely loving it.  I couldn't get past the "friendship" phase if you will.   We filled some of the holes with some plastic  ornaments to make the tree look full, so when I decided twine would add the warmth my tree was lacking I grabbed the cheap balls and set to work.  I simply popped the top off, covered the ball in glue and wrapped them in twine.  Glue the top back on and you are done.


 I love my new twine ornaments.  
The next step to adding warmth to our tree, is adding burlap. 
 I added this on the weekend, and fell deeply in love with my tree,all over again.

Stay tuned as I reveal the Christmas 2011 additions that have taken our decor to a new height!

Linking Here:
<a  border="0" href="http://jandmseyecandy.blogspot.com/"  target="_blank"><img  src="http://i1116.photobucket.com/albums/k563/sbfoley2011/sysbold200X200.jpg"/></a>