Showing posts with label Toys. Show all posts

Tuesday, November 15, 2011

Christmas Shopping for a Toddler Girl...

Christmas is my MOST favourite time of year.  
I love it even more than Fall!  
I think its because, unlike any other time of year, we make time to spend time with family, friends and co-workers to celebrate the season.  
Even though The Hubby is American, and it is against his inner core to start celebrating before Thanksgiving weekend, I have softened him a little so we start Christmas music and Christmas shopping as soon as Halloween is over.  
He even lets me decorate the weekend before Thanksgiving.  
What a guy!

All year long I have seen things I want to buy for the girl but have been holding out for Christmas.
It makes it more fun right?
I know thinking of ideas can sometimes be tricky so I thought I would share some of the beautiful things I am thinking of for the girl.
She will likely not be getting all of them but here is a starting point.

Happy Shopping!


1. A baby stroller for her to push her babies in. Pottery Barn Kids $79.00
2. Minnie Mouse Ears for everyday play. The Disney Store
3. Could these moccasins be any cuter? I would wear them inside and out. Target $14.99
4. Hand stamped silver baby bracelet. Julie the Fish Designs $54.00
5. Toddler size back pac for her stuff when we are on the plane. Skip* Hop $19.00
6. I absolutely adore this jumper.  Add bright tights and a long sleeved-t. Baby Gap $39.95
7. Every girl with growing hair needs some clips to keep it out of their eyes. Target $2.49
8. Baby Stella has magnetic accessories that attach to her mouth. Manhattan Toys $32.00
9. Child size table for crafts or tea parties. Ikea Table $39.99, Chair $19.99
10. Stylish yet cute to keep her warm in our cold weather. Target $10.00
Linking up here:

Tuesday, October 11, 2011

Fall Cleaning??? Landed me a Toy Chest

I have heard of spring cleaning...who hasn't?  But Fall cleaning?  Maybe it's because the weather around here is even nicer than spring that is getting people in the mood to clean and de-clutter.  I however am in fall mode which mean collecting and settling in for the winter.  Hahah I sound like a squirrel.    Either way I am gaining huge from the purging others are doing.

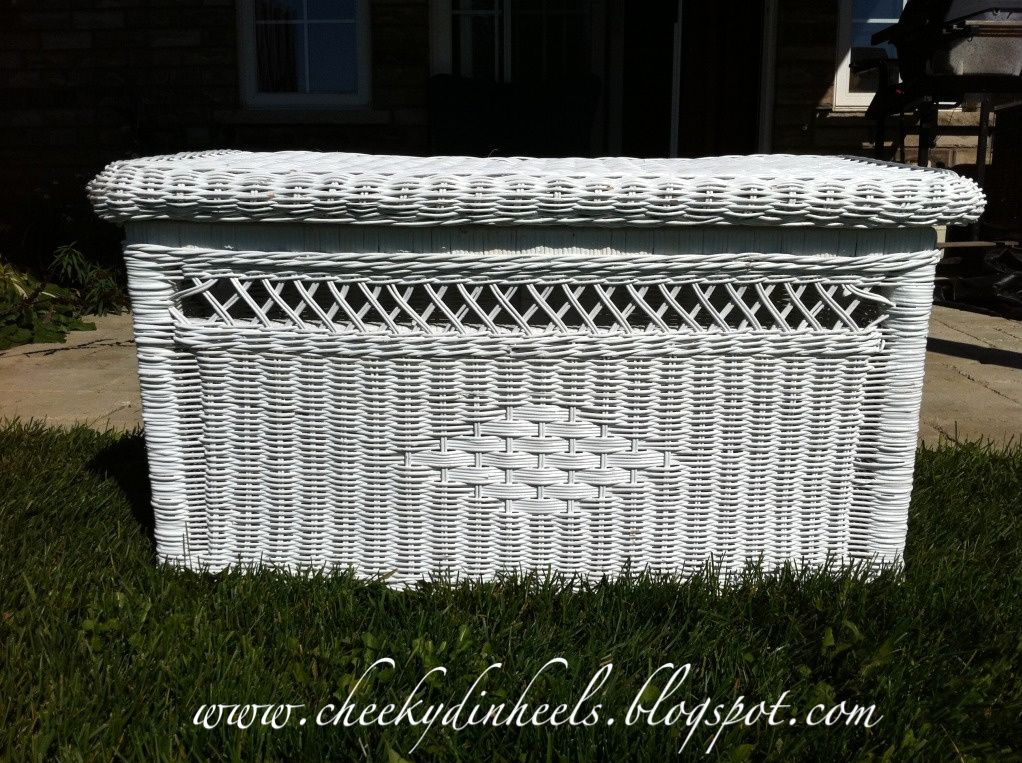
My parents are re-doing their kitchen which for some reason means they are purging and cleaning out their basement?  I don't ask questions, I just benefit from their free-sale in their garage.  This weekend The Hubby went over to help move some of their unwanted furniture into their garage.  The Boss and I joined them for breakfast and then I headed to the garage to collect my goods.  One of the things they were getting rid of was this white wicker toy box that was in my younger sisters room about 16 years ago.


One of my pet peeves, and I am sure I have said this a thousand times, is a house that resembles a Toys R Us.  Don't get me wrong, we buy The Boss pretty much everything she wants but I see no need in letting it clutter our home.  I also don't child proof my home (ie. move breakable things out of reach...I just tell her no) but that is a discussion for a different day.  Back to the toy box, I wasn't really loving the white wicker but every good DIYer knows that a good piece is just a spray can away from being a great piece.  I decided to take a risk and spray the toy box a bright colour.  It is for a child after all.  I grabbed a can of Krylon Ivy Leaf, took advantage of the gorgeous weather this weekend, and sprayed my little heart out.


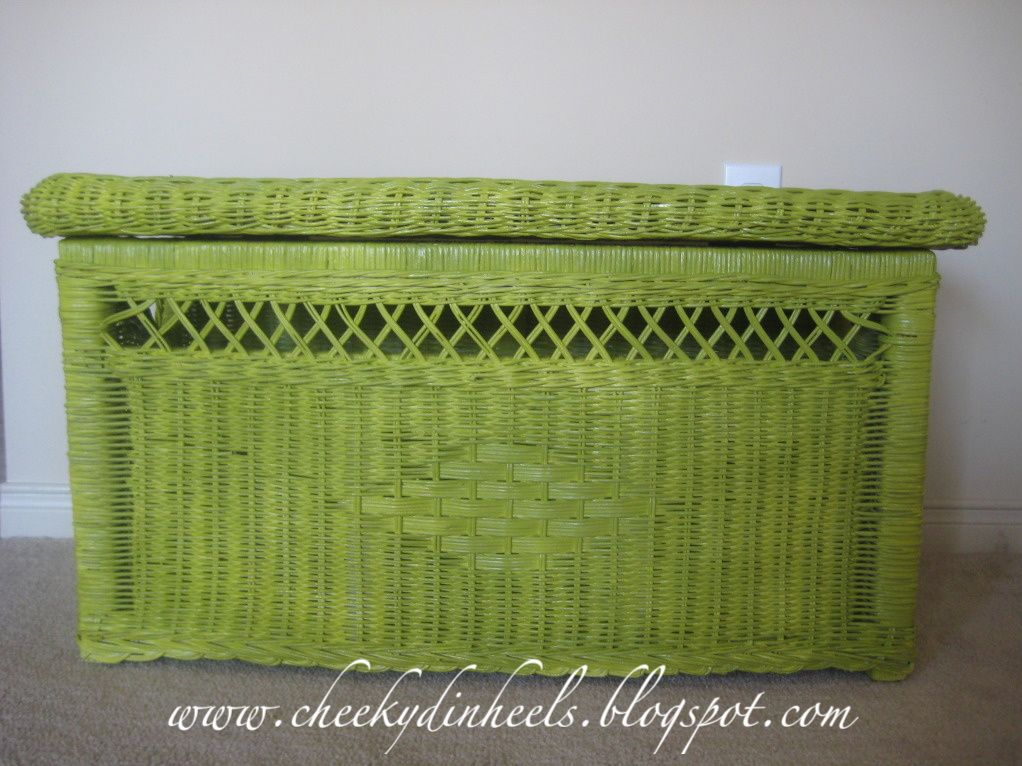
I was a little worried about the colour.  The can looks more olivey thank yellow however after one coat it looked really yellowy which I was not going for, the second and third coat helped a little.


Here is the finished toy chest.  I think the colour is a total fail.  I wanted it to be a pop of colour but this is a little extreme.


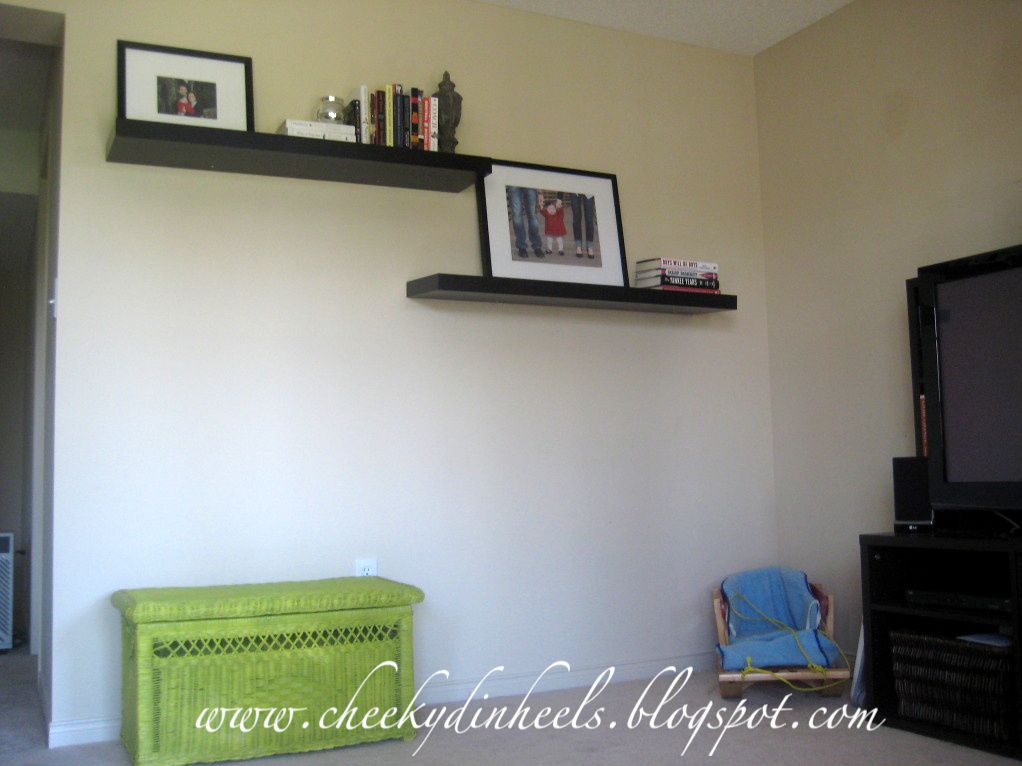
  I am going to try to add throw pillows ect. but in the mean time I am brainstorming other colours...suggestions?  I am considering doing it a metallic, perhaps bronze or maybe even gold.  I will add pictures of it in the room once I work with it a little.  Stay tuned!


Monday, July 18, 2011

First Birthday Party Project #6- THE GIFT

This is it folks...the last post about The Boss' First Birthday Party.  It seems only appropriate as it was more than a month ago but, work is really getting in the way of my hobbies these days!  Don't worry if you missed anything, you can find all my projects here.

The final post is about her present, and let me tell you this was the most work, but the most fun and rewarding DIY for the party.  I decided to make her a play kitchen since one of my pet peeves/ fears about becoming a mother is that my house would turn into a Toys R Us.  While some of the toy/baby junk collecting is inevitable, I thought why not make her a play kitchen that way it can look pretty too!  I was inspired by a few I had seen others make, but first saw the idea on Dwellings By DeVore here and here.

This is what I started with...


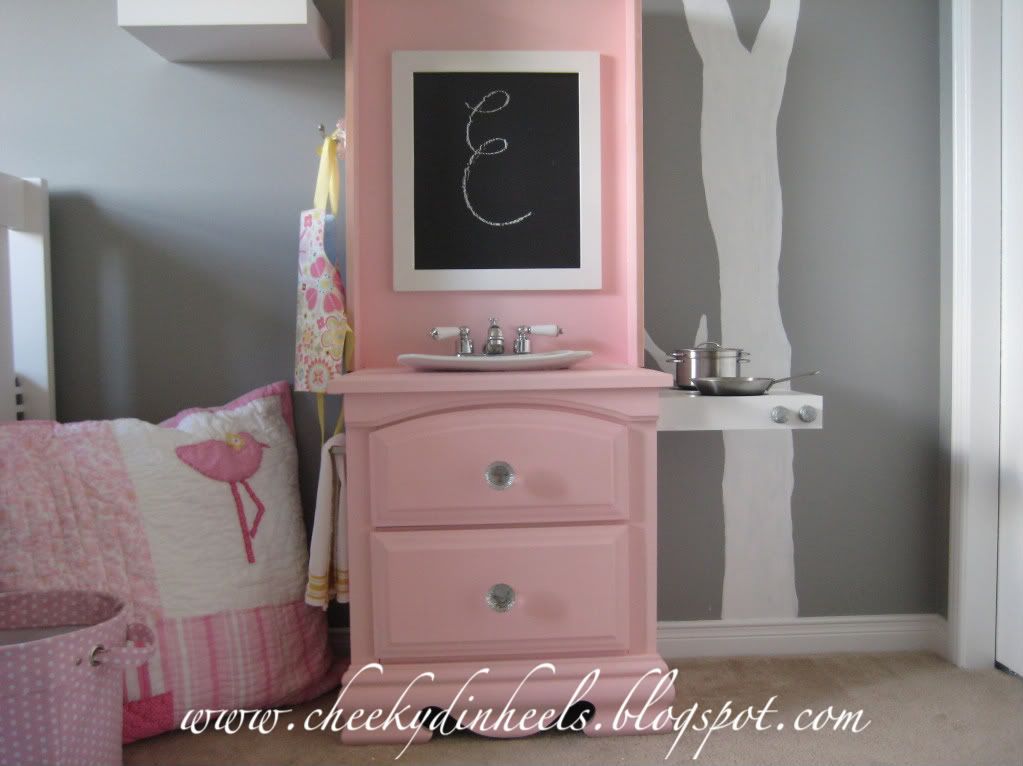
and Finished with this...


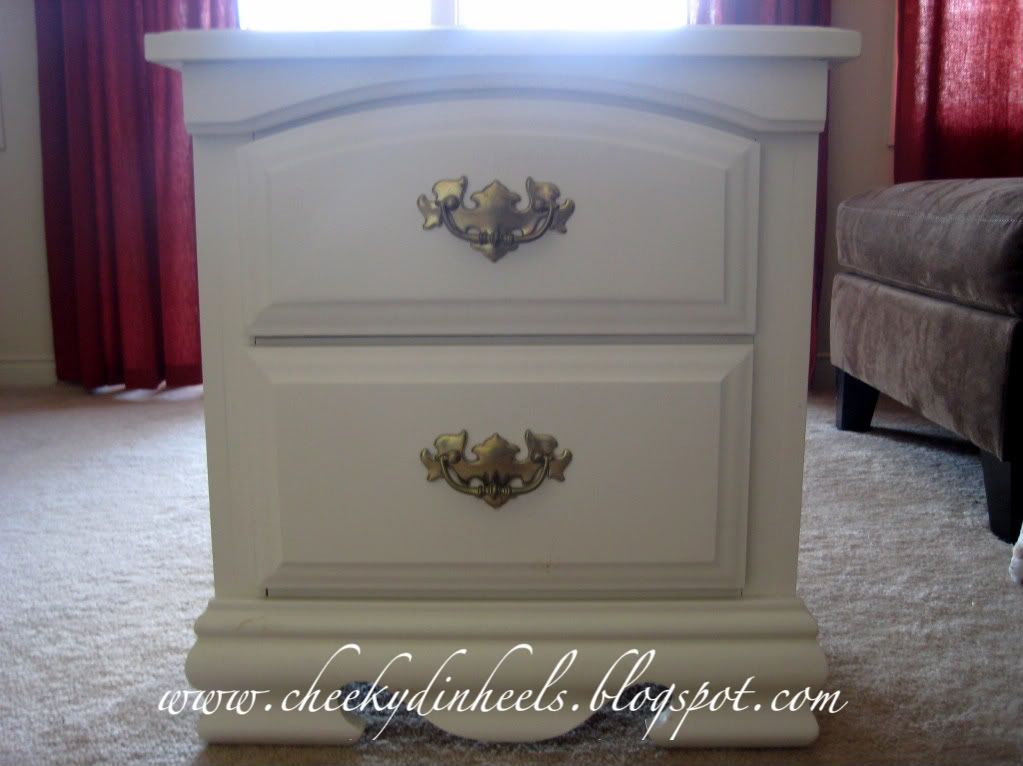
Like I said before this took a long time.  I collected pieces for about 4 months before I got started, not because it would take you that long but because I was excited and enjoyed the process.  When my Nana decided to re-do her bedroom I jumped at the opportunity for a free side table.  I then collected from Anthropology (my splurge pieces- the drawer knobs and the apron hook), IKEA, Home Depot, The ReStore, Zellers (our Target), my favourite fabric store and my favourite thrift store.  I got my carpenter friend to cut the hole in the top of the side table for the "sink" (a serving bowl) and the "facet".  Once the holes were cut I sanded everything and my hubby attached the back.  We used a piece of MDF for the back, this made it heavy but it worked well.  

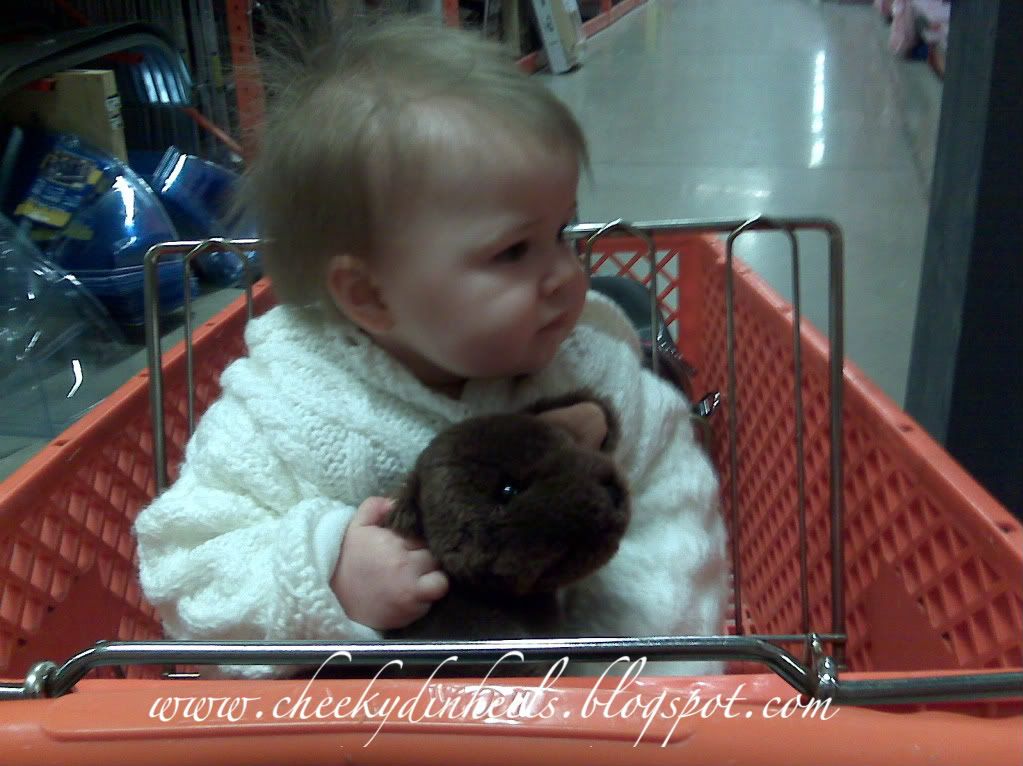
Here's a picture of The Boss (and her stuffed "Douglas") at Home Depot getting the MDF cut...she was probably about 8 months old here.  This is the picture on my phone because I love it so much! 


Once the back was attached I primed the entire piece and sprayed it PINK!  I did a few coats and let it dry then I sprayed the entire piece with polyurethane to keep it from chipping.  I then tapped off the area for the chalkboard and used chalkboard paint, once this dried I used wood glue to attach the frame.  My hubby then attached the "sink" and "facet" with a silicone adhesive, and attached my hook for the apron and the "towel bar" (a cupboard handle from IKEA).  The burners are a small floating shelf from IKEA that was hanging in The Boss' bedroom, I simply painted the burners on with black paint and attached two knobs with silicone adhesive. 

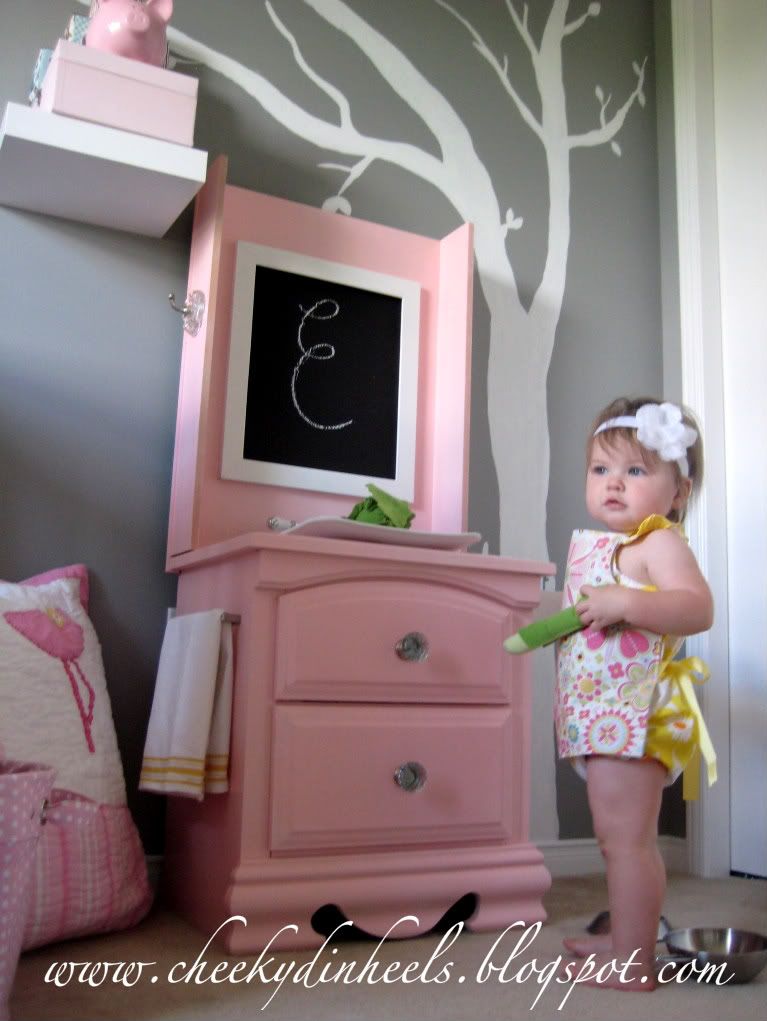
I found these great accessories at IKEA.  How perfect are these plush vegetables and this set of pots? 


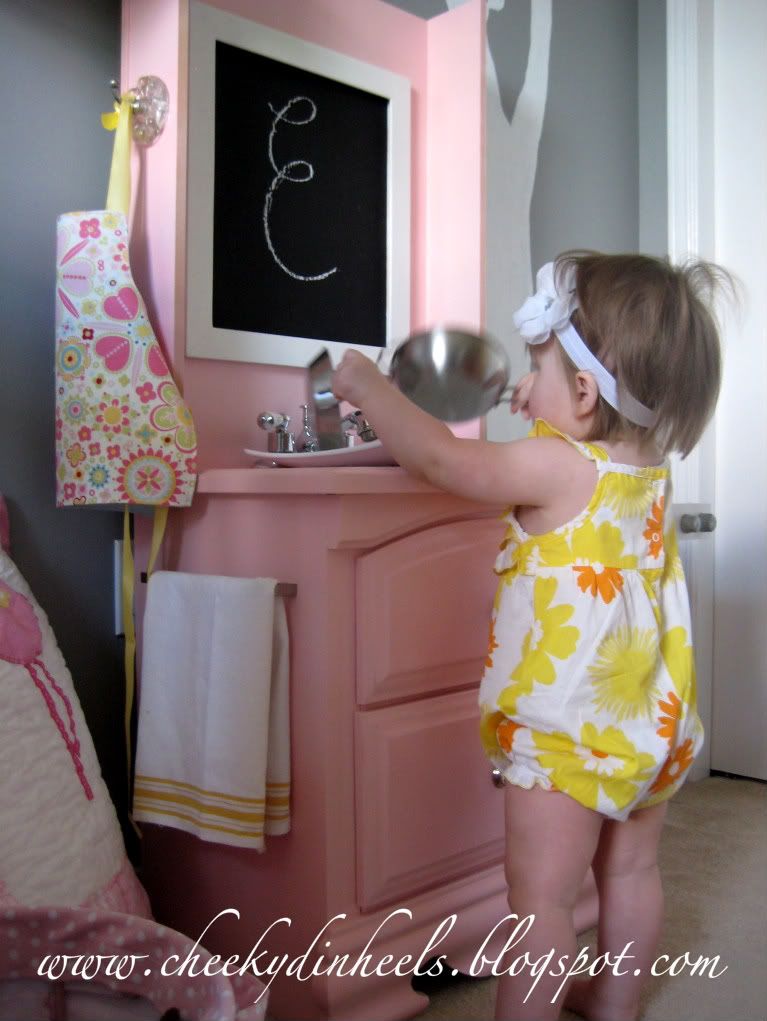
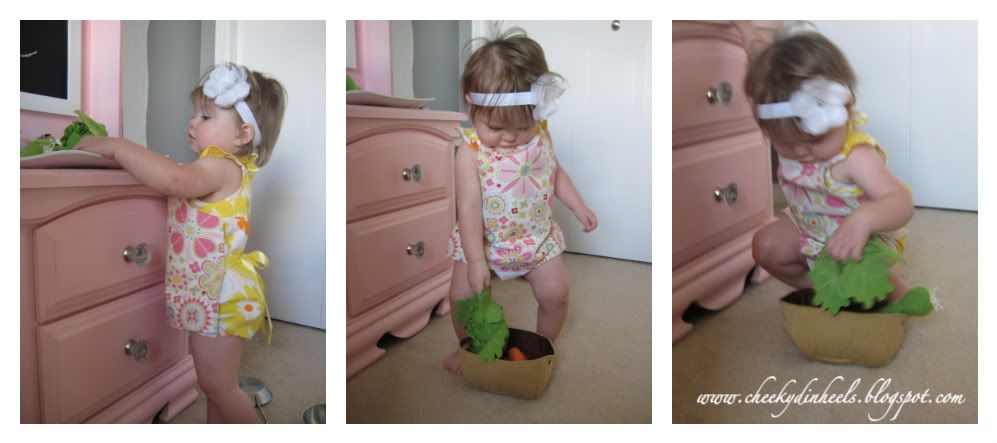
I also made the Girl an apron...totally free hand.  It's not perfect but it does the job and looked so cute on her!  Maybe one day I will write a tutorial about it (email me if you really want to know!).


Baby Girl working hard in her Kitchen...


I'm linking to these parties: