Showing posts with label Decor. Show all posts

Tuesday, March 27, 2012

Pops of Colour

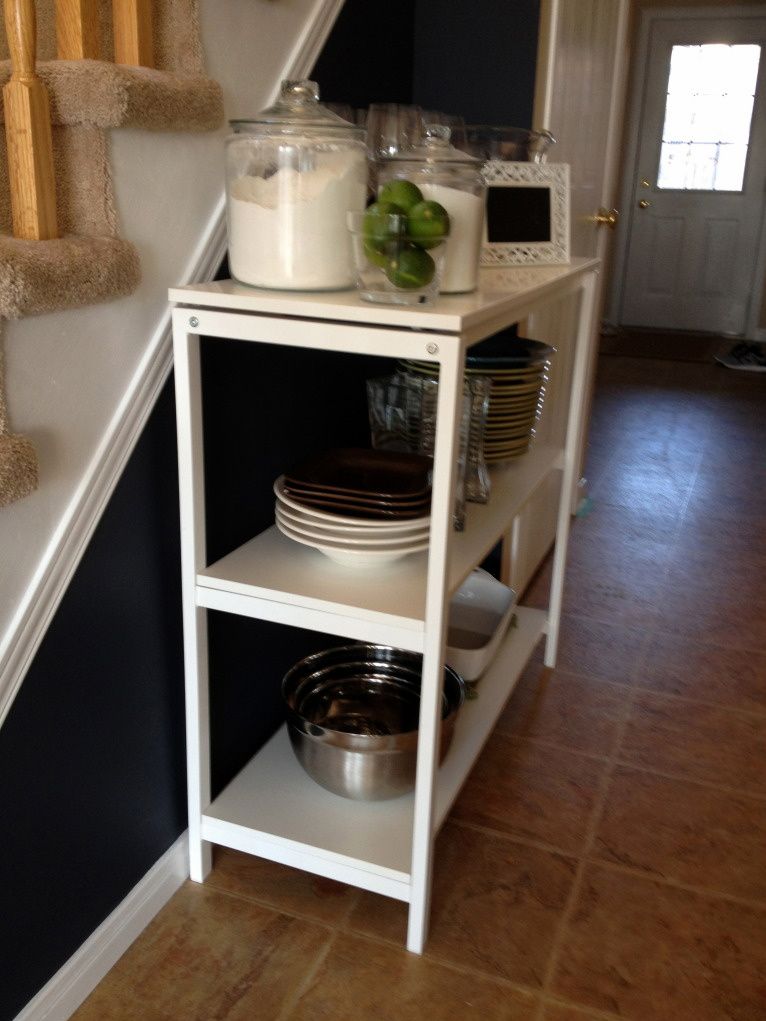
It is amazing how just small changes can brighten my day.  I had some limes in my fridge so I  added them to a glass bowl in our freshly painted kitchen and it made me happy. 


What awesome and practically free changes have you made lately?

Tuesday, January 31, 2012

Design Show

 Like I said yesterday, Mr. D and I went to the design show this weekend.  This was our second time at the show (you can read about our first trip here).  Last year I fell in love with this table...


I am still working on making it, or something similar to it, happen.  Very soon though, very soon!

One of my favourite exhibits this year was BY_Lissoni Lounge, created by Piero Lissoni, Italian Architect and Designer.  He was the IDS 2012 International Guest of Honour.  Isn't this gorgeous...and totally do able?  I overheard them telling another admirer that they removed the covers of some 2,000 books for the exhibit.  Crazy right?  I think this is a thrifters dream, cheap books, easy to do, huge impact!


Another awesome element was at the entrance where they hung long pieces of felt from the ceiling.  You can read more about the installation and process here.  The Girl thought it was kinda fun as well.


The Girl also spent some time with her Papa in their matching sweaters.  There interest level in the show and all the beautiful pieces was about as close as the colour of their sweaters.  How cute are they?  The Girl was happy for the extra attention!


Overall I think I liked last years show a little better.  Maybe it's because I met Tommy Smythe?  There seemed to be more rooms set up by designers last year.  This year some of the exhibits were a little to out there for my liking.  Overall, it was lots of fun and a good activity for a cold snowy day in January.

Monday, January 30, 2012

Our Weekend...


 This weekend we went to the Interior Design Show in Toronto.


Two things were affirmed for me.

1.  I love Interior Design

2. I am on the right track...If only I could afford everything I wanted!  The easy part is finding things I like, the hard part is making it work on a budget...but that's part of the fun right?

Click here to see the highlights, otherwise I will share my favourites tomorrow.

Happy Monday!


Monday, December 12, 2011

'Tis the Season....

We spent the weekend celebrating the Christmas season.
We started with our Church Christmas banquet and finished with Mr. D's work Christmas party.  

The Girl was a champ.  
Taking in all the festivities.  
Unfortunately, Sunday morning she had her little seal cough back.  
We spent the day nursing her back to health and hope she is back to normal ASAP. 

Next weekend is a busy as this weekend was.   
No time for sickness.

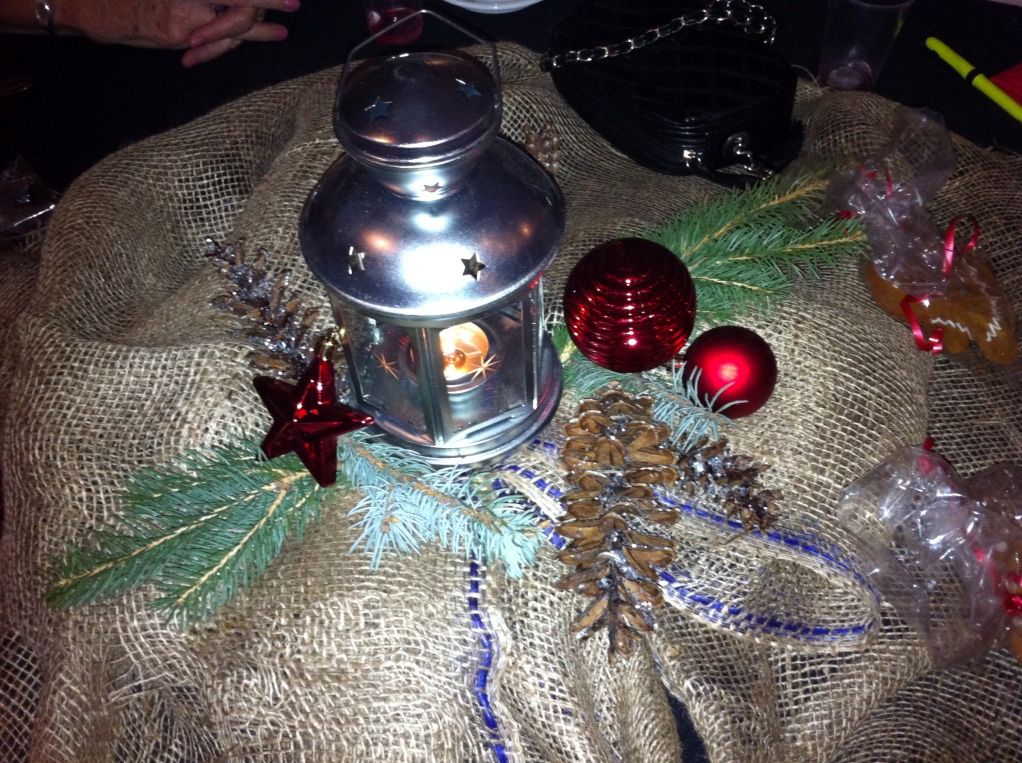
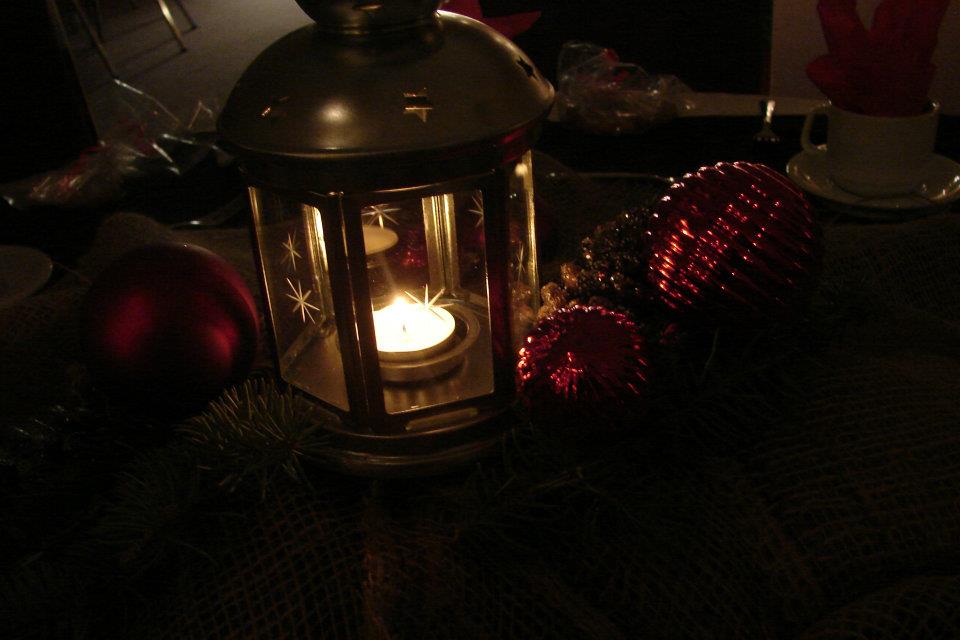
This year I helped with the decor for the banquet.  It's always a fun time to get in the Christmas spirit and spend time with some other great women in our church.  I'm not going to lie, I enjoy the lead up as much as the actual event.  The decorations for the banquet are always tricky.  We have next to nothing for our budget and a large naked room to work with.  The theme was "Old Fashion Christmas" so the tables were decorated with lanterns from IKEA, burlap, glittered pine cones, red ornaments and gingerbread men at every place.  


To go with the "Old Fashion Christmas" theme we strung popcorn strings on the tree.  This was a fun project.  We got a bunch of women around a table with Christmas carols, treats and lots of chatting!


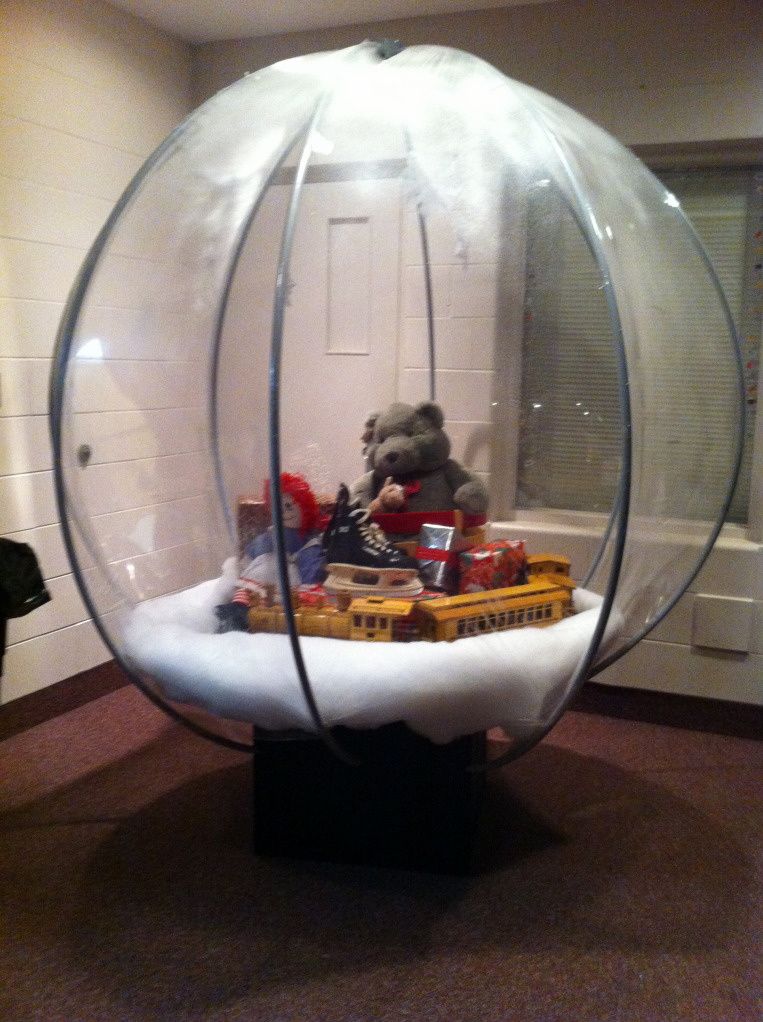
My friend even convinced her husband to make a snow globe...that's right a snow globe!  This man is every DIY'ers dream!  They saw something similar at another Christmas event they were at, next thing you know he's building a better version for his wife.  Isn't it amazing?  


We also painted a winter scene (by we, I mean, I painted a few trees and the yellow windows...another one of my friends was the master mind behind this...I was impressed)  It was the perfect background for families to take pictures.  There was also a fake tree and a life size frosty made of newspaper and a white blanket.  


Here's a view with the shoes and Frosty!



Wednesday, November 30, 2011

Adding burlap to my tree


When I saw this Burlap Garland at Micheals I  knew it was either going to be exactly what my tree has been missing or another epic fail.  I was shopping with my bestie who said, "If anyone could do this it's you.  Try it and let me know how it goes."  Love her!  I bought it and in my opinion it is perfect.  I love the mix of modern ornaments and this rustic touch.


I used some of the extra garland to make a bow for my banister.  This is my favourite addition to my decor this season.  I just love how it looks.


Monday, November 28, 2011

The Tree...

Last week I told the tragic story of my first Christmas married and how I hated my ornaments.  If you missed that you can get caught up here.  This year I have focused on warming up my Christmas decor and I will be sharing these new touches with you all week.


What have you added this year?

Thursday, October 13, 2011

The Story of a White Pumpkin

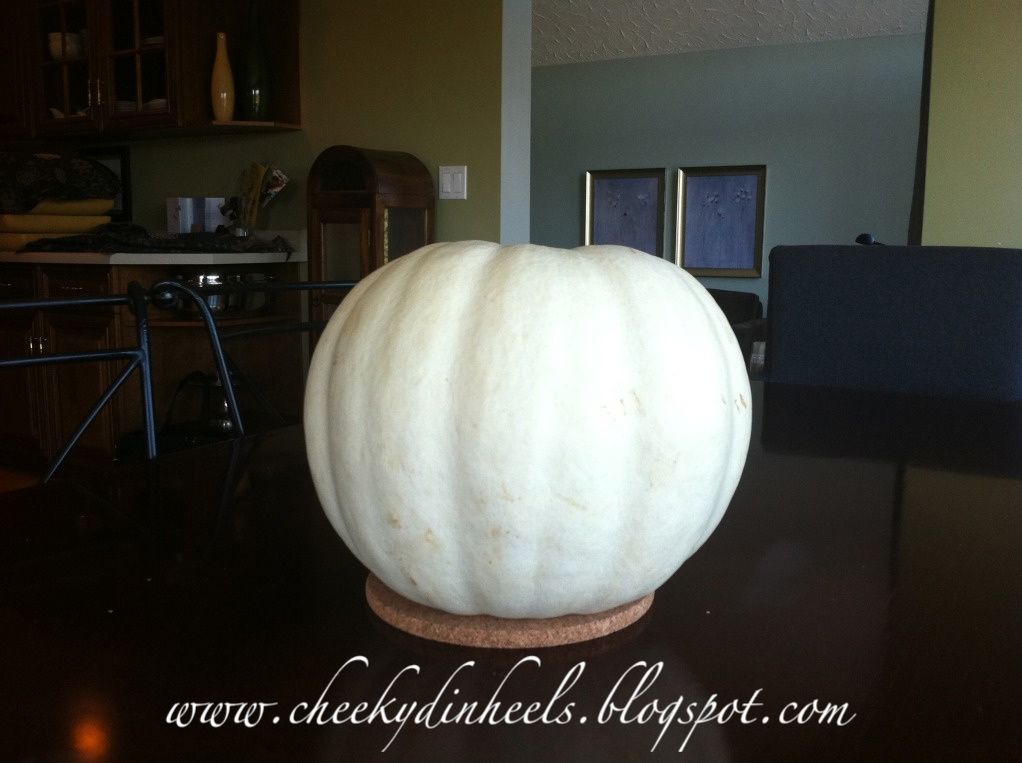
My Mom LOVES white pumpkins, however the second part to her love is the stem.  A pumpkin is not perfect unless the stem is also as beautiful as the pumpkin itself.  So the other day when my Dad presented her with a pumpkin, much like a hubby presents his wife with flowers (yes, he is adorable), she was thrilled but had to hide the sinking feeling in her stomach.  What was wrong with this sweet act of kindness you might ask?  Well, take a look...


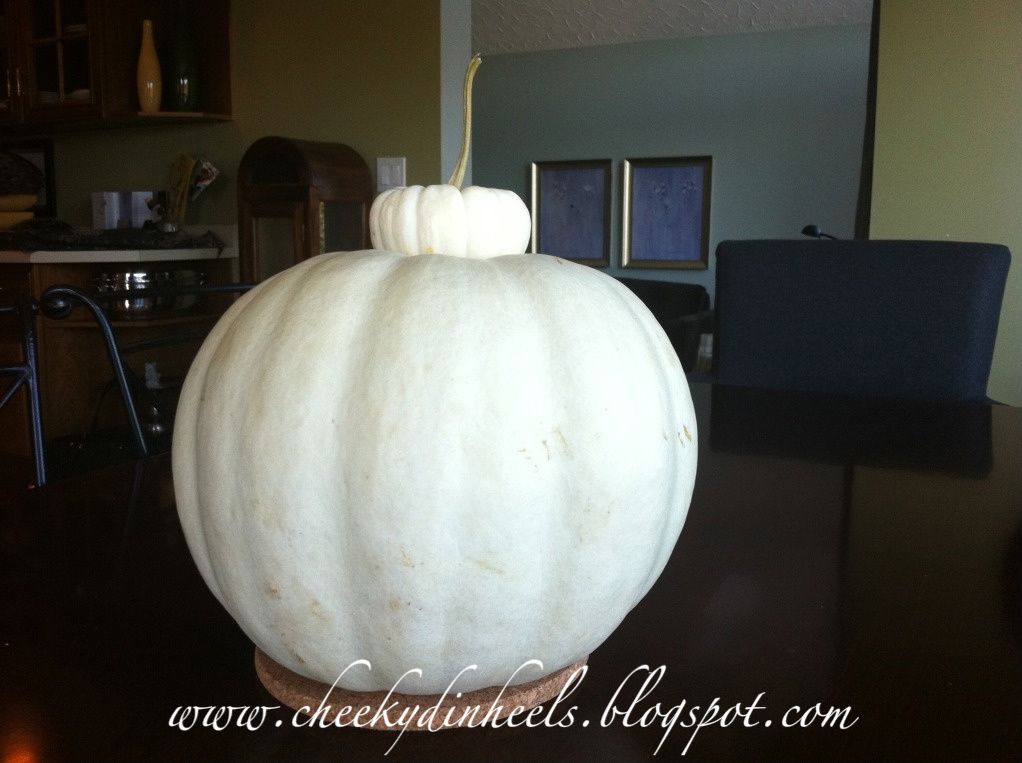
When my older sister stopped by she took one look at the pumpkin and died laughing.  Yes, her stem obsession is that well known in our family that my sister knew it was killing my Mom to display her pumpkin without a stem.  When I stopped by today I noticed she had found a solution to this stem problem.  Take a look.


What a great idea.  Not only does she look cutting edge with her modern pumpkin sculpture, but she can rest now and enjoy her stemless pumpkin.  Very creative Mom, looks great!


Wednesday, October 12, 2011

Fall Cleaning??? Landed me a Rooster

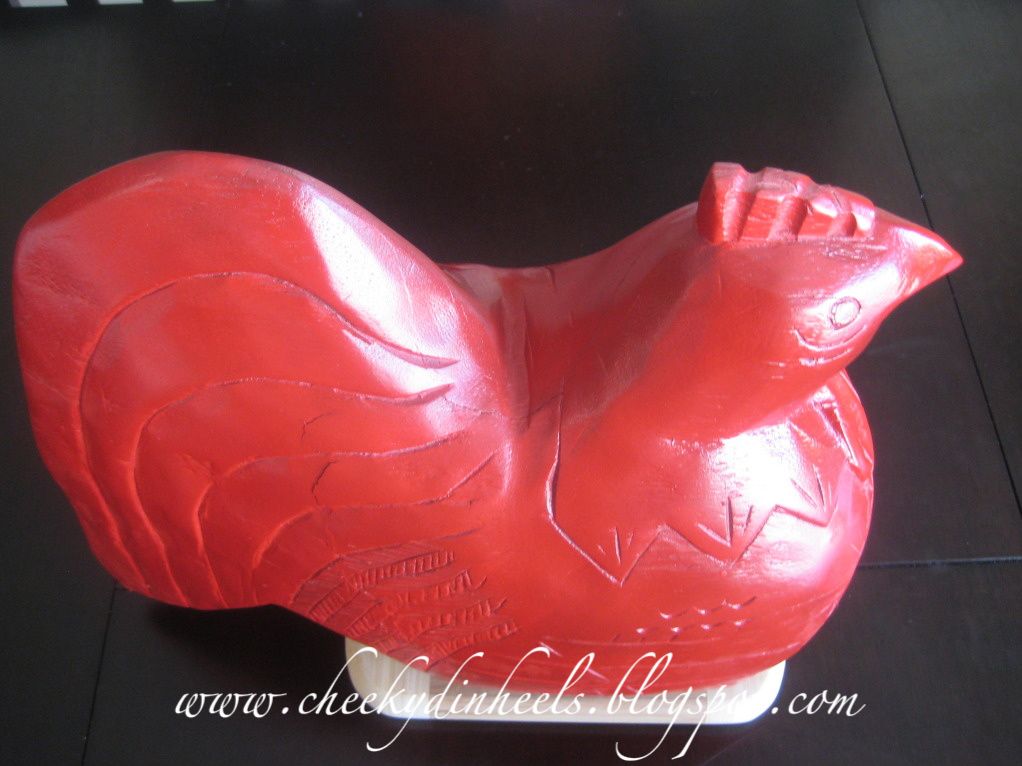
As I mentioned yesterday, I am not understanding this fall purge people are doing, but I am taking advantage of the stuff we are getting.    I also mentioned that my parents are re-doing their kitchen which is resulting in a number of hand-me-downs for us.  One item I scooped was this rooster.


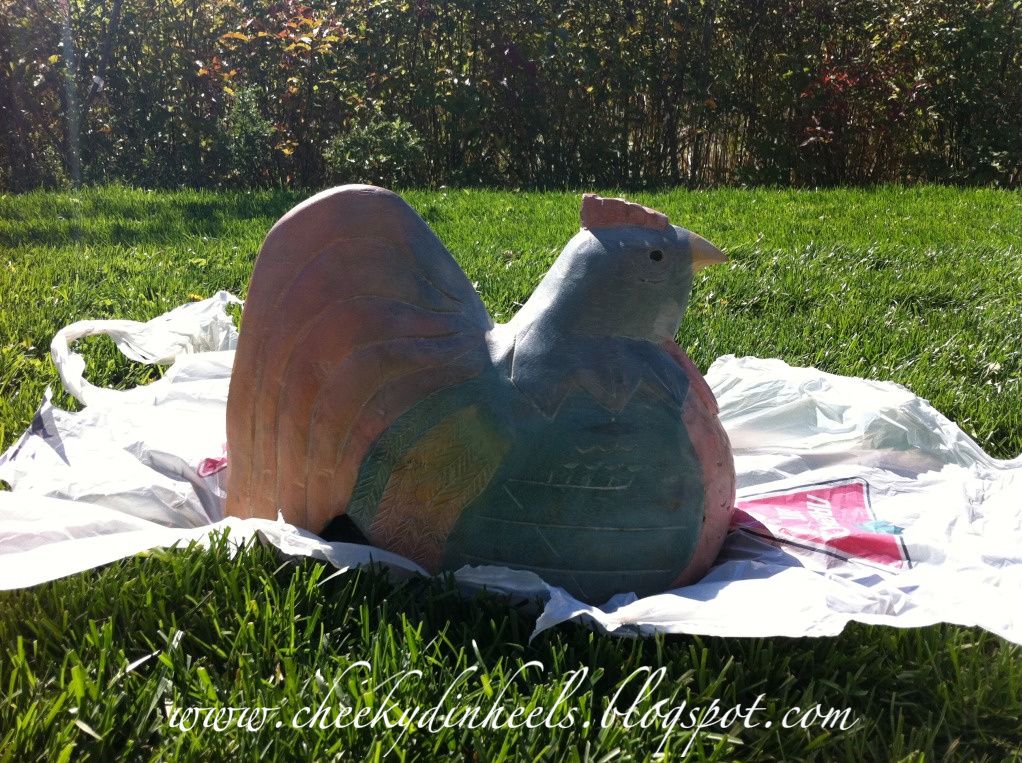
Yes, my Mom did have this in our kitchen...her teal and purple kitchen I might add.  Don't worry that was like three kitchens and at least 15 years ago.  And, as she always reminds me, if your in-style then you will look back on your designs and die laughing at some of your previous choices.  What was in at one time,  is definitely out a few years later.  Don't worry, my Mom is super in-style and her new kitchen will be GORGEOUS.  I'll post those when they are done.

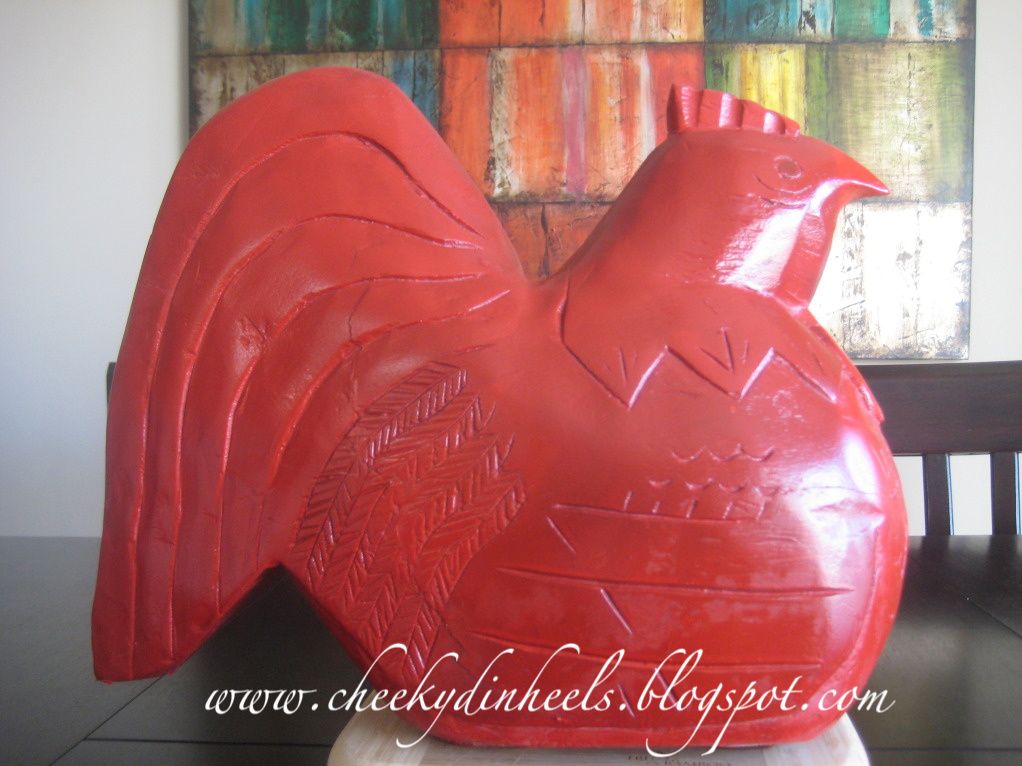
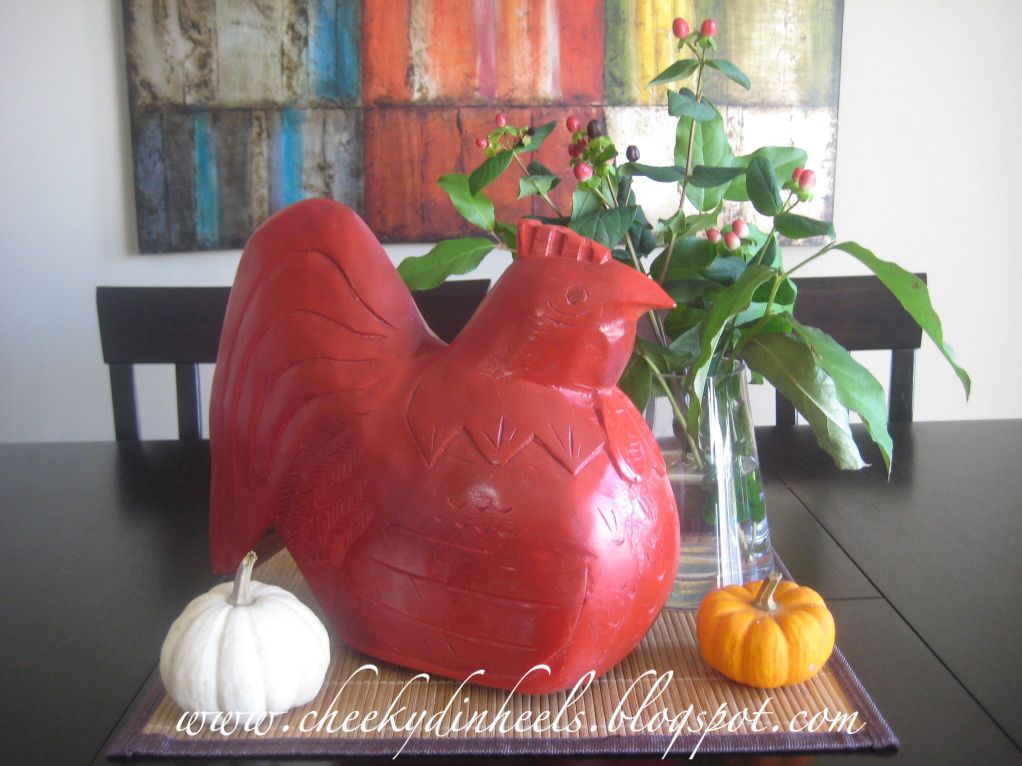
Back to my Rooster.  I loved the shape of it.  I think it's so neat and I do tend to be attracted to solid coloured animals (do you call them statues, pieces?) in stores like West Elm and Pottery Barn.  I decided I would spray the rooster solid red and place him in our dinning room living room.  I Grabbed a can of Krylon in Banner Red and went to town.  Like I said before, the weather was gorgeous so I set up all my different projects and sprayed away.  Even though my colour choice for the toy chest was a total fail; the Rooster, in my opinion, was a total hit.  What do you think?


I'm Linking up here:


Tuesday, October 11, 2011

Fall Cleaning??? Landed me a Toy Chest

I have heard of spring cleaning...who hasn't?  But Fall cleaning?  Maybe it's because the weather around here is even nicer than spring that is getting people in the mood to clean and de-clutter.  I however am in fall mode which mean collecting and settling in for the winter.  Hahah I sound like a squirrel.    Either way I am gaining huge from the purging others are doing.

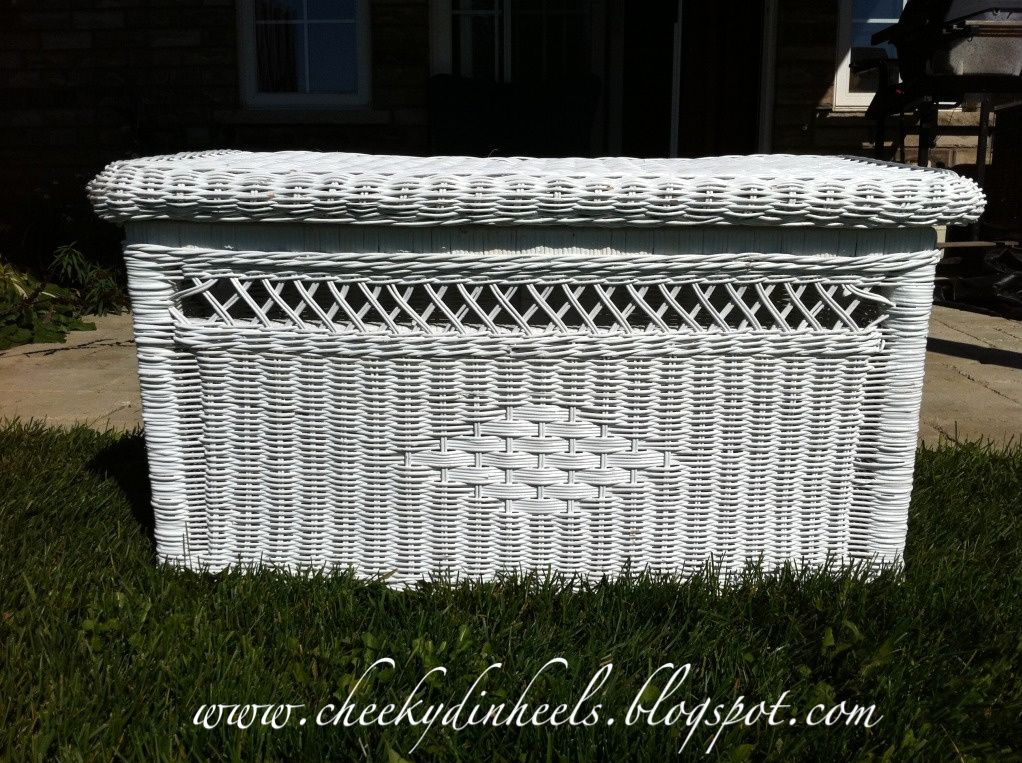
My parents are re-doing their kitchen which for some reason means they are purging and cleaning out their basement?  I don't ask questions, I just benefit from their free-sale in their garage.  This weekend The Hubby went over to help move some of their unwanted furniture into their garage.  The Boss and I joined them for breakfast and then I headed to the garage to collect my goods.  One of the things they were getting rid of was this white wicker toy box that was in my younger sisters room about 16 years ago.


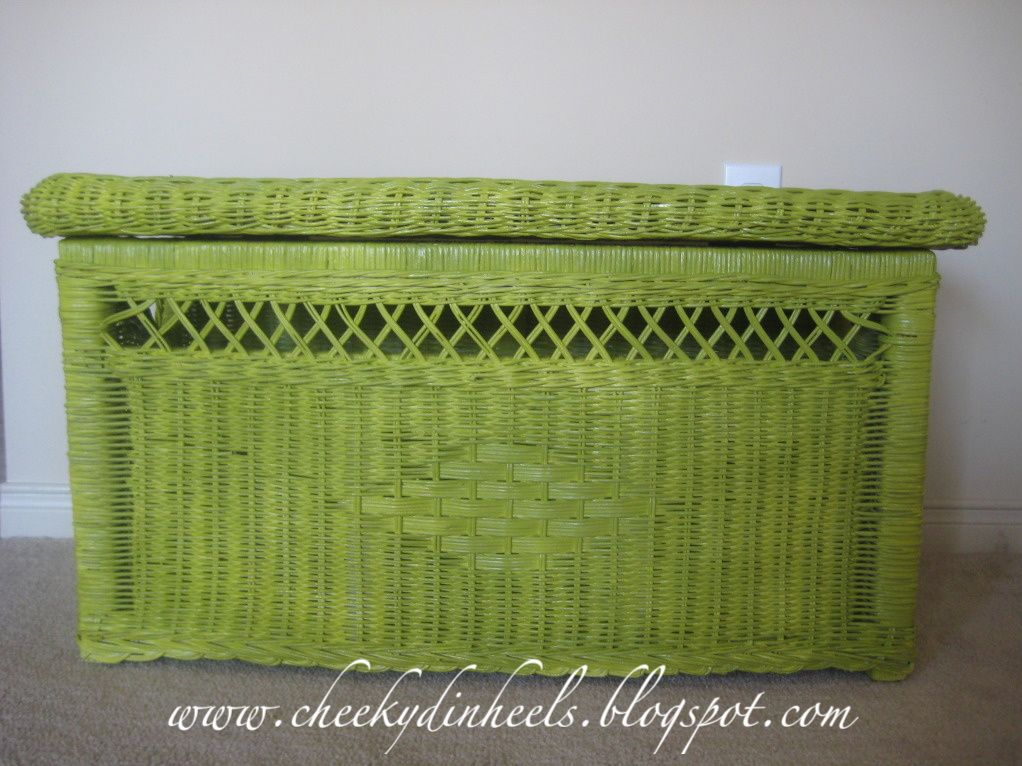
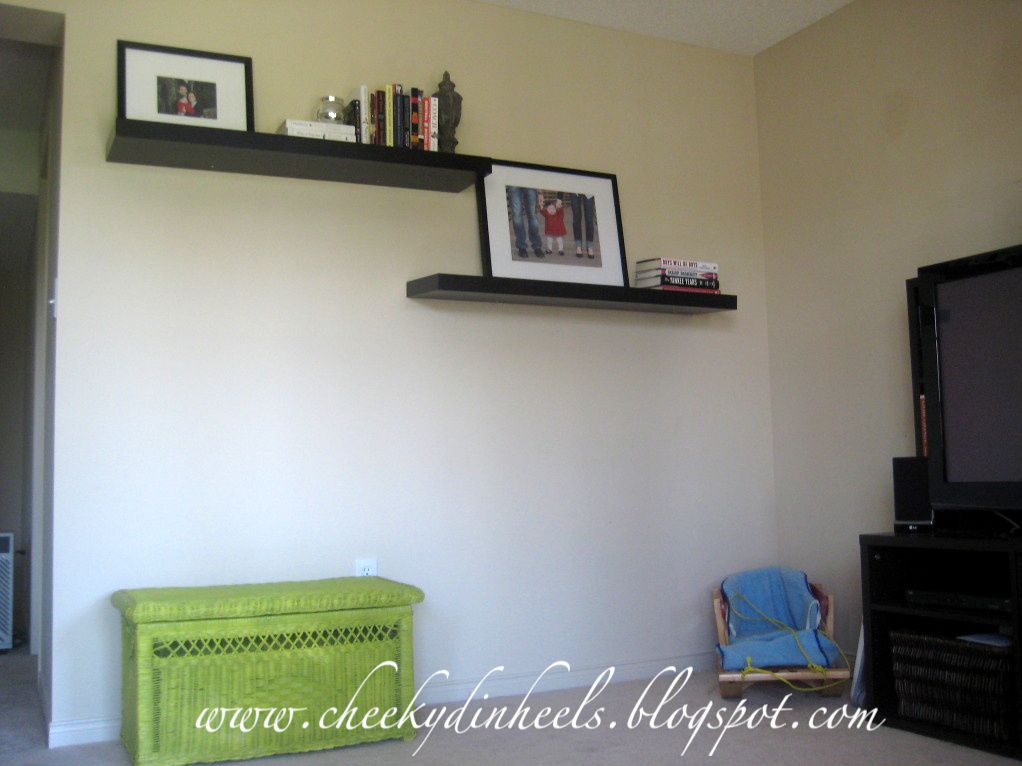
One of my pet peeves, and I am sure I have said this a thousand times, is a house that resembles a Toys R Us.  Don't get me wrong, we buy The Boss pretty much everything she wants but I see no need in letting it clutter our home.  I also don't child proof my home (ie. move breakable things out of reach...I just tell her no) but that is a discussion for a different day.  Back to the toy box, I wasn't really loving the white wicker but every good DIYer knows that a good piece is just a spray can away from being a great piece.  I decided to take a risk and spray the toy box a bright colour.  It is for a child after all.  I grabbed a can of Krylon Ivy Leaf, took advantage of the gorgeous weather this weekend, and sprayed my little heart out.


I was a little worried about the colour.  The can looks more olivey thank yellow however after one coat it looked really yellowy which I was not going for, the second and third coat helped a little.


Here is the finished toy chest.  I think the colour is a total fail.  I wanted it to be a pop of colour but this is a little extreme.


  I am going to try to add throw pillows ect. but in the mean time I am brainstorming other colours...suggestions?  I am considering doing it a metallic, perhaps bronze or maybe even gold.  I will add pictures of it in the room once I work with it a little.  Stay tuned!


Wednesday, August 3, 2011

Old Becomes New

With my Mother-in-Law coming and my "stay-cation" starting I decided I would redo/update our guest room/office.  However with the onset of the flu and a wild one year old I didn't get around to a total transformation just a few projects here and there.  One project that I took on was this vase.


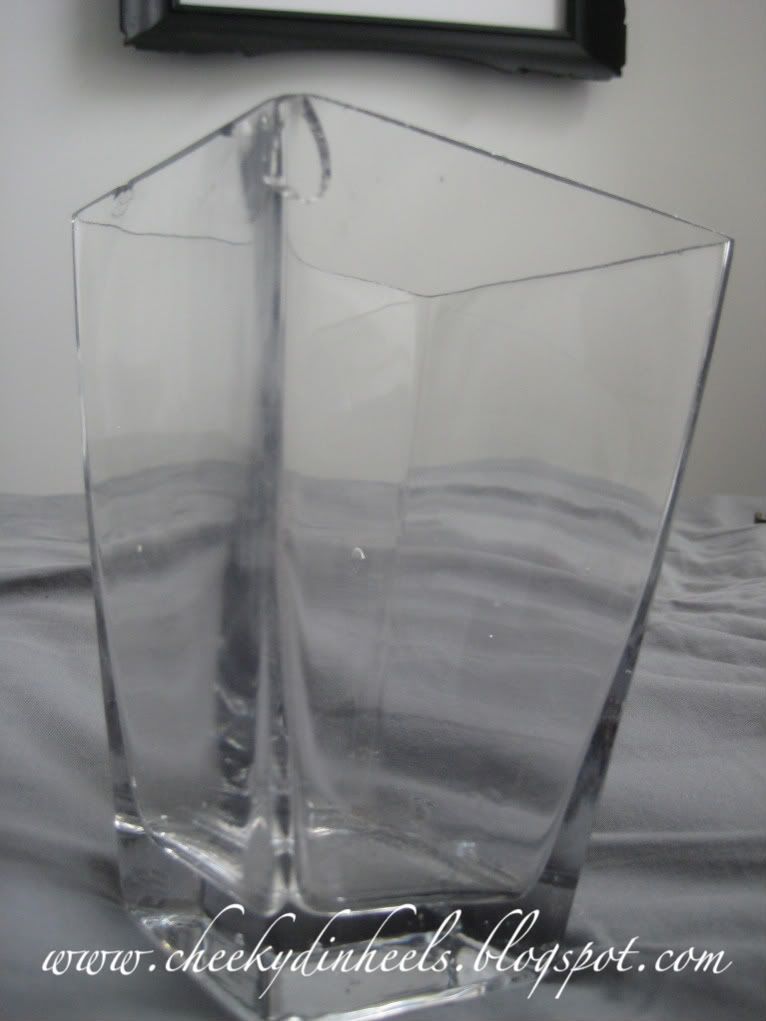
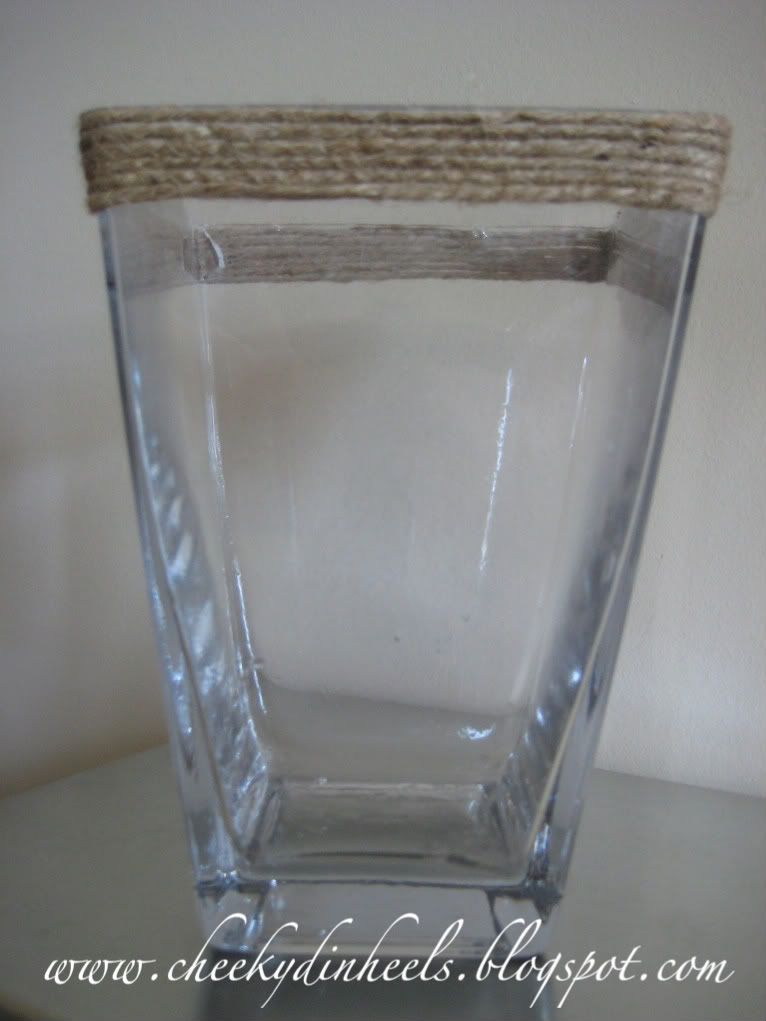
I absolutely love vases in different shapes and sizes.  I have started a collection from flower arrangements Mr. D sends me and ones I pick up from thrift stores.  I love using them for flowers, candies or displaying other small objects.  When I dropped this vase and chipped the top I was so sad.  I loved the size and shape.  Being the little DIYer I am I knew there was a way.'

I, like many others in blog land, have found a place in my heart for jute twine.  One of my first posts ever was a jute twine vase I saw someone else do and wanted to try.  It took me about 7 days to complete an afternoon project, but I am getting much better.  I also used jute twine on an easy frame posted here. Since each of these projects,  I have noticed what others have done so fixing the chip in the above vase is a modification from other twine vases I have seen.

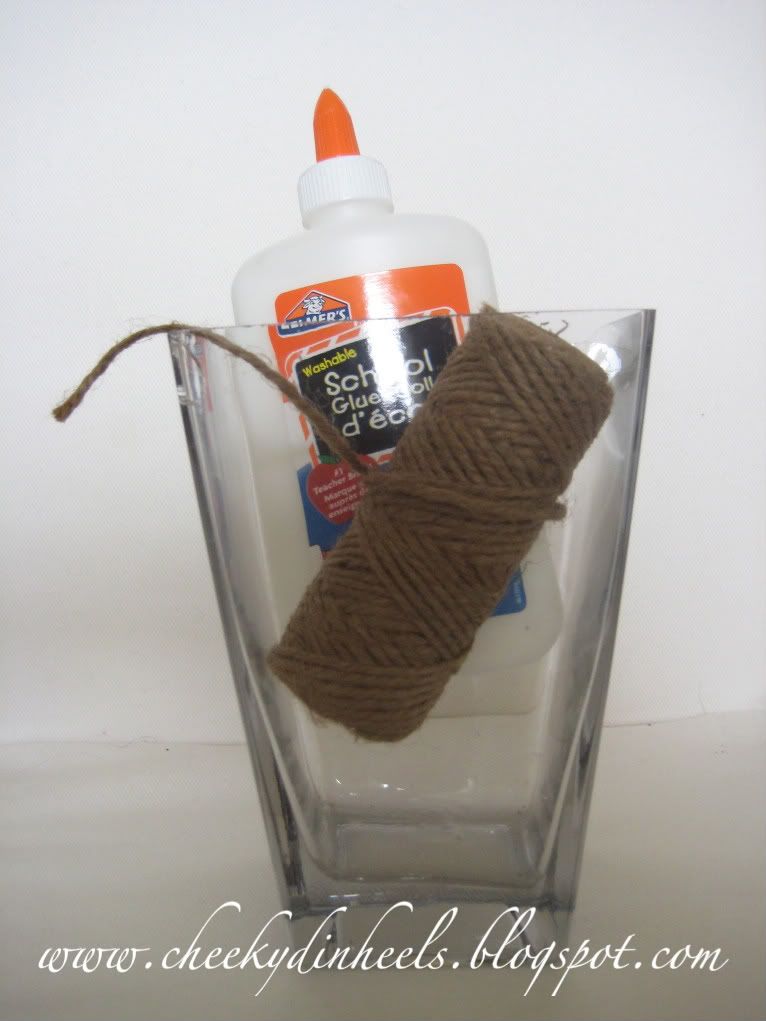
First my materials; My chipped vase, white glue, and jute twine.


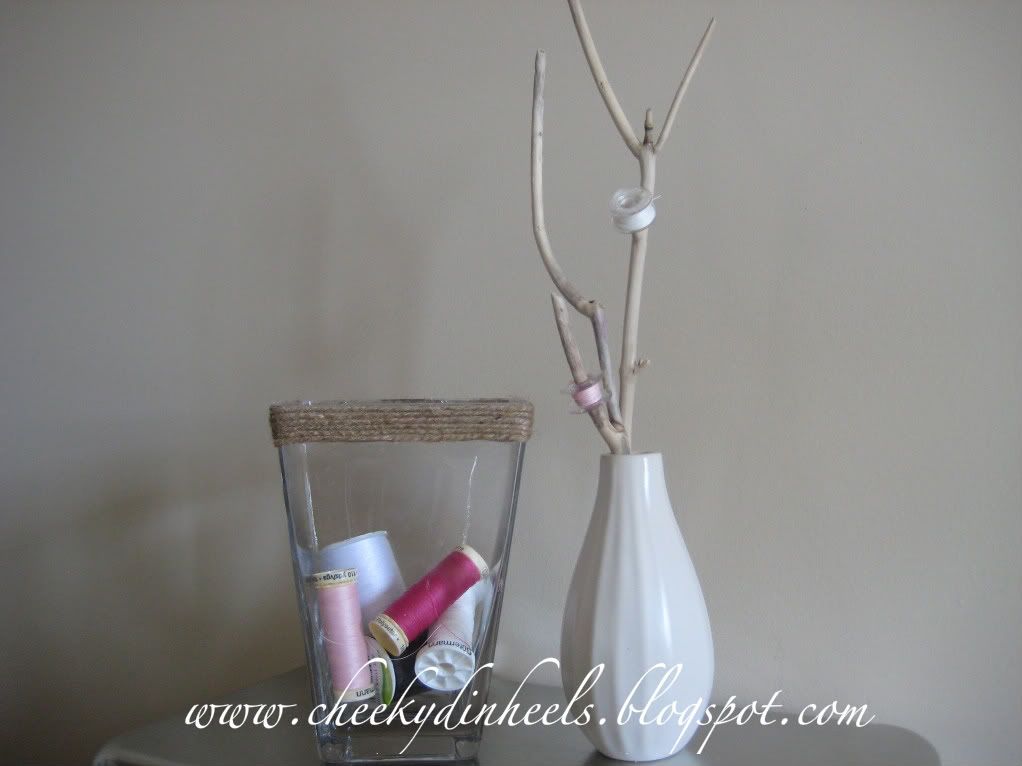
All I did was a small band of twine at the top of the vase.  The band was about six times around the top.   If you look to the back of the vase on the left hand side you can see the chip...when that's put in the front no one will even know.


I placed this in the guest room/ office/ sewing room... and filled it with my sewing thread.  It's perfect!  I then placed an old IKEA vase beside it with some drift wood (collected at the beach) in it and hung my bobbins on it.  A cute and decorative way to store my sewing materials.

 
* Yes that is all the thread I own...lame I know!

Linked to:

Sugar and Dots