Showing posts with label Tutorial. Show all posts

Wednesday, August 3, 2011

Old Becomes New

With my Mother-in-Law coming and my "stay-cation" starting I decided I would redo/update our guest room/office.  However with the onset of the flu and a wild one year old I didn't get around to a total transformation just a few projects here and there.  One project that I took on was this vase.


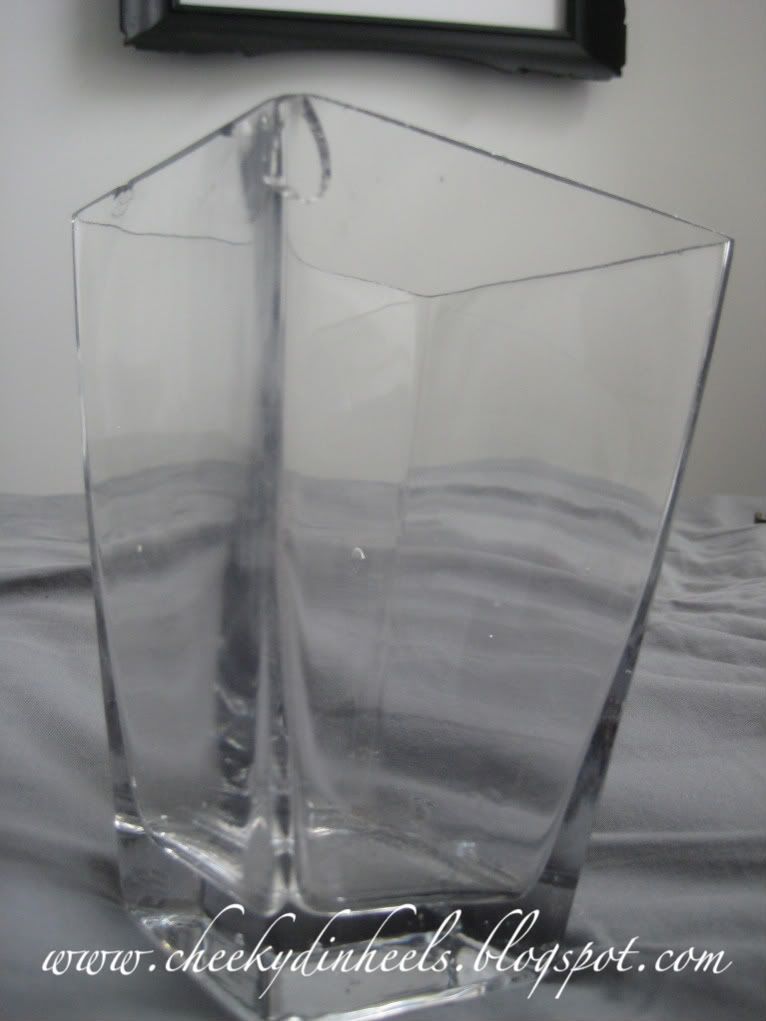
I absolutely love vases in different shapes and sizes.  I have started a collection from flower arrangements Mr. D sends me and ones I pick up from thrift stores.  I love using them for flowers, candies or displaying other small objects.  When I dropped this vase and chipped the top I was so sad.  I loved the size and shape.  Being the little DIYer I am I knew there was a way.'

I, like many others in blog land, have found a place in my heart for jute twine.  One of my first posts ever was a jute twine vase I saw someone else do and wanted to try.  It took me about 7 days to complete an afternoon project, but I am getting much better.  I also used jute twine on an easy frame posted here. Since each of these projects,  I have noticed what others have done so fixing the chip in the above vase is a modification from other twine vases I have seen.

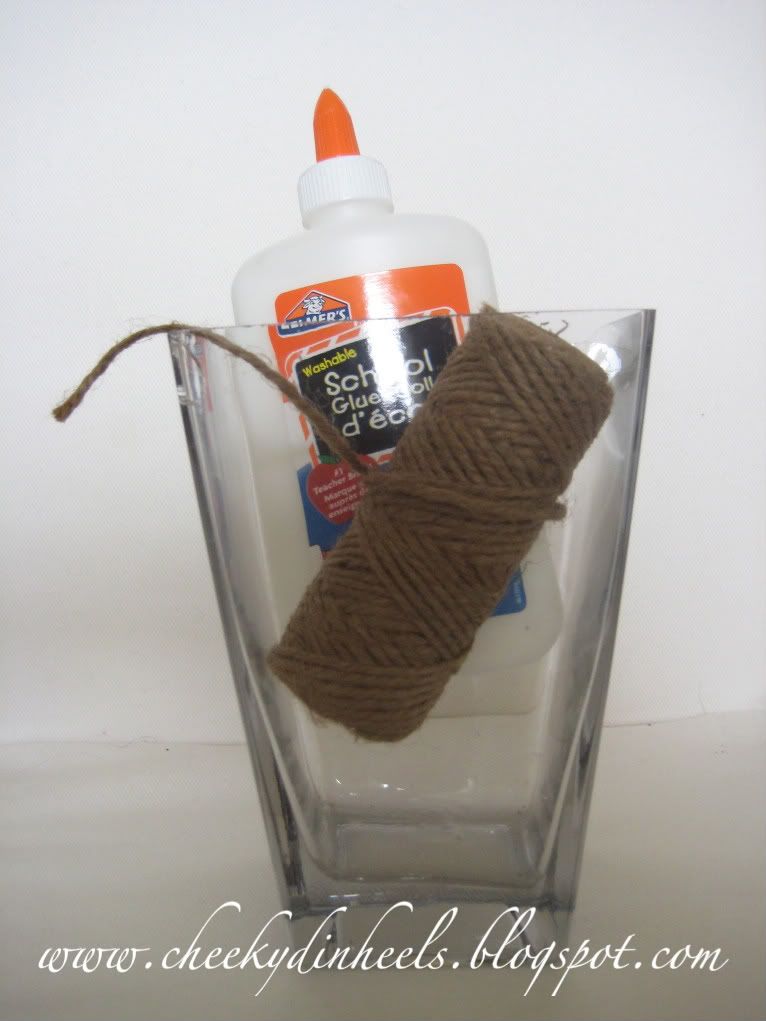
First my materials; My chipped vase, white glue, and jute twine.

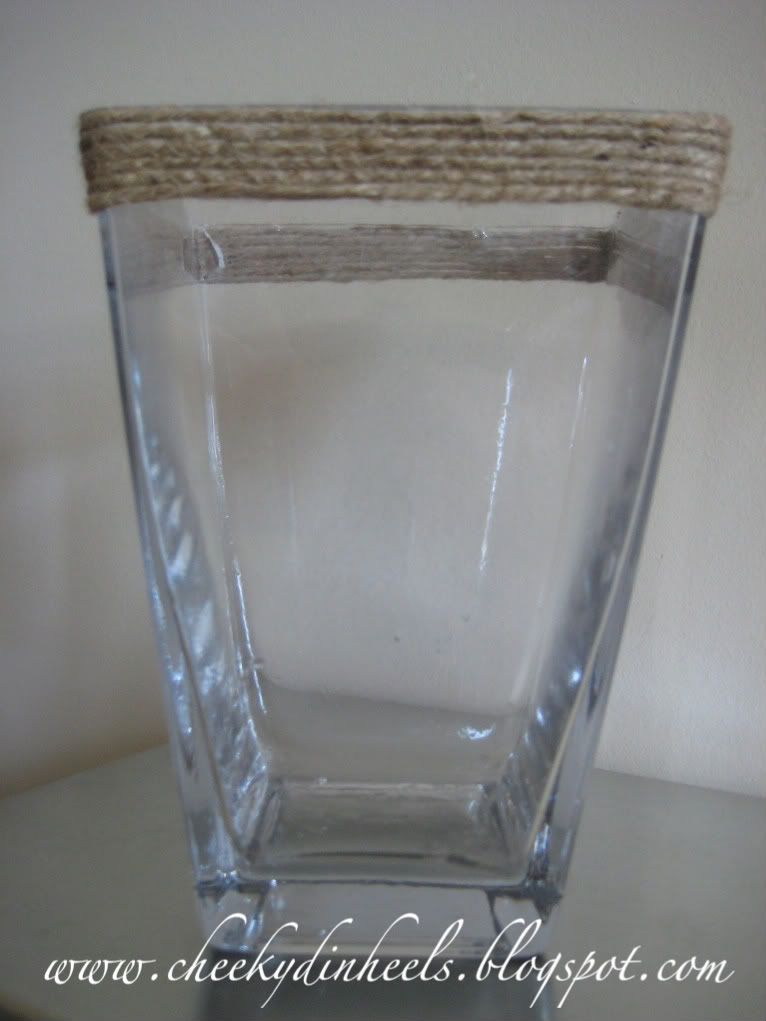
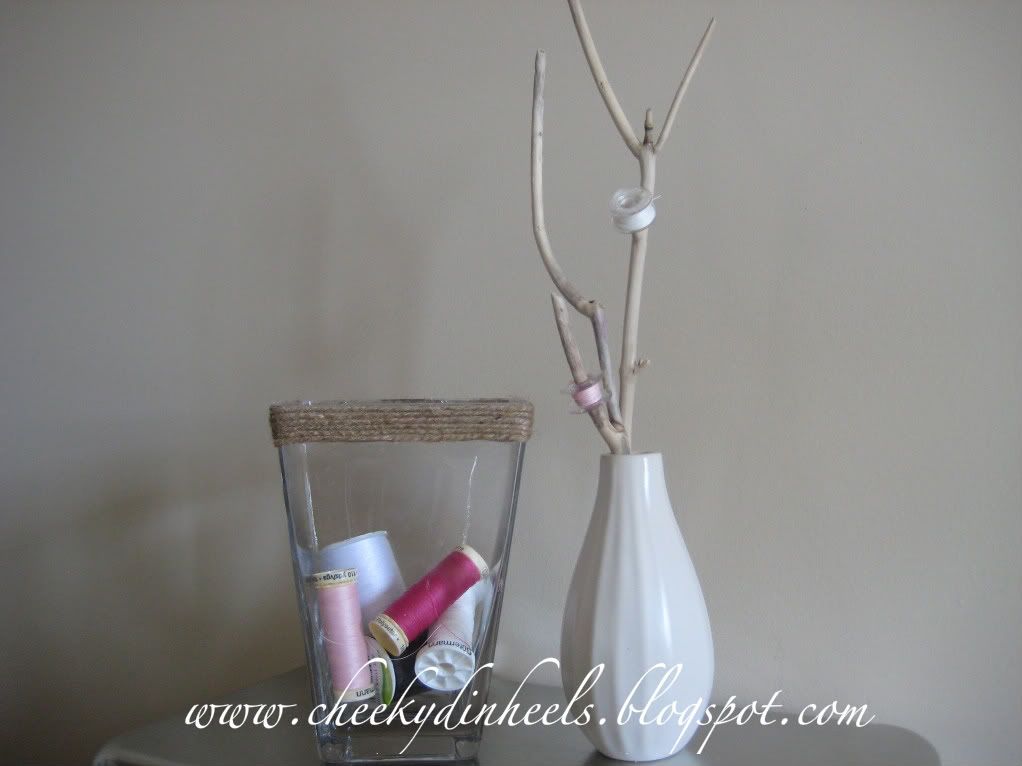
All I did was a small band of twine at the top of the vase.  The band was about six times around the top.   If you look to the back of the vase on the left hand side you can see the chip...when that's put in the front no one will even know.

I placed this in the guest room/ office/ sewing room... and filled it with my sewing thread.  It's perfect!  I then placed an old IKEA vase beside it with some drift wood (collected at the beach) in it and hung my bobbins on it.  A cute and decorative way to store my sewing materials.
 
* Yes that is all the thread I own...lame I know!

Linked to:

Sugar and Dots


Monday, May 16, 2011

DIY Baby Leggings

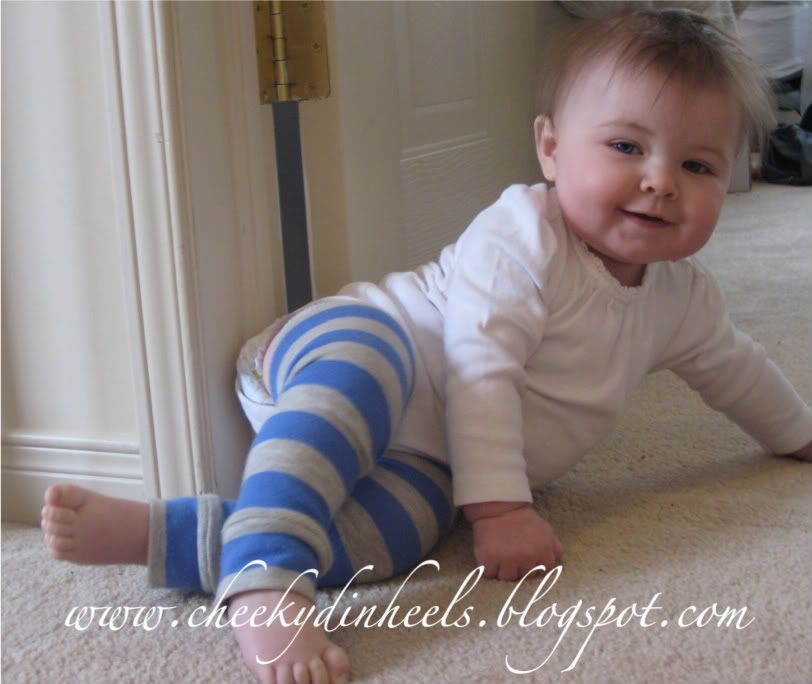
There is nothing I love more than a baby in a onsie and leggings.  I love their little bare feet and just how easy it is for them to squirm and play but also make diaper changes a breeze.  A few months back we returned to Virginia to visit some of our friends and my friend Julie gave me this pair she had made for The Boss.  I'm not sure if she followed a tutorial somewhere or thought of them on her own but she showed me how to make them.  Here's The Boss sporting her pair from Julie.


I was shocked how easy it was to do.  Here's how to make your own pair.

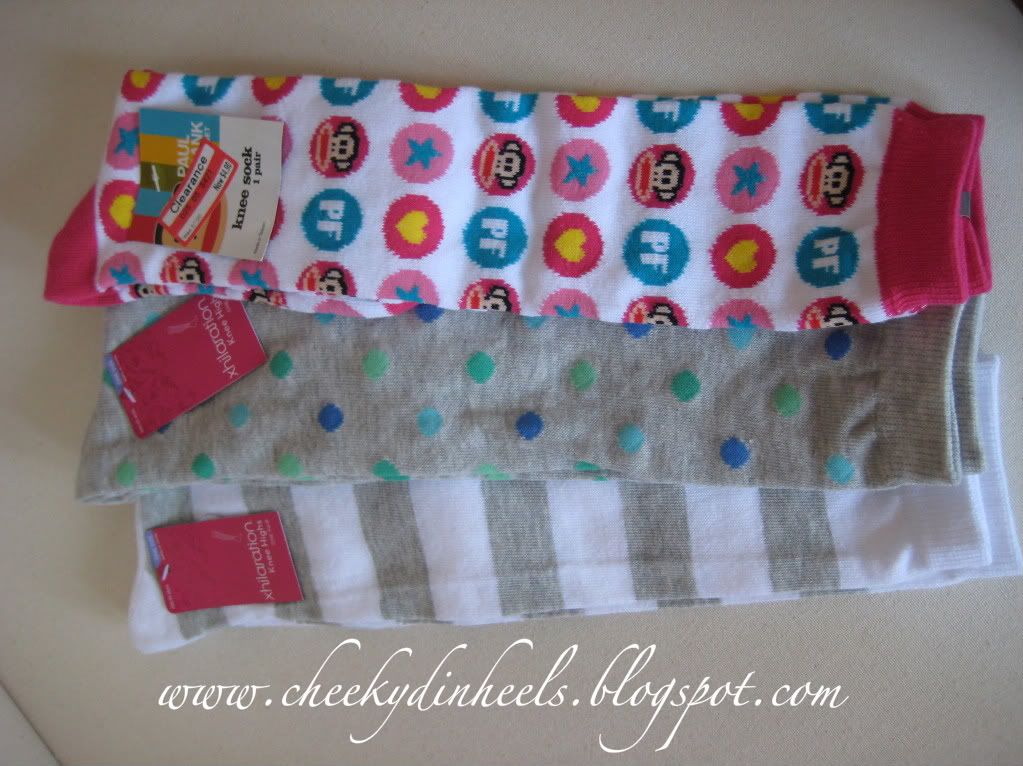
Purchase women's knee high socks from target.  They generally cost about $2 a pair.   I also bought a Paul Frank pair which was on sale but a little bit more.  The Boss has had a few Paul Frank things throughout her little life so I couldn't pass these up!


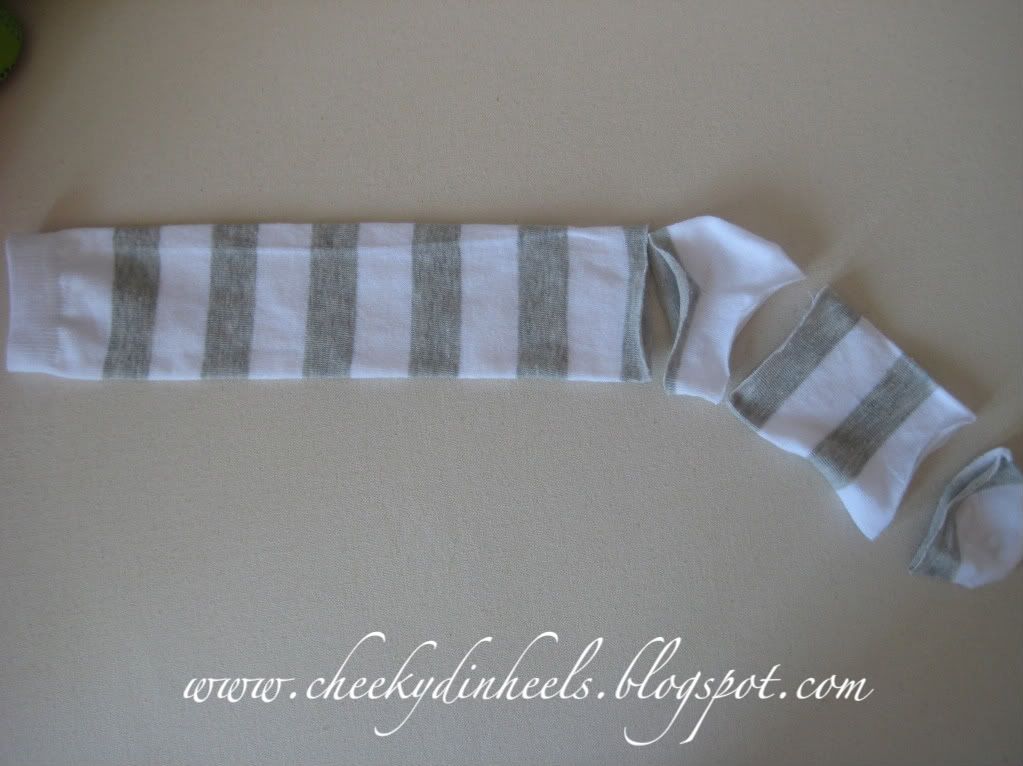
Cut out the toes and the heels.


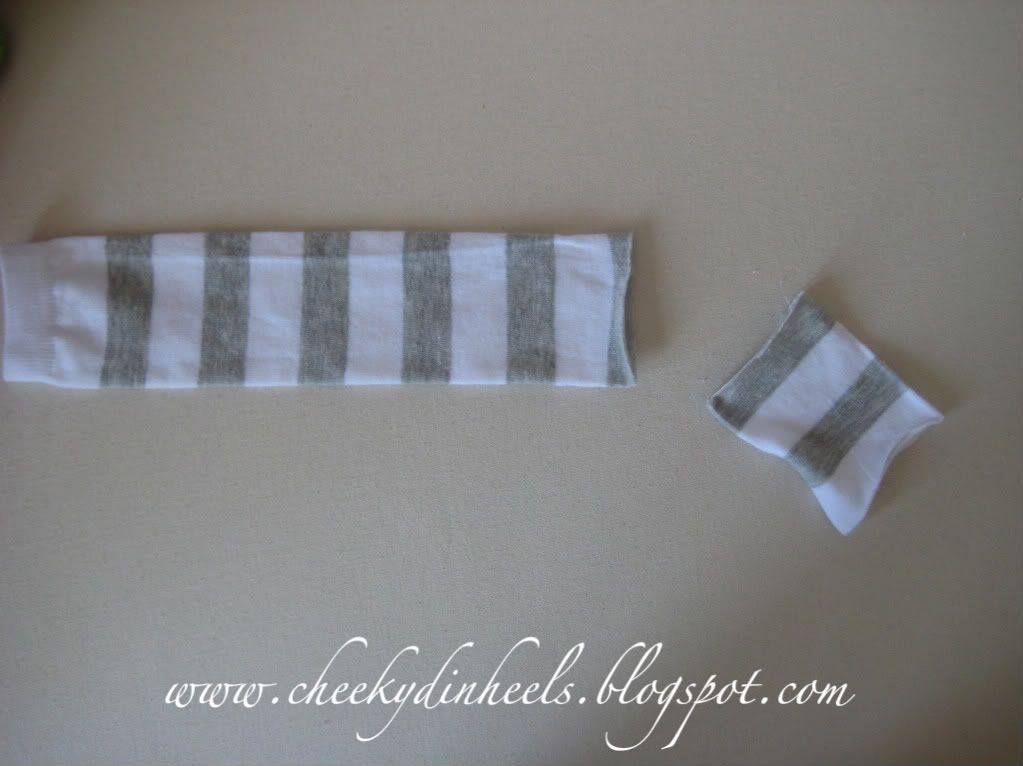
You will use the main section of the sock (the leg) for your legging and the section from the foot as the cuff at the bottom of the legging.  Since I was having problems with my sewing machine this is where I stopped taking pictures (wasn't sure I would get around to finishing these), so I will try my best to explain the rest.


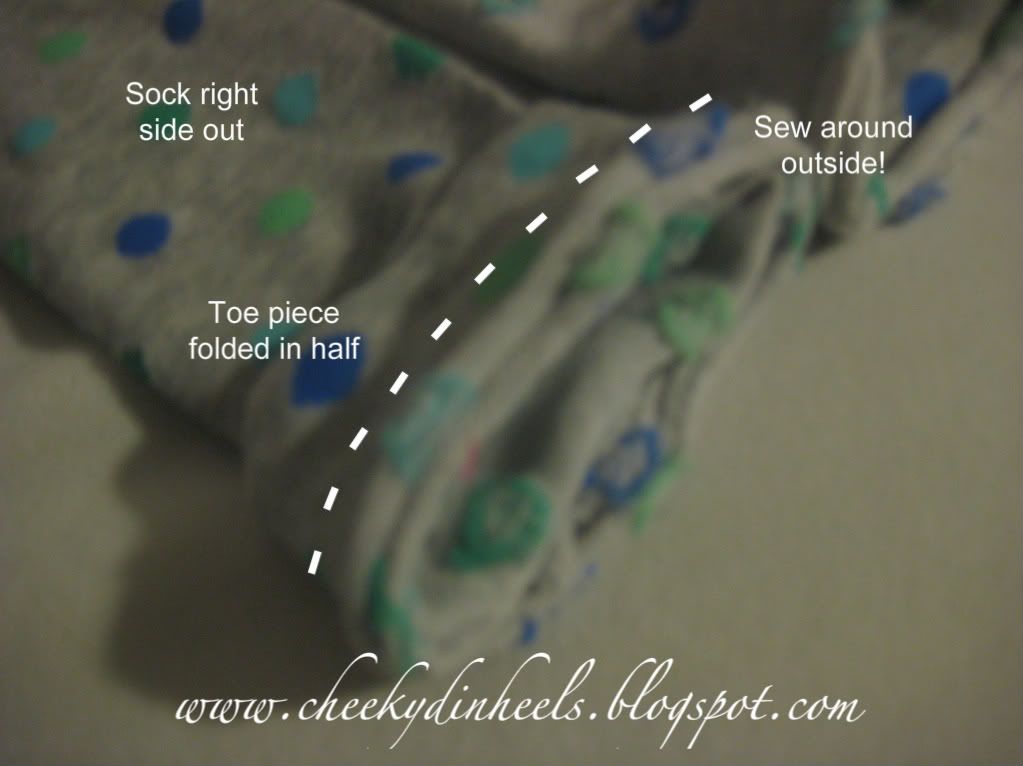
Take the longest section (the leg) and flip it inside out.   Then take the foot section and fold it in half with the inside of the sock touching itself.  I took a picture of this completed pair.


(Sorry for the terrible picture...it was taken at night...no natural light...Photography 101)

Pin the folded section to the leg of the sock with the bottom of the leg section and the open end of the folded piece attached.  Use your sewing machine to stitch around this edge.  I did a regular stitch and then re-inforced it with a zig-zag stitch.  

Done and done!  Look at The Boss.  She LOVES them, and look how nice they look with her onsie.  Love this onsie from Old Navy.  It says "I Love Hanging out with Mom".  We had to buy it when we saw it since we often call her my little Koala.  She loves travelling with Mom.